Easy Sourdough Beginner Guide using Stiff Starter Method
Sourdough beginner guide using the stiff starter method! Learn step-by-step how to create and maintain a stiff starter for delicious homemade bread.
Making sourdough bread at home might seem intimidating, especially if you’ve heard all the endless talk about daily feedings and constant discards to keep one’s active sourdough starter alive. But here’s the good news: the homemade sourdough process doesn’t have to be complicated.
This beginner sourdough guide focuses on stiff starter sourdough, a simpler, low-maintenance method that fits your baking schedule. No more wasting flour or feeling tied to a daily routine. Whether you want to bake every week or just occasionally, this approach makes it easy and stress-free.
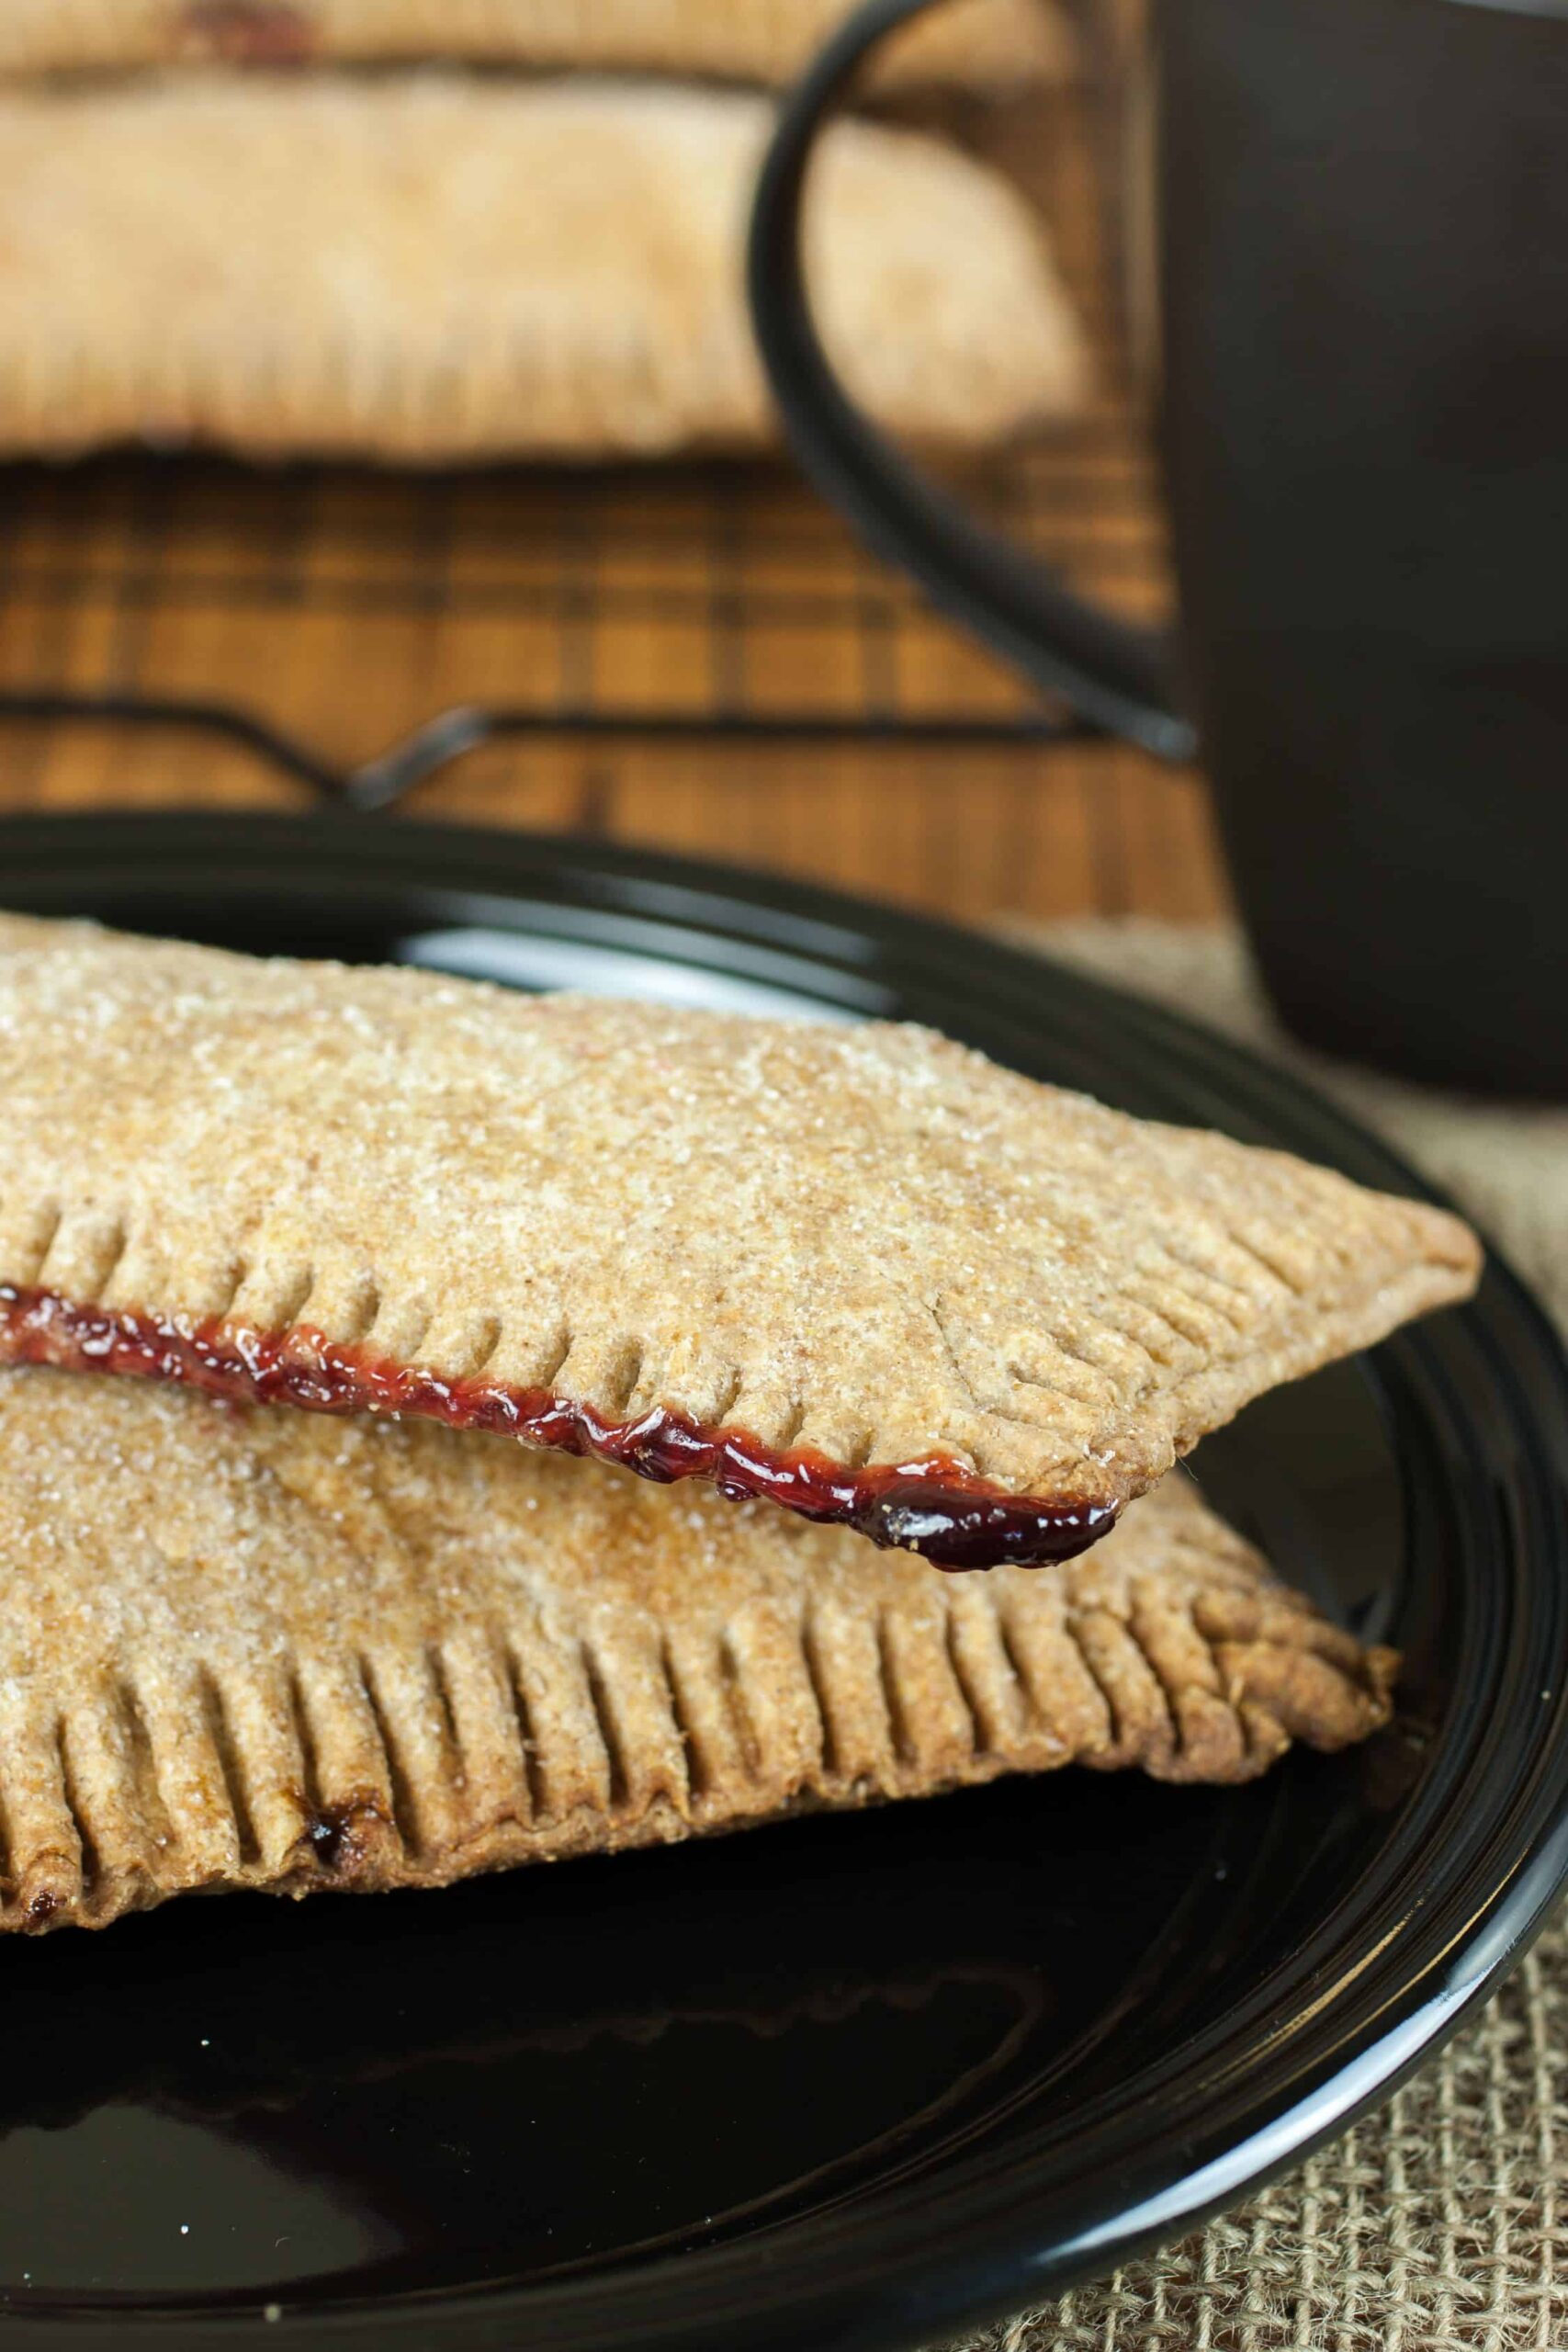
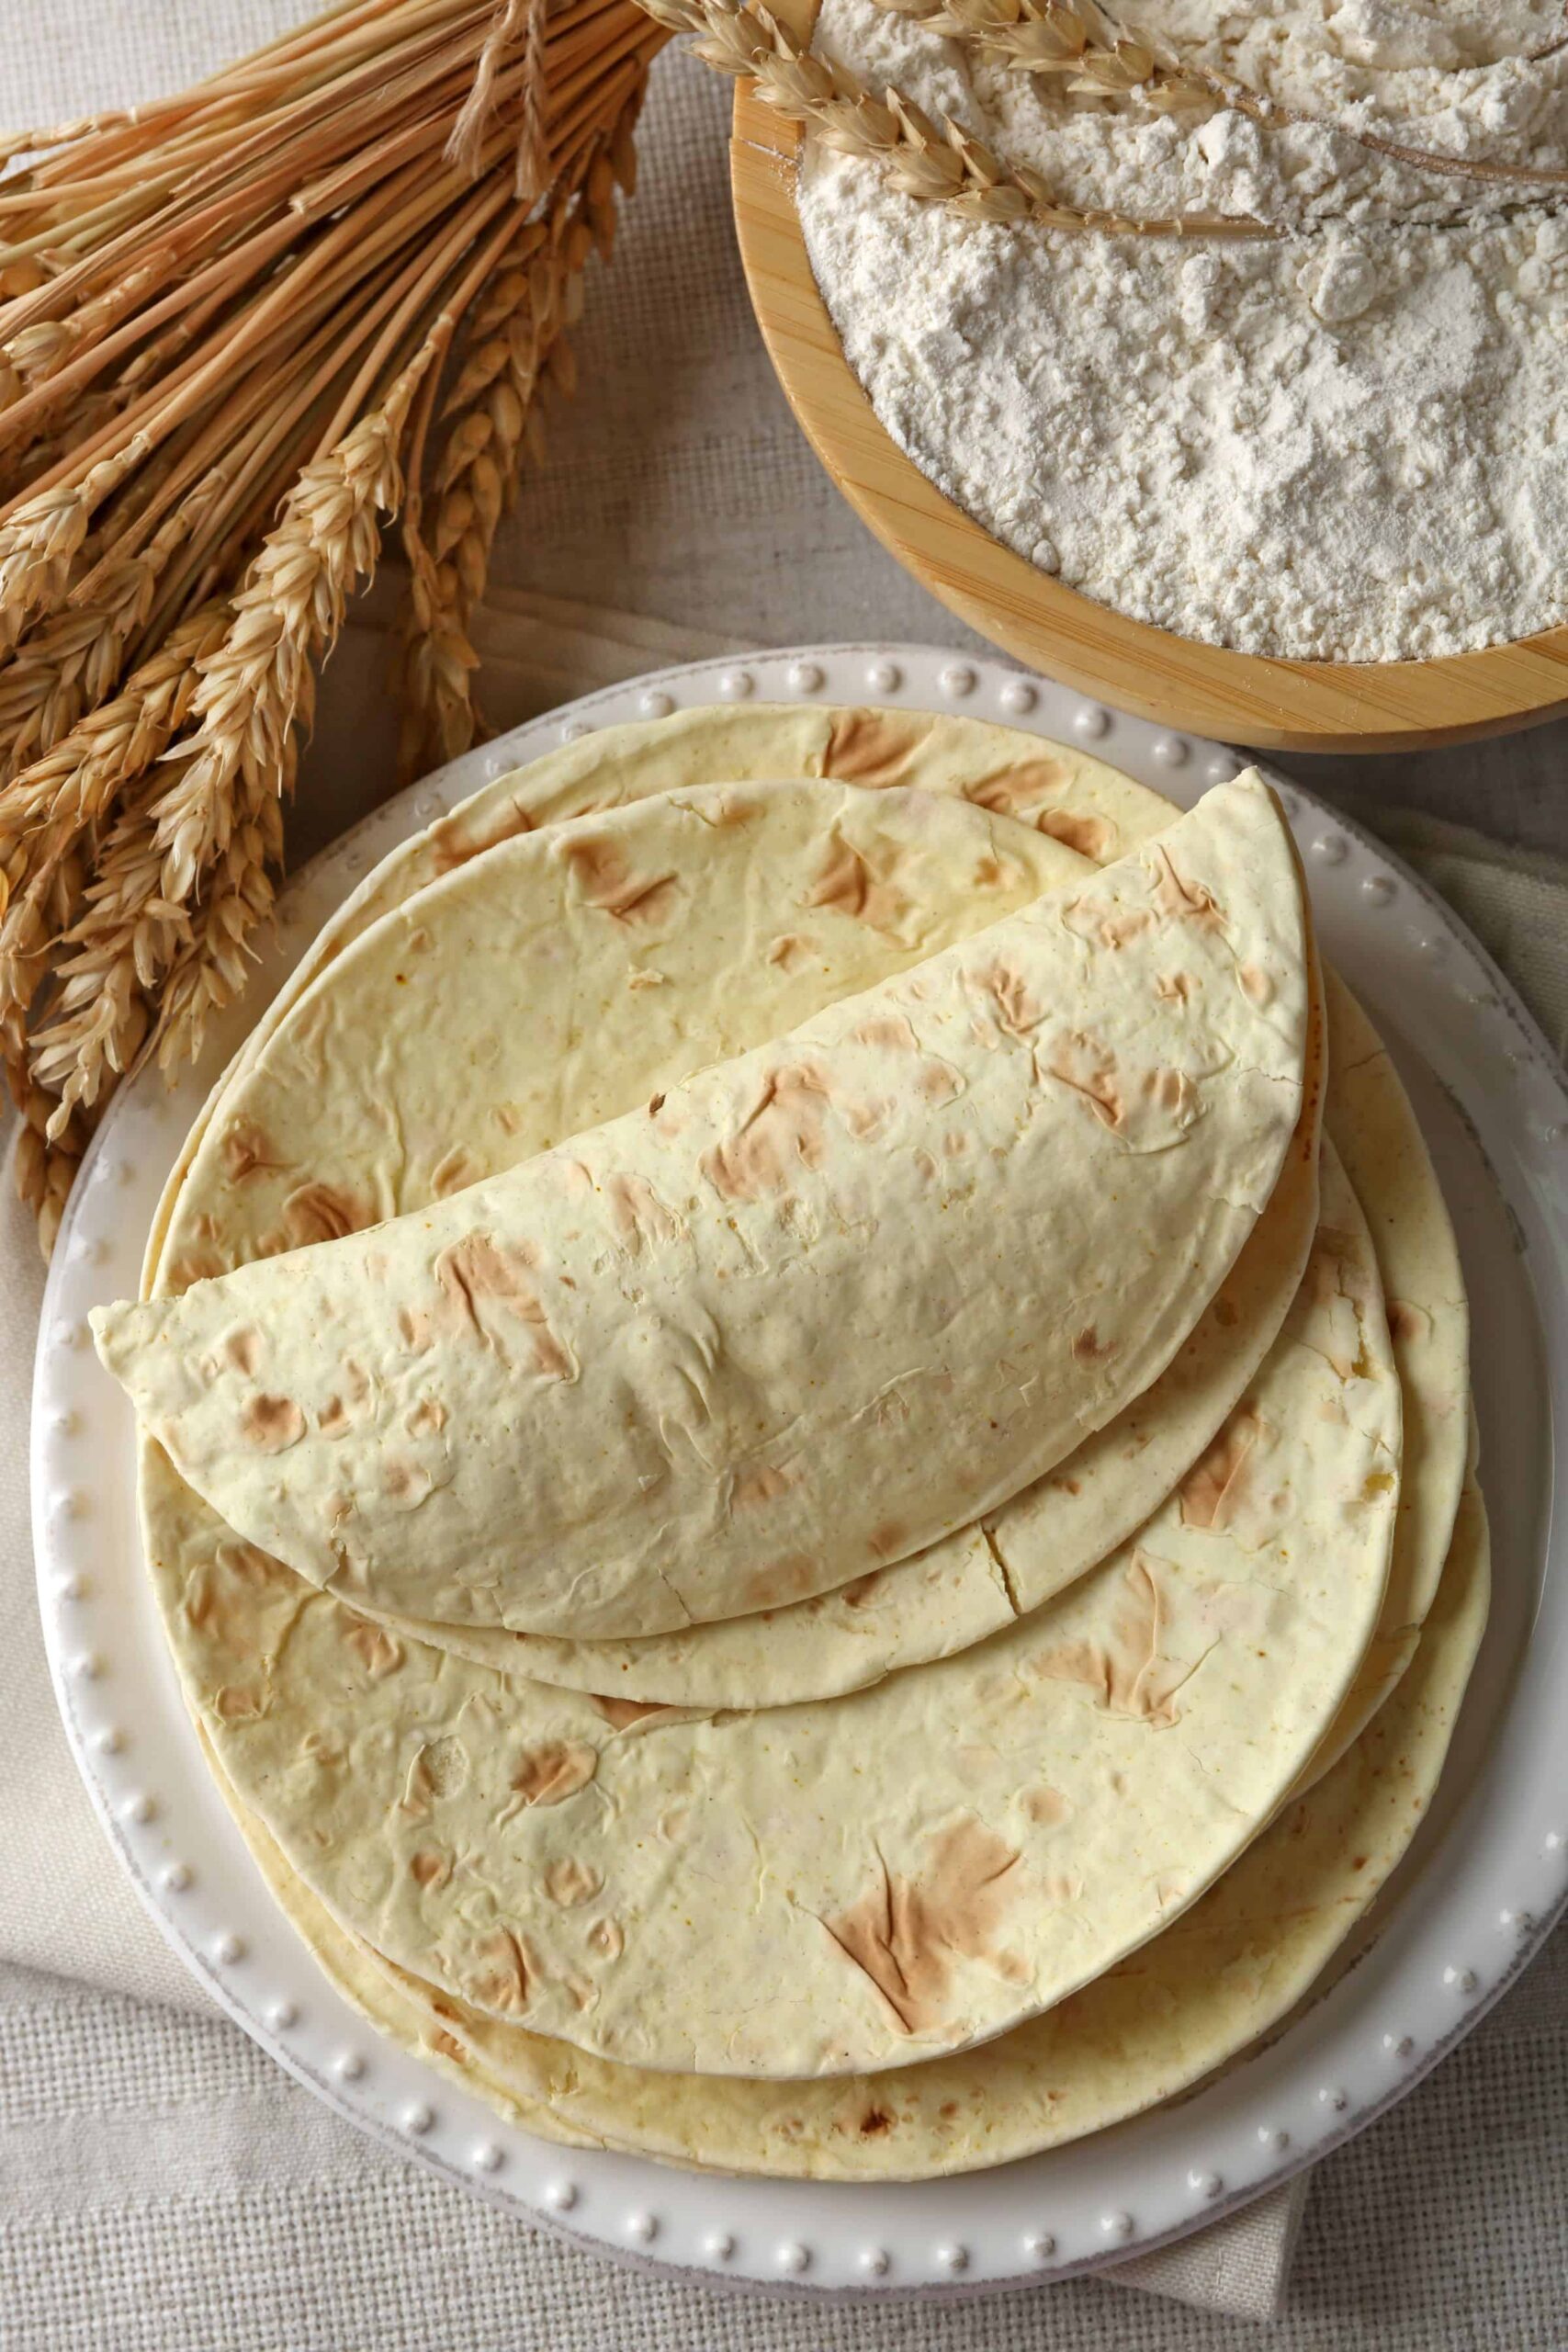
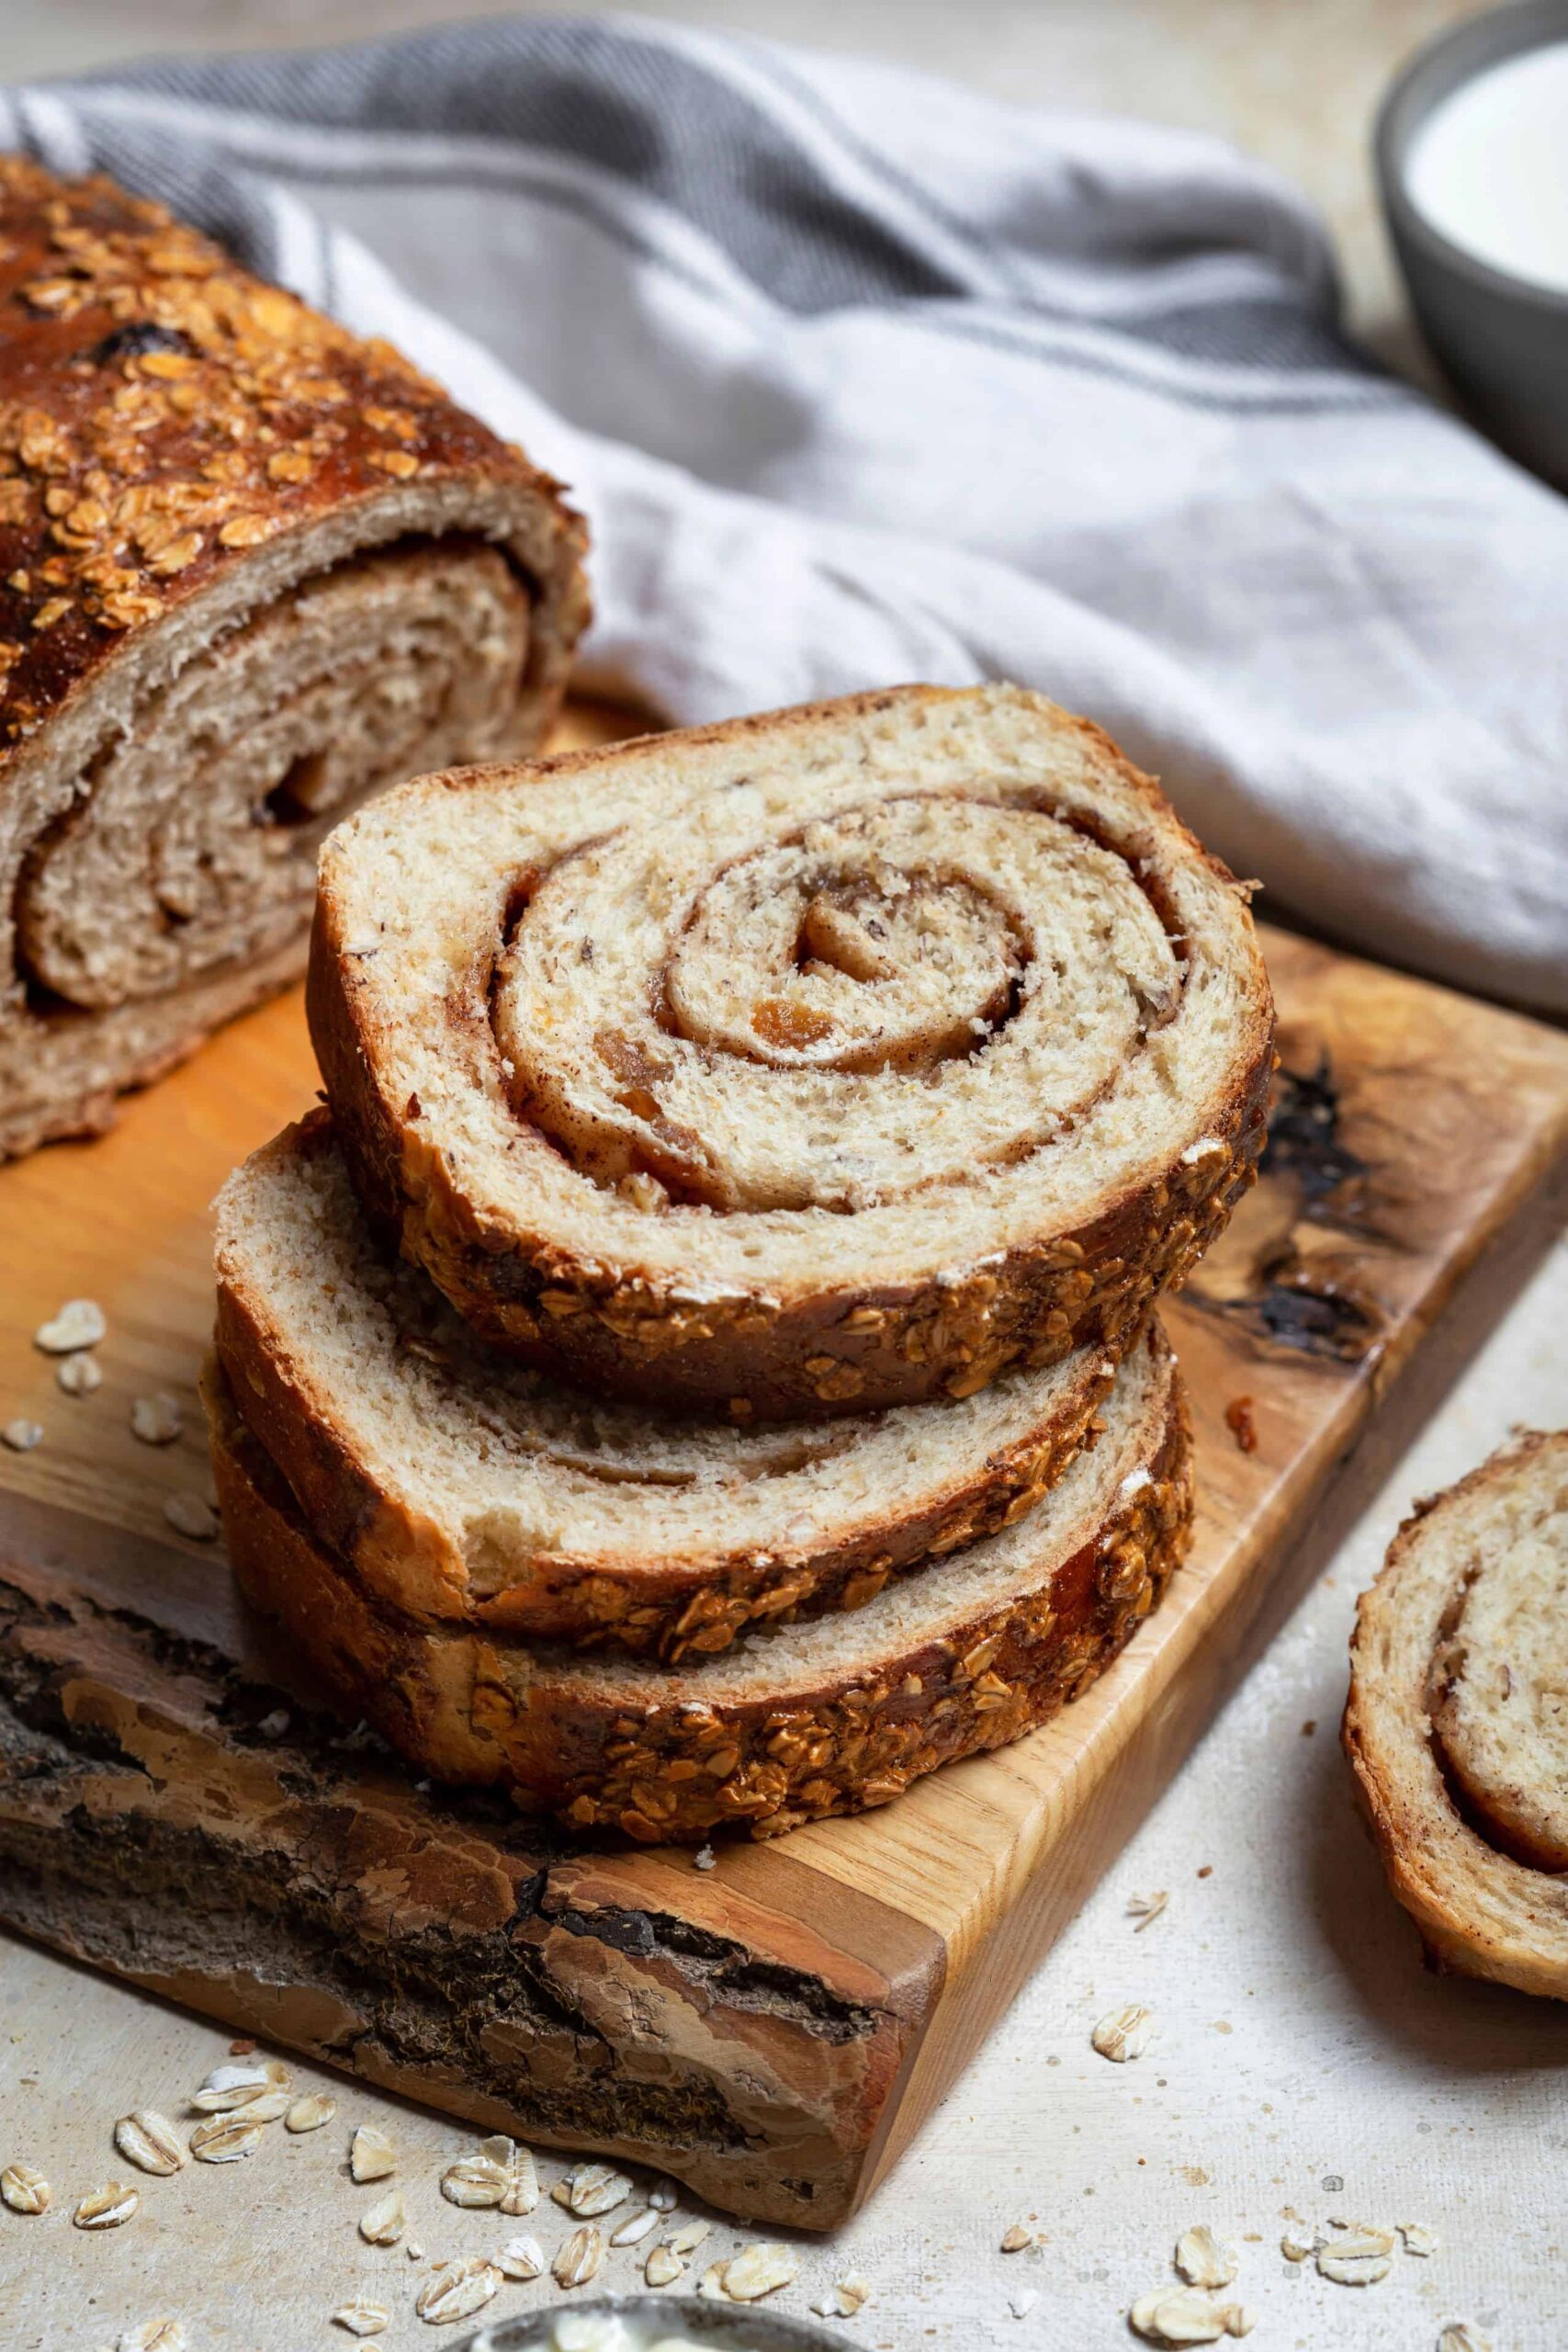
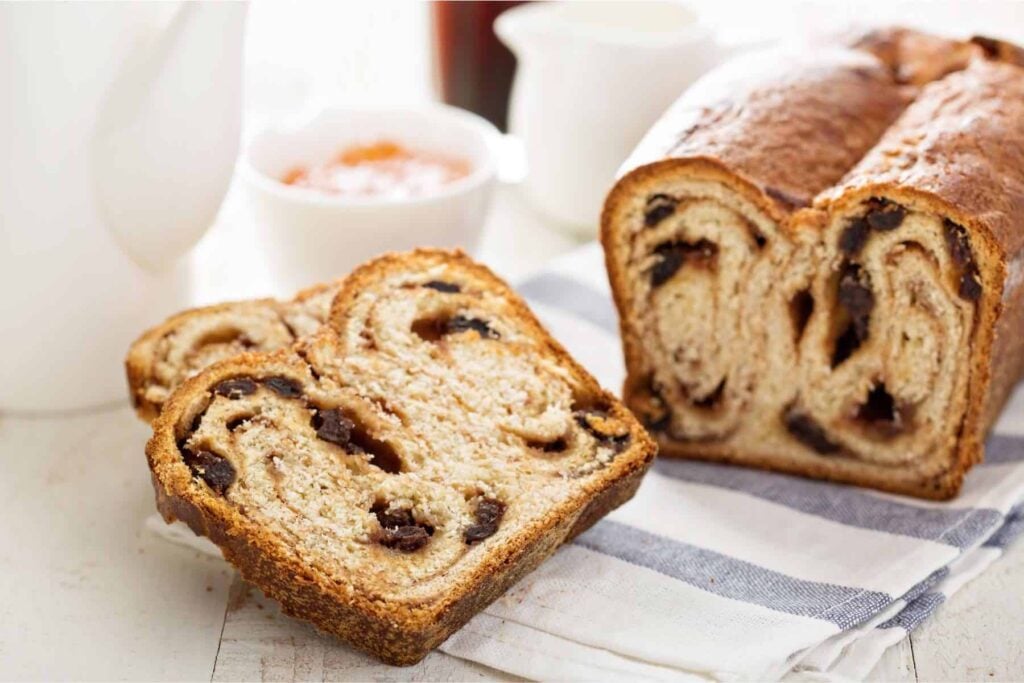
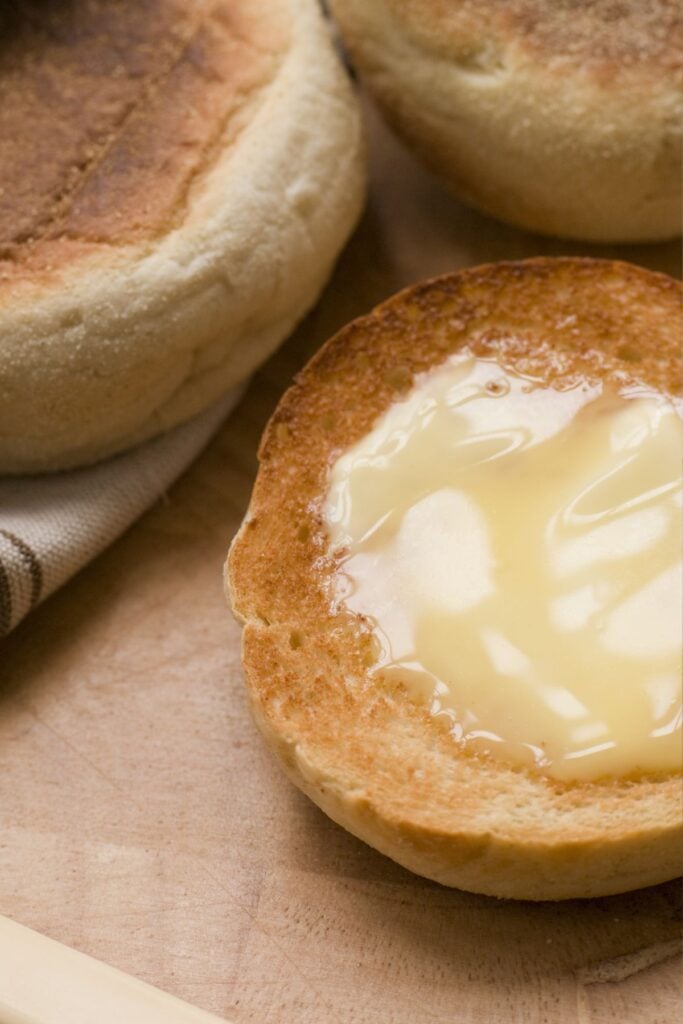
I’ll walk you through your sourdough journey step by step—what ingredients and tools you’ll need, how to mix and shape your dough, and how to bake the perfect loaf. By the end, you’ll have a gorgeous, crusty sourdough bread fresh from your oven. And you’ll feel ready to tackle other great recipes like Easy Sourdough Tortillas, Overnight Sourdough English Muffins, and delicious Sourdough Cinnamon Rolls!
Ready to get started? Let’s dive in and show you how simple and rewarding baking sourdough can be. No commercial yeast needed.

What Is a Dry Sourdough Starter?
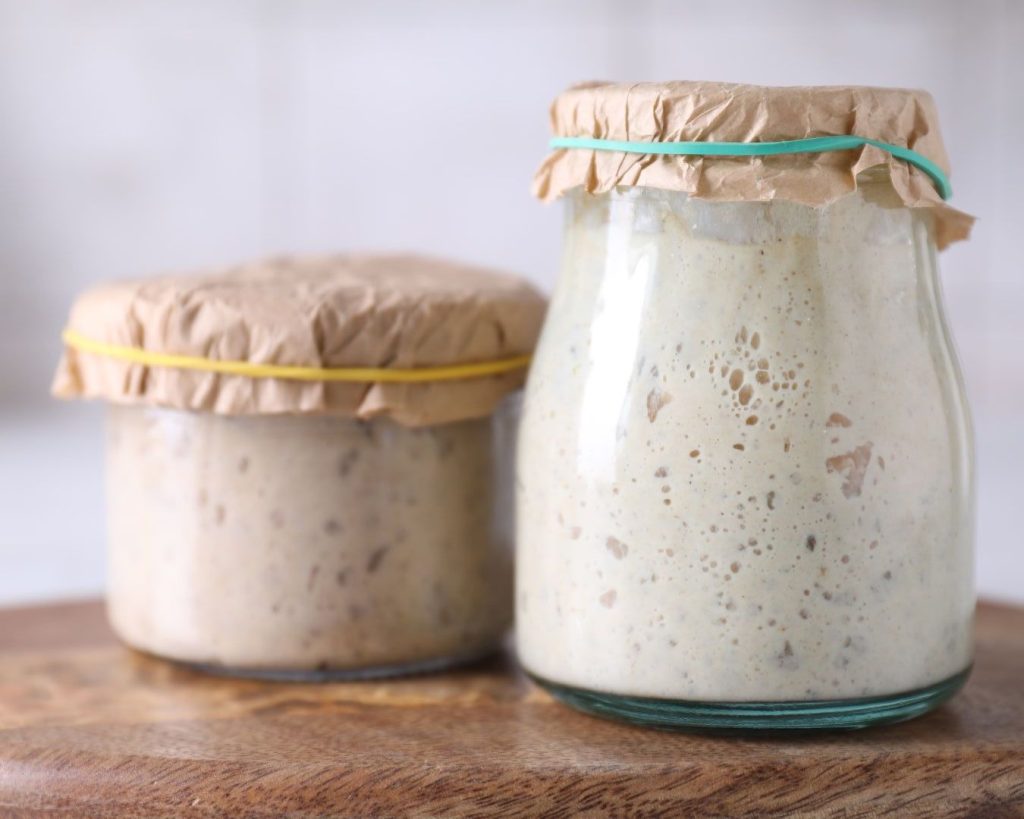
A dry sourdough starter, also called a stiff starter, has less water than a regular sourdough starter. The hydration level is usually 50-60%. For this reason, it has a thicker, dough-like texture instead of the usual bubbly, batter-like consistency.
Most sourdough starters you keep on the counter have equal parts flour and water by weight (100% hydration). For example, if you mix 100 grams of flour with 100 grams of water, you’ll get a typical starter that’s thick but still easy to stir.
A dry starter, on the other hand, has about 50% hydration, which means it uses twice as much flour as water. So if you use 100 grams of flour, you’d only add 50 grams of water. This makes it much thicker, more like a dough than a batter.
Because it has less moisture, a dry sourdough starter holds up better in the fridge and doesn’t need as much upkeep as a regular one. When you’re ready to bake, just take a little piece, feed it with flour and water, and let it wake up. Once it’s nice and bubbly, you can use it just like any other sourdough starter in your recipes.
If you don’t bake sourdough frequently or want to avoid daily feedings, a dry starter is a great low-maintenance option.
What a Stiff Sourdough Starter is Like
A stiff sourdough starter is a little different from the usual bubbly, liquid one you might be used to, even though it’s still a mixture of flour and water. Here’s what makes it unique:
- It has a thick, dough-like texture: Since it contains less water, a stiff starter feels more like actual dough—firm, stretchy, and easier to handle compared to the typically runny, pancake batter-like consistency.
- Offers a somewhat milder flavor: Because it ferments more slowly, a dry starter doesn’t develop as much acidity due to its lower water content, which slows microbial activity. As a result, the fresh sourdough bread you make with it will usually have a milder, less tangy flavor compared to one made with a liquid starter.
- Easier to maintain: A stiff starter doesn’t need constant feedings like a regular one. Plus, the lower moisture content makes it less likely to spoil or grow mold.
4 Reasons to Use a Stiff Dry Sourdough Starter
If you love sourdough but don’t want to deal with constant feeding and waste, use a stiff dry starter, and here’s why:
1. Less Work, Longer Storage
A dry starter ferments more slowly, which means you don’t need to feed it as often, though it still requires occasional feeding to remain active. I keep mine in the fridge and just take out what I need when I’m ready to bake. If you don’t bake all the time but still want a starter on hand, this makes things much easier.
2. Minimal to No Discard
Since you’re storing your starter in the fridge and only using what you need, there is minimal sourdough discard compared to a liquid starter. Unlike a regular sourdough starter that requires frequent feedings (and tossing out the extra), this method lets you use every bit. Sounds like a solid choice for anyone who likes to keep things simple, right?
3. Just as Easy to Use
Once you wake it up (activate it), a dry starter works just like any other sourdough starter. I mean, it makes the dough rise. If you want to keep feeding it daily on the counter, you sure can. But if you’d rather keep things low-maintenance, you can store it and only revive it when needed.
4. More Flexibility for Your Baking Schedule
With a dry starter, you’re not stuck feeding it every day. Whether you bake once a week or once a month, you can keep it stored until you’re ready to use it. This is the perfect starter for anyone who loves sourdough but doesn’t want it to feel like a full-time job.
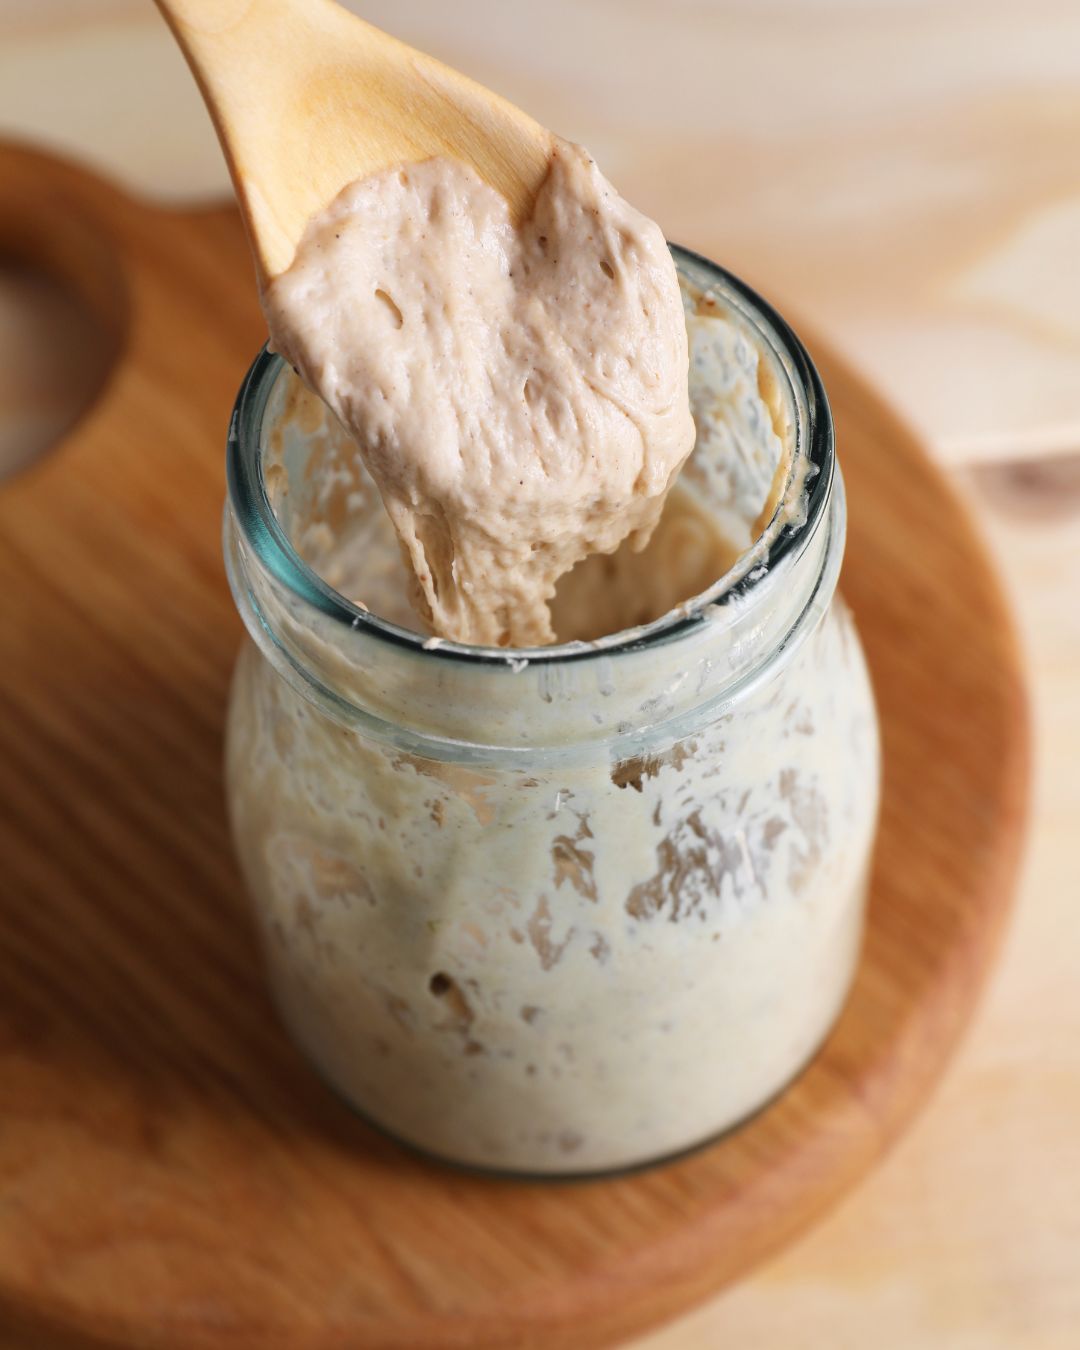
How to Activate a Dry Starter
When you’re ready to bake…
- Mix dry starter, warm water, and flour in a large jar, stirring well.
- Let it sit at room temperature for about 8 hours or overnight until it doubles in size and looks bubbly.
- It should have a pleasant, yeasty smell.
- Once it reaches this stage, it’s active and ready for baking.
If you want to learn how to make a stiff starter, I wrote a post explaining how to make and maintain one at home.

But Why Sourdough?
Sourdough bread isn’t just a trendy food—it’s a healthier, tastier, and more rewarding way to enjoy bread. Here’s why baking your own sourdough is worth the effort:
Healthier Bread
Sourdough is easier on your stomach because the natural fermentation process breaks down gluten and phytic acid. If regular bread leaves you feeling bloated, sourdough might be the alternative you’ve been missing all along.
Also, the fermentation process makes sourdough more nutritious by increasing the availability of nutrients like B vitamins, iron, and zinc. Plus, it produces beneficial bacteria (like lactic acid bacteria) that can support gut health.
Another bonus? Sourdough has a lower glycemic index, meaning it won’t spike your blood sugar like commercial bread. This makes it a better option for sustained energy and managing blood sugar levels.
Better Flavor
Sourdough has a unique, tangy flavor that’s impossible to replicate with commercial yeast. The natural yeast and bacteria in the starter create a complex taste that makes every loaf personal and special.
Now, let’s talk texture. Sourdough has that perfect combo—a crackly crust, a chewy inside, and those beautiful air pockets. It’s the kind of bread you’d drop $8 on at a bakery, but you can make it at home for way less.
And honestly, there’s nothing like the satisfaction of knowing you prepared the sourdough recipe yourself, start to finish. You control every ingredient that goes in, from the flour to the water, and that’s pretty awesome.
Saves You a Nickel, or Two
You can save a lot of money by baking sourdough at home. A good store-bought loaf can cost anywhere from $5 to $10, but making it yourself costs about a buck in ingredients. Flour, water, and salt are cheap, and since sourdough doesn’t need yeast, that’s one less thing to buy.
Buying bread flour in bulk makes it even cheaper, and homemade sourdough stays fresh longer than the flimsy, processed stuff from the store. Plus, you’ll make fewer grocery trips, which means fewer chances to grab extras you don’t really need. Over time, those small savings add up, making homemade sourdough an easy way to cut costs.
No Weird Ingredients
When you make sourdough at home, you control everything that goes into it—just flour, water, and salt. No preservatives, additives, or unnecessary fillers like commercial bread often has. If you care about clean eating, this is the way to go.
The Satisfaction of Making It Yourself
There’s something incredibly rewarding about baking your own bread from scratch. From feeding your starter to pulling a golden, crackly loaf out of the oven, it’s a process that connects you to real, homemade food. And let’s be honest, homemade sourdough bread just hits different.
If these reasons don’t inspire you to bake your first loaf of sourdough bread, nothing will.

What Is Artisan Sourdough Bread?
Artisan sourdough bread is traditionally made bread using natural fermentation without commercial yeast. It is crafted with simple ingredients like flour, water, and salt, and a wild yeast starter, which gives it a tangy flavor, chewy texture, and crisp crust.
Unlike mass-produced bread, artisan sourdough is often hand-shaped, slowly fermented, and baked using traditional methods, resulting in superior flavor and texture.
Ready to get started? Grab any easy sourdough bread recipe and do whatever it takes to bring it to life.
Not sure what to serve with sourdough? I have you covered with this roundup!
Sourdough Terms Every Beginner Should Know
Every hobby has its own language, and baking simple sourdough bread is no different. To an outsider, it might sound like a foreign dialect, but once you learn the terms, you’ll feel right at home. This section will help you understand the lingo so you can talk (and bake) like a seasoned sourdough baker in no time.
Starter
A live culture of wild yeast and lactic acid bacteria that naturally leavens sourdough bread. Made by fermenting flour and water, it develops over time and requires regular feedings to stay active. A well-maintained stiff starter should be firm, slightly tangy, and smell pleasantly yeasty, with fewer bubbles than a liquid starter.
If keeping up with your own sourdough starter feels like too much work, my dry starter formula makes it easy. No daily feedings, just let it dry, store it, and rehydrate when you are ready to bake. Less waste, less hassle, and all the homemade sourdough goodness.
Levain
A levain is a preferment made by mixing a portion of your starter with fresh flour and water. Unlike the main starter, which is kept alive indefinitely, a levain is built for a specific bake. This method allows bakers to adjust hydration, fermentation speed, and flavor without altering the original starter. Using a levain also ensures the starter remains strong, as you only take what’s needed for a particular batch.
Starter vs Levain
A starter is your main sourdough culture that you keep fed and alive. It is a mix of flour and water that ferments over time, building wild yeast and bacteria. You take a little from it to make a levain.
A levain is a one-time offshoot of your starter, mixed with fresh flour and water for a specific batch of bread. It lets you tweak hydration, fermentation time, and flavor without messing with your main starter. Once you use it, it is either baked into bread or discarded, while your starter stays for future bakes.
Hydration
Hydration refers to the amount of water in a dough compared to the amount of flour, expressed as a percentage. For example, a dough with 70% hydration contains 70 grams of water for every 100 grams of flour.
The hydration level directly affects the dough’s texture and handling. Higher hydration creates a softer, more open crumb but makes the dough stickier and harder to shape. Lower hydration results in a firmer, easier-to-handle dough with a tighter crumb.
- Low hydration (60–70%) produces a denser, easier-to-handle dough with a tight crumb, similar to sandwich bread.
- Medium hydration (70–75%) balances structure and airiness, qualities that make it great for classic sourdough loaves.
- High hydration (75% and above) creates an open, airy crumb with large holes but requires more skill to shape and handle.

Bulk Fermentation
This is the first and most important stage of fermentation, when the starter begins breaking down starches and producing gas. Bulk fermentation builds structure, flavor, and texture. It typically lasts between 4–12 hours, depending on room temperature and hydration level. A well-fermented dough should be airy, jiggly, and roughly double in size. Under-fermentation leads to dense bread, while over-fermentation weakens the gluten structure, causing it to collapse.
Autolyse
A process where flour and water are mixed and left to rest before adding the starter and salt. This rest period (usually 30–60 minutes) allows the flour to fully absorb water, kickstarting gluten development and enzymatic activity. Autolysed dough is easier to stretch and shape, leading to better texture and flavor.
Stretch and Fold
This is a gentle technique used during bulk fermentation to strengthen the dough without kneading. It involves sets of stretch-and-fold actions, where you hold the top of the dough, stretch it upward, and fold it over itself. This process is repeated at intervals, usually every 30 minutes for the first few hours of bulk fermentation. Stretch and folds help build gluten, creating an elastic dough that traps gas for an airy crumb.
Proofing
Proofing is the final rise after shaping, where the dough ferments further and develops its structure before baking. It can be done at room temperature for one to four hours or in the fridge overnight, which slows yeast activity while enhancing flavor. Overproofing can cause the loaf to collapse, while underproofing results in a dense, tight crumb. The goal is to find the sweet spot, which takes practice to master.
Scoring
During this process, you use a razor blade (lame) to slash the dough’s surface before baking. Scoring directs how the bread expands in the oven, preventing uncontrolled cracking. It also adds a decorative touch, with patterns ranging from simple slashes to intricate designs.
Oven Spring
This describes the rapid rise that happens in the first 10–15 minutes of baking due to heat expansion and steam. A well-proofed, well-shaped loaf with strong gluten development will have good oven spring, leading to a taller, more open crumb. Lack of oven spring can be caused by over-proofing, weak gluten structure, or a lack of steam in the oven.
Crumb
The texture and air structure inside a loaf. A well-made sourdough has an open, airy crumb with irregular holes, indicating proper fermentation and hydration. A dense, tight crumb often results from under-proofing or insufficient hydration. The type of flour, fermentation time, and shaping technique all influence the final crumb structure.
Mastering these terms will help you follow sourdough recipes with confidence and troubleshoot any issues along the way.

Equipment You’ll Need
You don’t need a kitchen full of gadgets to make great sourdough, but the right tools make the process easier and more consistent. Here’s what you’ll need, what each tool does, and possible substitutions if you don’t have it on hand.
Mixing Bowl:
What it does: Holds your dough while mixing, resting, and fermenting.
Best option: A large mixing bowl (at least 4 quarts) to allow room for the dough to expand. Glass, ceramic, or stainless steel all work.Substitutes: Any large bowl will do. Just avoid aluminum, which can react with the acidity in sourdough.
Kitchen Scale:
What it does: Ensures precise ingredient measurements, which is crucial for sourdough. Volume measurements (like cups) can be inconsistent.
Best option: A digital scale that measures in grams for accuracy.
Substitutes: Measuring cups can work, but they aren’t as reliable, especially for flour.
Bench Scraper:
What it does: Helps handle sticky dough, divide portions, and clean your work surface.Best option: A stainless steel bench scraper.
Substitutes: A sturdy spatula or even your hands, though it’ll be messier.
Dutch Oven or Baking Stone:
What it does: Traps steam in the early baking stages, which helps the bread rise and develop a crispy crust.Best option: A Dutch oven (5-quart or larger) with a tight-fitting lid. A baking stone with a steam tray can also work.Substitutes: A heavy baking sheet or cast-iron skillet, plus a separate pan of hot water for steam.
Banneton Basket (Proofing Basket):
What it does: Supports the dough during its final rise, helping it keep its shape.
Best option: A banneton with a linen liner for traditional shaping.
Substitutes: A bowl lined with a well-floured kitchen towel works just fine.
Lame (Bread Scoring Tool):
What it does: Slashes the dough before baking to control how it expands in the oven.
Best option: A lame with a razor blade for precise cuts.Substitutes: A very sharp knife or a clean razor blade.
Dough Whisk or Wooden Spoon:
What it does: Makes mixing easier, especially with high-hydration doughs.
Best option: A Danish dough whisk, designed to mix without overworking.
Substitutes: A sturdy wooden spoon or even your hands.
Cooling Rack:
What it does: Allows air to circulate around the loaf, preventing a soggy bottom as it cools.
Best option: A wire cooling rack.
Substitutes: An oven rack or a clean dish towel on the counter.
Stand Mixer (Optional):
What it does: Automates mixing and kneading, though sourdough typically relies on stretch-and-fold techniques instead of kneading.
Best option: A stand mixer with a dough hook.
Substitutes: Mixing by hand, which many bakers prefer for better dough control.
Parchment paper:
What it does: Prevents sticking and makes transferring dough easier.
Best option: Unbleached parchment paper, which can handle high oven temperatures.
Substitutes: A well-floured baking mat or a lightly greased baking sheet, though these may require extra care when handling sticky dough.
Ingredients Needed for Sourdough Bread & Ratios
Making sourdough bread requires just a few simple ingredients:
- Sourdough Starter – This is the heart of sourdough baking, providing the natural yeast and bacteria needed for fermentation.
- Flour – Most sourdough recipes use bread flour for structure, but all-purpose or whole wheat flour can also be used.
- Water – Filtered or dechlorinated water is best to avoid harming the wild yeast.
- Salt – Essential for flavor and gluten development.

Basic Sourdough Ratios
A common sourdough bread formula follows a 1:2:3 ratio:
- 1 part sourdough starter
- 2 parts water
- 3 parts flour
- Salt is typically around 2% of the total flour weight
This ratio creates a well-hydrated dough that’s easy to work with and yields a good balance of chew and structure.
The Type of Flour to Use for Your Starter and Dough
When making an active starter, you have several flour options available.
All-purpose flour is versatile and works well for starters and softer bread; however, it has a lower protein content than bread flour.
Bread flour, which has a higher protein level, is ideal for creating a strong gluten network that improves the structure, rise, and chewy texture of your bread.
Whole wheat flour adds a rich, nutty flavor and extra nutrients, but its bran and germ can make the dough denser. (For more on fresh milled flour, check out this guide!)
Rye flour is another option that can boost fermentation in your starter, although it often results in a stickier and heavier dough if used in large amounts.
I recommend using all-purpose flour for feeding an active starter and bread flour for bread dough. Its high protein content promotes better gluten development, ensuring that your dough rises well and produces a delicious, well-structured loaf.
Kitchen Temperature & Fermentation Timing
- Cold kitchen (below 70°F / 21°C): You’re going to see longer fermentation times for sure. Fermentation takes up to 8-10 hours for bulk rise under these conditions.
- Warm kitchen (above 75°F / 24°C): The dough may rise faster, in 4-5 hours, so watch closely.
- Very warm kitchen (above 80°F / 27°C): Reduce fermentation time and consider refrigerating the dough earlier to prevent overproofing.

How to Know the Dough is Ready for Baking
- Poke test: Gently press your finger into the dough. If it slowly springs back but leaves a slight indentation, it’s ready. If it snaps back quickly, it needs more time to rise. If the dent stays deep, it may have over-proofed.
- Jiggle test: Lightly shake the pan or tray. Properly proofed dough will have a slight wobble but won’t collapse.
- Size check: Most bread doughs should double in size before baking. If it hasn’t, give it more time in a warm spot.
Final Tips
- Don’t rush fermentation. Good sourdough needs time to develop structure and flavor.
- Use an active starter. Your starter should double in size within 4-6 hours after feeding before you bake.
- Let the bread cool completely. Cutting too early makes the inside gummy.
Let me know how your first loaf of homemade sourdough turned out in the comments below. Don’t fret if things don’t go well on the first try. The key is to keep baking, learn from your mistakes, and improve.