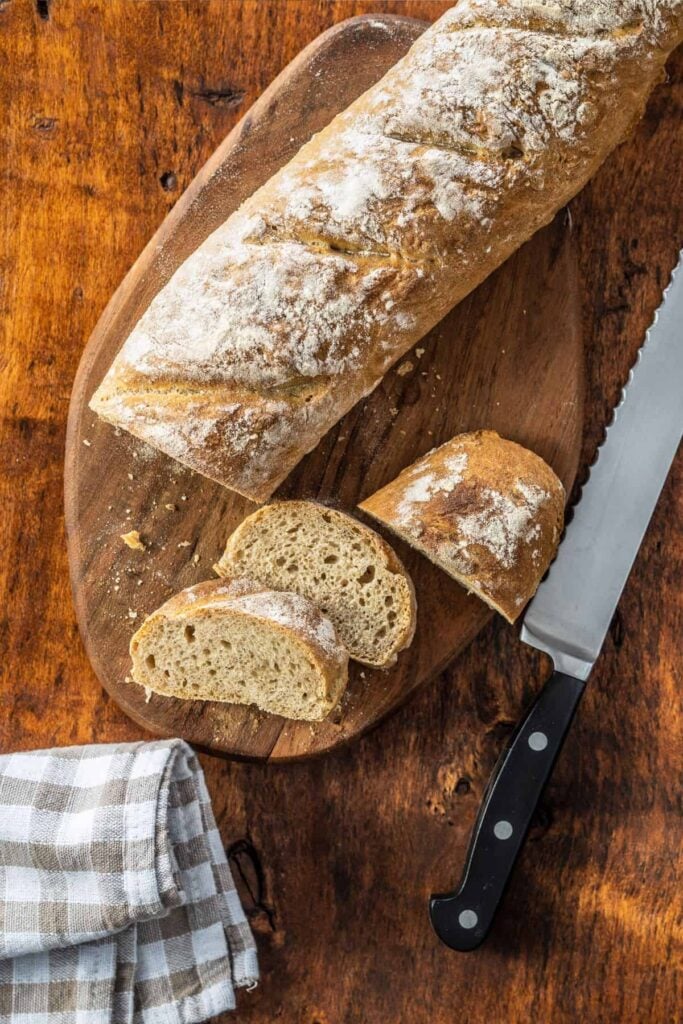
Bake Like a Pro: Overnight Artisan Sourdough Bread Made Simple
Baking a delicious artisan sourdough bread is not as difficult as it may seem! This recipe is as easy as it gets, and you can even make it overnight! With two different baking schedules, this recipe can fit any schedule and routine.

There’s something magical about the aroma of freshly baked sourdough bread wafting through your home. It make such a cozy vibe!
This artisan sourdough recipe brings the bakery to your kitchen, delivering a perfectly crusty loaf with a tender, fluffy interior. Whether you’re a seasoned baker or new to sourdough, this simple, no-fuss method lets time and natural fermentation do all the hard work.
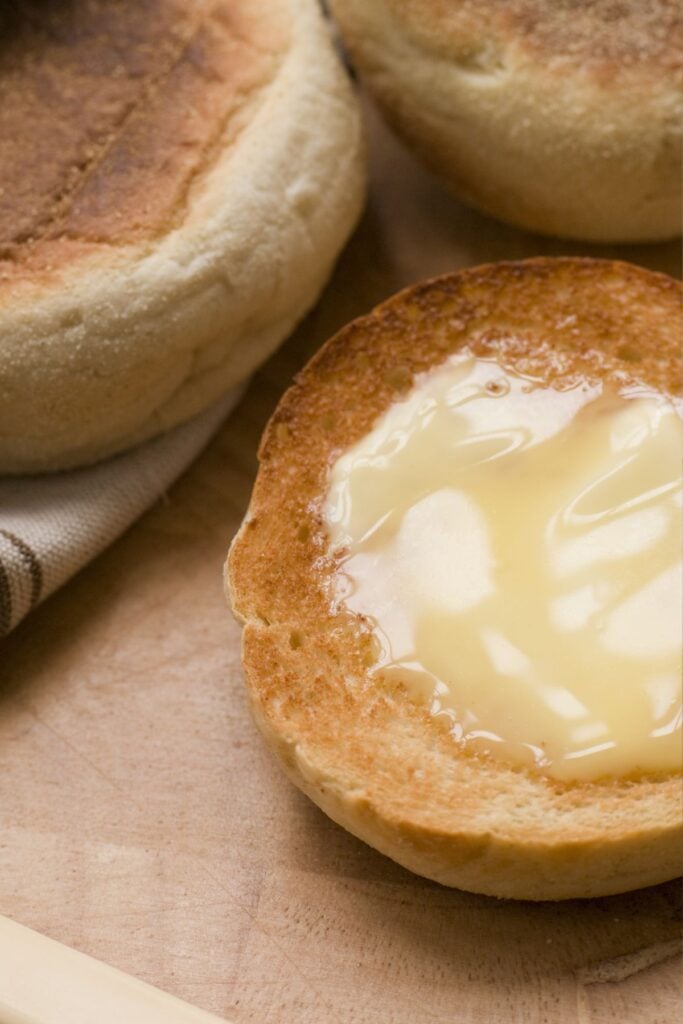
We love sourdough in this house, and my method makes it so easy! Cinnamon rolls, tortillas, English muffins, and much more!
Ready to transform flour, water, and salt into a masterpiece? Let’s dive in!

What is Artisan Sourdough Bread?
Artisan bread is a term used to describe bread crafted with traditional techniques, simple ingredients, and a focus on quality over mass production. Unlike commercial loaves, artisan bread is often made in small batches and relies on time-intensive processes like long fermentation to develop complex flavors and textures.
Typically baked with minimal ingredients—flour, water, salt, and sourdough starter—artisan bread is characterized by its rustic appearance, crisp crust, and tender crumb. Each loaf tells a story of patience and skill, embodying the art of breadmaking in its purest form.
Why Make Artisan Sourdough Bread At Home?
Making artisan sourdough bread at home is a such rewarding experience! At home baking offers benefits far beyond the loaf itself. Here’s why it’s worth giving it a try:
- Freshness: Nothing compares to the taste (and smell!!) of freshly baked bread straight from your oven.
- Control over ingredients: Because you’re making it, you can choose high-quality, natural ingredients without preservatives or additives.
- Health benefits: Sourdough is easier to digest and has a lower glycemic index due to its natural fermentation process.
- Cost savings: Homemade artisan bread is much more affordable than buying it from a bakery! A loaf of organic sourdough bread costs me about $1 to make, but to buy it would be $10!
- Creative satisfaction: From shaping the dough to scoring patterns, baking sourdough is both an art and a science. As you do it more, it becomes really fun!
Baking at home allows you to enjoy the full journey of breadmaking, from starter to slicing, while savoring every step along the way.


What Is The Difference Between Bread Flour & All-Purpose Flour?
The key difference between bread flour and all-purpose flour lies in their protein content.
Bread flour has a higher protein content (typically 11-13%), which creates more gluten when mixed with water. This gluten development gives bread its signature chewiness, structure, and rise.
All-purpose flour, on the other hand, has a lower protein content (around 8-11%), making it more versatile for cookies, cakes, and quick breads but less ideal for the elasticity and strength needed in artisan bread.
Do I Need To Use Bread Flour For Artisan Sourdough Bread?
Using bread flour can significantly improve the fluffiness and structure of your loaf, thanks to its high protein content. Here’s a breakdown of how bread flour and all-purpose flour affect your bread:
- Bread Flour: Produces a taller loaf with a chewy texture, open crumb, and crisp crust—perfect for sourdough, baguettes, and artisan-style bread.
- All-Purpose Flour: Results in a softer, denser loaf with a tighter crumb. While still delicious, it won’t have the same chewiness or rise as a loaf made with bread flour.
If you don’t have bread flour on hand, you can easily make a substitute by adding 1 tablespoon of vital wheat gluten to every 1 cup of all-purpose flour. This boosts the protein content, mimicking the properties of bread flour.
What to Expect if You Use All-Purpose Flour:
- The dough may feel softer and less elastic during kneading.
- The loaf will have a closer crumb and may rise slightly less.
- While the crust and texture won’t match a bread-flour loaf, the flavor will still be delightful.
Ultimately, bread flour enhances the quality of artisan bread, but all-purpose flour can still produce a tasty loaf with a bit of tweaking!

Tips For Making Artisan Sourdough Bread
Artisan sourdough bread transforms simple ingredients into a loaf of deliciousness that’s both rustic and flavorful.
While mastering sourdough can take time, it’s incredibly rewarding, and each loaf will get better and better! Here are some tips to help you bake your best artisan sourdough:
- Start with a healthy, active starter: A bubbly, well-fed starter is key to a good rise and flavor. Feed your starter several hours before you plan to bake. I use a dry, stiff starter that means no discard! I feed my starter about 8 hours before I make my dough.
- Embrace the stretch-and-folds: This technique strengthens the dough and develops gluten without kneading. Ideally, you will perform 3-4 sets during the bulk fermentation stage. Don’t overthink this! If you get in two, that’s great. If it’s 45 minutes between your sets, that’s fine. If you get in all four sets, even better!
- Be patient with fermentation: Good sourdough bread takes time. Allow the dough to ferment fully to develop flavor and structure. If you need to delay baking, you can place the dough in the fridge for a while.
- Use a Dutch oven or baking stone: These tools help create steam during baking, resulting in a beautifully crisp crust. I prefer the Dutch oven method. Find all my sourdough favorites right here!
- Score with confidence: A deep, clean score allows the bread to expand properly in the oven. Use a sharp blade or lame for the best results.
- Practice makes perfect: Every bake is a learning experience! Keep notes on timing, temperature, and results to refine your technique.
With these tips in hand, you’ll be well on your way to creating artisan sourdough loaves that look and taste amazing!


Sample Baking Schedules
You can use these baking schedules as a starting point! Feel free to move them forward or back by an hour.
If you’re an early riser, start your dough the night before at 7 pm and shape it the next morning at 5:30 am. If you are a night owl, start your dough at 9 pm or 10 pm!
Both schedules ensure a well-fermented, flavorful loaf!
Baking Schedule 1: Overnight Rise (Night Start at 8 PM)
Ideal for: Morning Baking
- 8:00 PM: Mix the dough (combine all ingredients). Let rest for 30 minutes.
- 8:30 PM – 10:30 PM: Perform stretch-and-folds every 30 minutes (4 total rounds). Cover and let rest overnight.
- 10:30 PM – 6:30 AM: Bulk ferment the dough at room temperature (8 hours).
- 6:30 AM: Shape the dough and place it into a proofing basket or bowl. Let it rest at room temperature for 1 hour.
- 7:30 AM: Preheat the oven to 475°F (245°C), with the Dutch oven or baking stone inside.
- 8:00 AM: Bake:
- Place the dough into the preheated Dutch oven (or on the stone).
- Bake covered for 20-25 minutes, then uncover and bake for another 20 minutes until golden brown.
- 8:45 AM: Cool on a wire rack before slicing.
Baking Schedule 2: Daytime Bake (Morning Start)
Ideal for: Evening Baking
This is the schedule I follow if I want to have a loaf for dinner that same evening.
- 6:00 AM: Mix the dough (combine all ingredients). Let rest for 30 minutes.
- 6:30 AM – 8:30 AM: Perform stretch-and-folds every 30 minutes (4 total rounds). Cover and let rest.
- 8:30 AM – 4:30 PM: Bulk ferment the dough at room temperature (8 hours).
- 4:30 PM: Shape the dough and place it into a proofing basket or bowl. Let it rest at room temperature for 30 minutes. Preheat the oven to 475°F (245°C), with the Dutch oven or baking stone inside.
- 5:00 PM: Bake:
- Place the dough into the preheated Dutch oven (or on the stone).
- Bake covered for 20-25 minutes, then uncover and bake for another 20 minutes until golden brown.
- 5:45 PM: Cool on a wire rack before slicing.
I hope you enjoy this recipe & learn to love baking sourdough!

Easy Artisan Sourdough Bread
This easy artisan sourdough bread is perfect for both beginner bakers and seasoned bakers alike! Crusty on the outside, fluffy on the inside, this bread is a kitchen staple you will love.
Ingredients
- 50 grams active sourdough starter
- 350 grams warm water
- 500 grams bread flour (see note)
- 10 grams salt
Instructions
Make the Dough
- Whisk together the active starter and warm water in a large bowl, weighing each ingredients as you go.
- Add in the bread flour and salt, and mix again to form a rough dough. The goal at this point is to have all of the flour mixed into the dough.
- Cover with a damp tea towel and let rest for about 30 minutes. Feed your starter during this time and clean up. After about 30 minutes, you'll perform four sets of 'stretch and folds' over two hours, every 30 minutes.
Stretch and Folds
- With wet hands, gently fold the dough onto itself. To do this, think of dividing the bowl into fourths. Grab one piece of the dough on the right, then pull it up and fold it back into the middle of the dough. Turn the bowl 1/4 turn and repeat. Do this all the way around the bowl twice. This is your ‘stretch and fold’ that you will continue over the next hours and a half.
- Cover the dough with a wet tea towel, and allow the dough to rest for 30 minutes, then repeat the stretching process described above.
- After the stretch and folds, allow the dough to rest, covered, for another 30 minutes, then repeat the stretching process again.
- After the stretch and folds, allow the dough to rest, covered, for another 30 minutes, then repeat the stretching process again.
Bulk Fermentation (Bulk Rise)
- After the final stretch, place a wet tea towel and either plastic wrap or a large plate on top of the dough. This will help prevent the dough from drying out. Allow the dough to rise at room temperature for about 8 hours. If it is very warm in the room, consider transferring the dough to the refrigerator for 12 hours.
Shaping the Dough
- In the morning, turn the dough out onto a lightly floured counter to shape. (Note: if your dough has risen in the refrigerator, allow the dough to sit at room temperature for about 15 minutes before shaping).
- To shape your dough, gently stretch it into a long rectangle. Then fold a short side into the middle, then the other to make a long, fat rectangle. Then gently roll the short end of the rectangle in onto itself to form a rounded log.
Building Tension
- Now you are going to build tension in the dough. Cup your hands around the dough and gently slide it back and forth along the counter, keeping the same part of the dough on top. (Meaning, don’t actually turn it over, just slide it across the counter.)
- Lightly flour a lined banneton, colander, or mixing bowl and transfer the dough into it with the top of the dough facing downward towards the bottom of the banneton/bowl.
- Cover with a dry towel and place in the freezer for 10 minutes or so while the oven preheats.
Bake the Dough
- Preheat the oven to 450 F. Once preheated, reduce the heat to 425 F.
- Take the dough from the freezer and turn it out onto parchment paper or a bread sling. Using the tip of a bread lame, small knife or a razor blade, make four shallow 4-inch long cuts at 3, 6, 9, and 12 o’clock around the dough.
- Transfer the parchment/sling to a dutch oven and bake the dough on the center rack for 20 minutes, covered.
- Remove the lid, and continue to bake for another 25-35 minutes until golden brown. Check the bread after 15-20 minutes as every oven cooks a bit differently.
- When the bread is cooked through and golden brown, transfer it to a wire cooling rack. Cool for 1 hour before slicing, for the best texture.
Notes
- If you don't have bread flour, you can use all-purpose flour and mix in 1 Tablespoon of vital wheat gluten for every 1 cup of all-purpose flour.
- If you don't have bread flour or vital wheat gluten, you can use all-purpose flour for this recipe, but your loaf will be a bit more dense.
Recommended Products
As an Amazon Associate and member of other affiliate programs, I earn from qualifying purchases.