How To Make the Most Heavenly Homemade Pumpkin Pie
Master the art of making old-fashioned pumpkin pie using real pumpkins with this treasured recipe. From selecting the perfect pie pumpkin to creating silky smooth homemade puree, you’ll learn every step to craft a pie that tastes just like grandma’s.
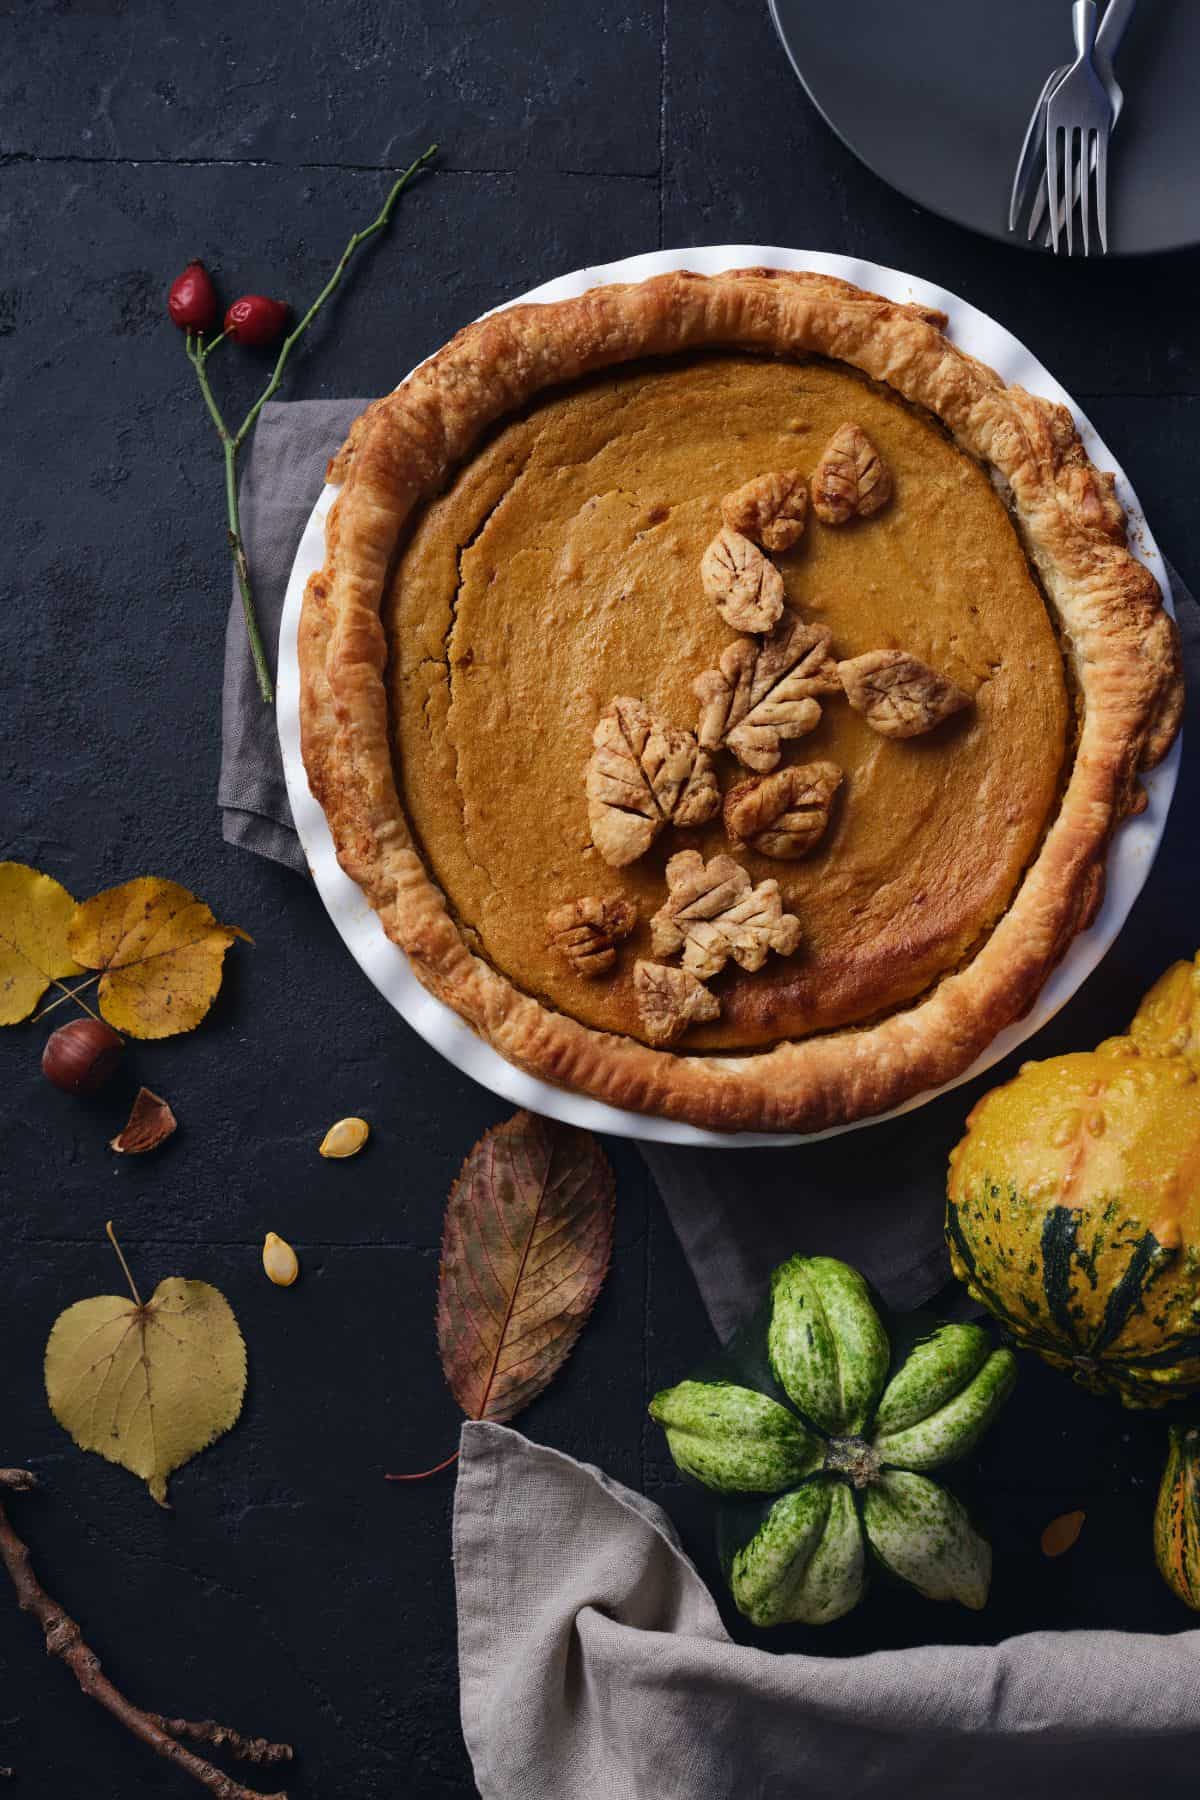
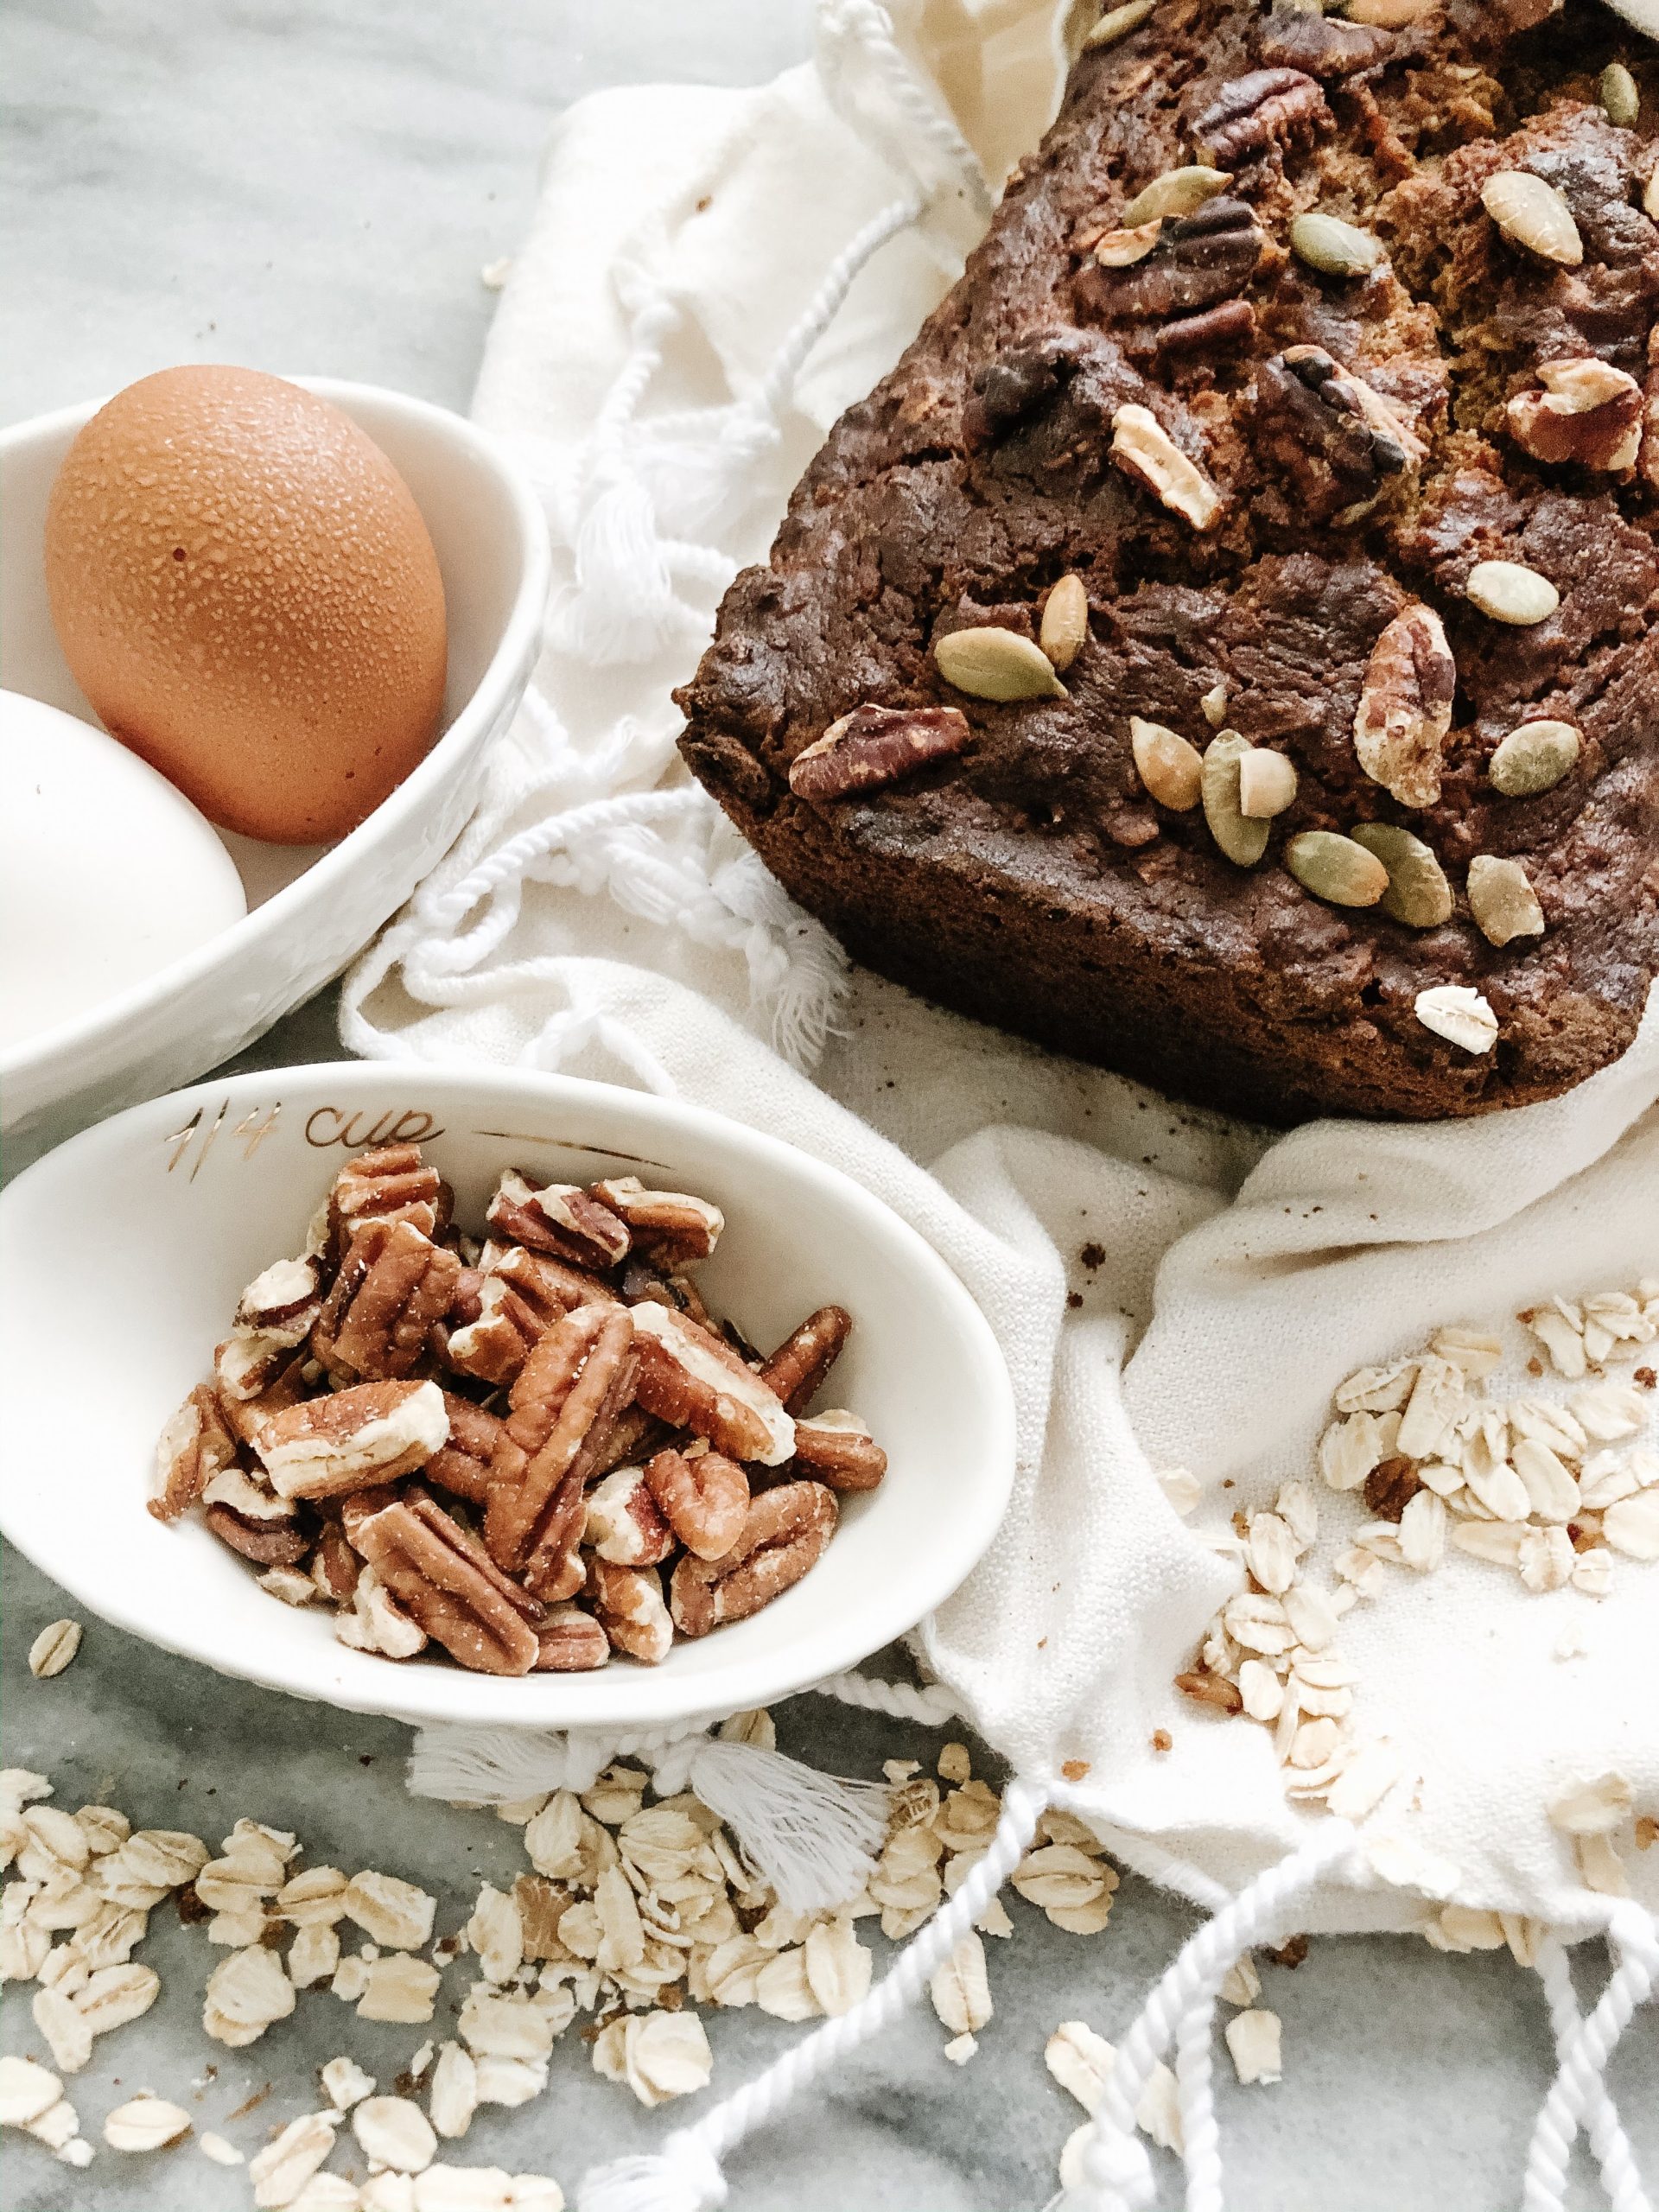
There’s something magical about creating a pumpkin pie completely from scratch. I love spending crisp autumn afternoons transforming fresh pie pumpkins into this beloved dessert (and many other recipes, like our one-bowl pumpkin bread, pumpkin cinnamon rolls, and sourdough pumpkin bread)!
While opening a can of pumpkin puree might be quicker, the depth of flavor you get from roasting your own pumpkins is absolutely worth the extra effort. Plus, the process of making this pie—from selecting the perfect pumpkins to pulling the golden-brown masterpiece from the oven—creates such wonderful memories with those you love.
What Is Old-Fashioned Pumpkin Pie?
Old-fashioned pumpkin pie made with real pumpkin is a time-honored dessert that starts with fresh pie pumpkins rather than canned puree. This traditional approach yields a pie with deeper, more complex flavors and a silky-smooth texture that’s impossible to achieve with processed pumpkin.
The filling combines freshly roasted and pureed pumpkin with warm autumn spices like cinnamon, ginger, and nutmeg, all nestled in a flaky, buttery crust that’s made by hand.
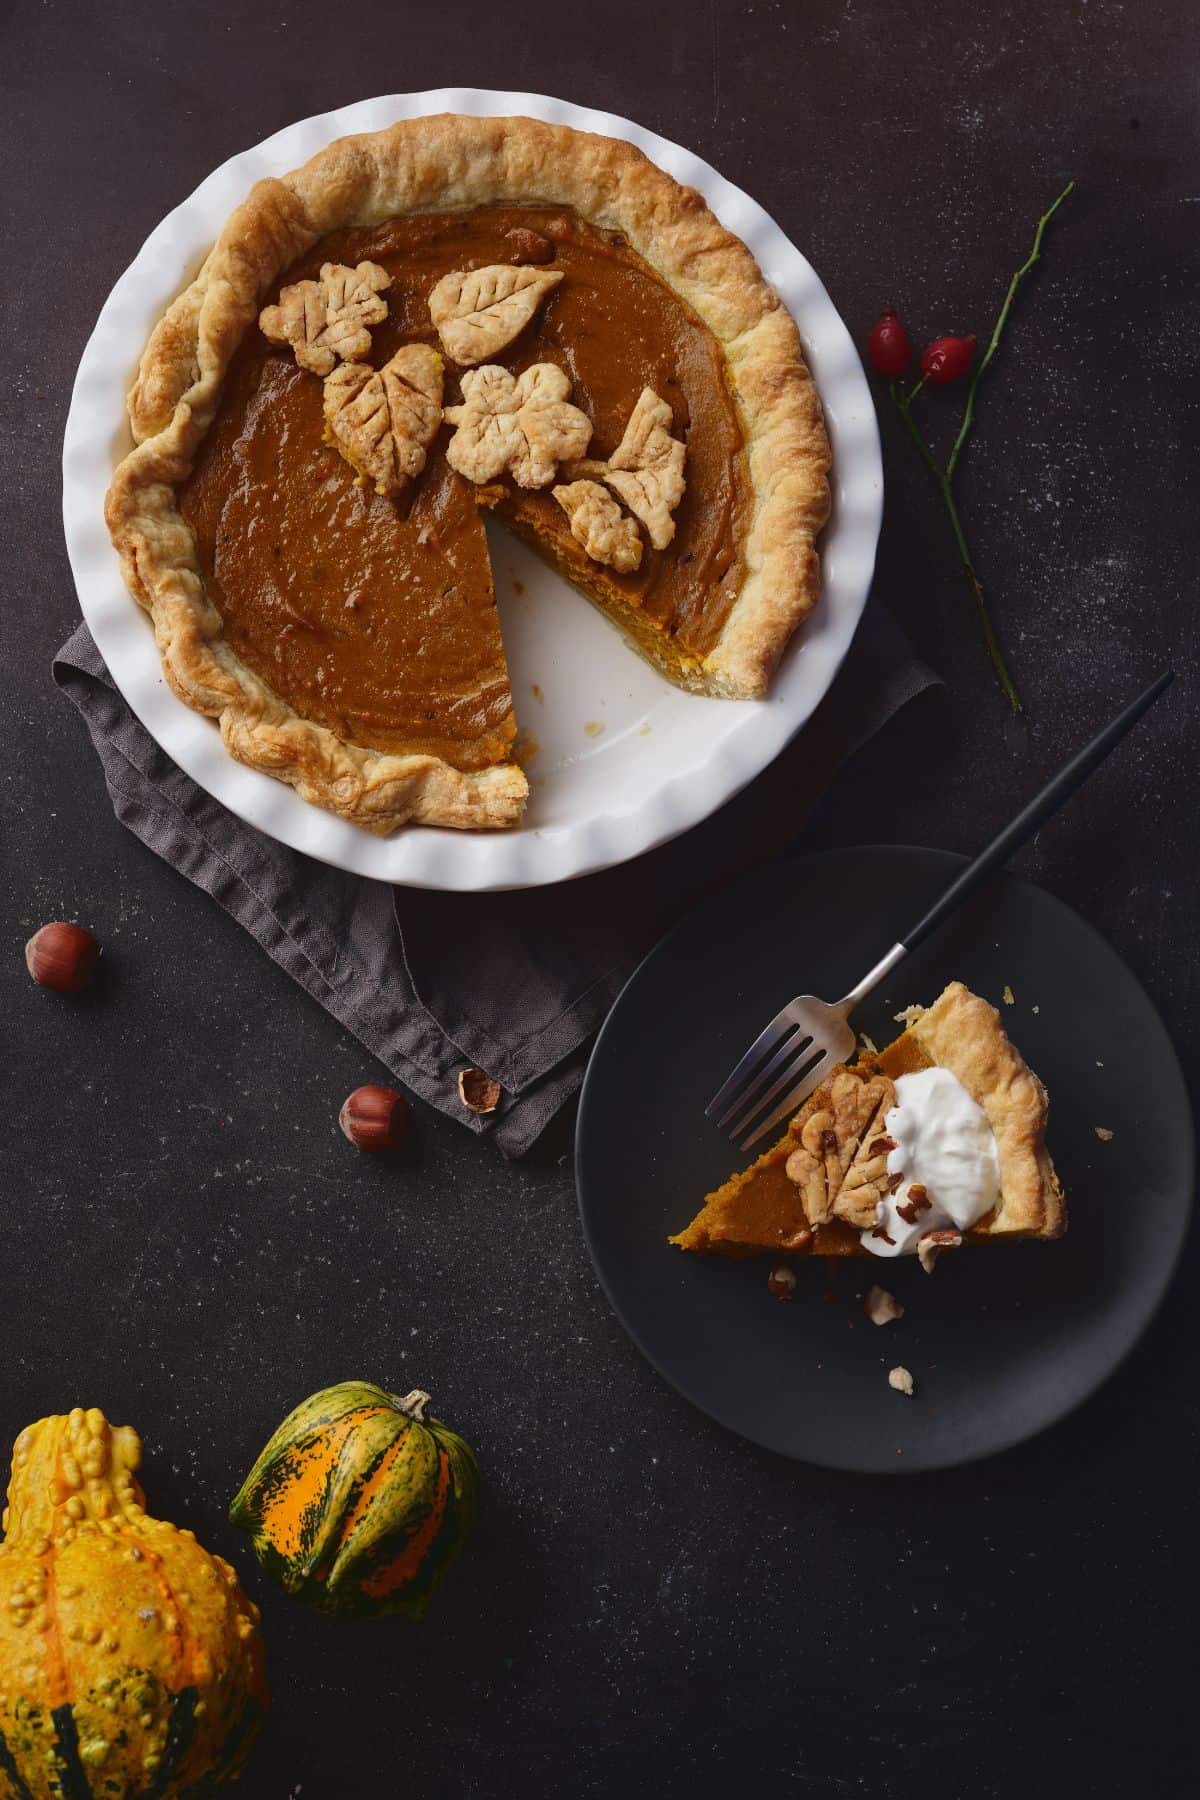
Why Make This Old-Fashioned Pumpkin Pie with Real Pumpkin?
Creating pumpkin pie from scratch connects us to generations of bakers who carefully crafted their pies using real pumpkins and handed-down recipes. While it takes more time than using canned pumpkin, the process is deeply rewarding, and the results speak for themselves!
The fresh pumpkin creates a custard that’s lighter, silkier, and more flavorful than what you can achieve with canned puree. Here are 5 reasons you should consider making this recipe:
- It uses real, fresh ingredients: Using real pie pumpkins gives you complete control over the quality and freshness of your ingredients. (Bonus points if you grow them in your own garden!)
- It has superior flavor: Fresh pumpkin provides a natural sweetness and complexity that canned simply can’t match.
- It’s completely customizable: You can adjust the spice blend and sweetness to your family’s preferences.
- It’s budget-friendly: One or two pie pumpkins can yield enough puree for multiple pies (and other recipes that call for pumpkin puree).
- It can become a wonderful tradition: Connect with generations of bakers while creating precious family memories.
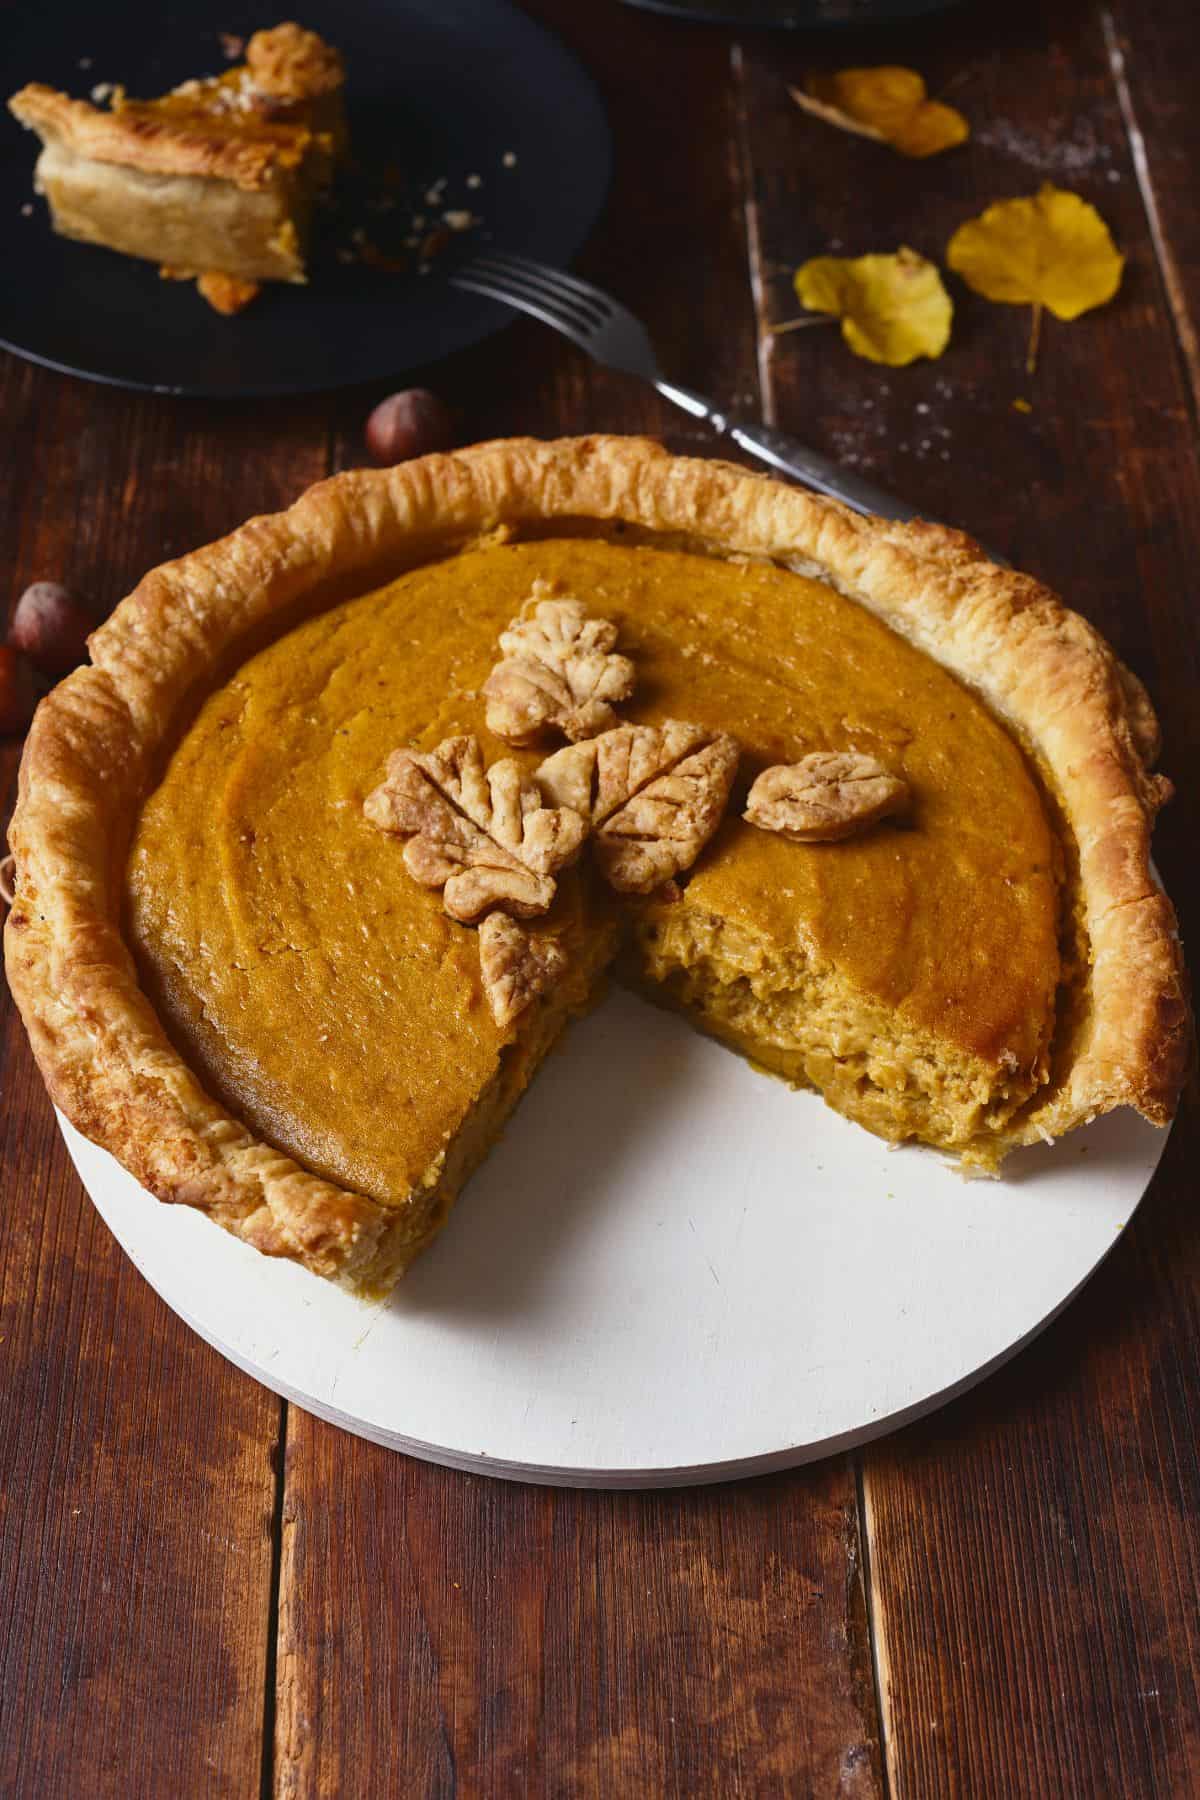
Old-Fashioned Pumpkin Pie Ingredients
- All-purpose flour: Because of their great prices, I like to buy pantry staples like organic flour, maple syrup, and vanilla extract from Azure Standard or Thrive Market. To make this pie gluten-free, use Bob’s Red Mill.
- Sugar
- Butter: We’ll use salted butter in this recipe for the pie crust.
- Eggs
- Pureed pumpkin: This recipe calls for fresh puree from real pumpkins, but if you don’t have the time, canned pumpkin will work, too.
- Light brown sugar
- Half-and-half: If you don’t have half and half, you can use milk or heavy cream.
- Ground cinnamon, ginger, allspice, and freshly ground nutmeg
- Salt
Old-Fashioned Pumpkin Pie Variations
- Dairy-free version: Replace half-and-half with full-fat coconut milk for a dairy-free alternative.
- Gluten-free adaptation: Use your favorite gluten-free pie crust recipe, premade gluten-free crust, or gluten-free flour.
- Spice variations: Customize the spice blend by adding cardamom or increasing the ginger for more warmth.
- Sugar options: Substitute maple syrup for half the brown sugar for added depth of flavor.
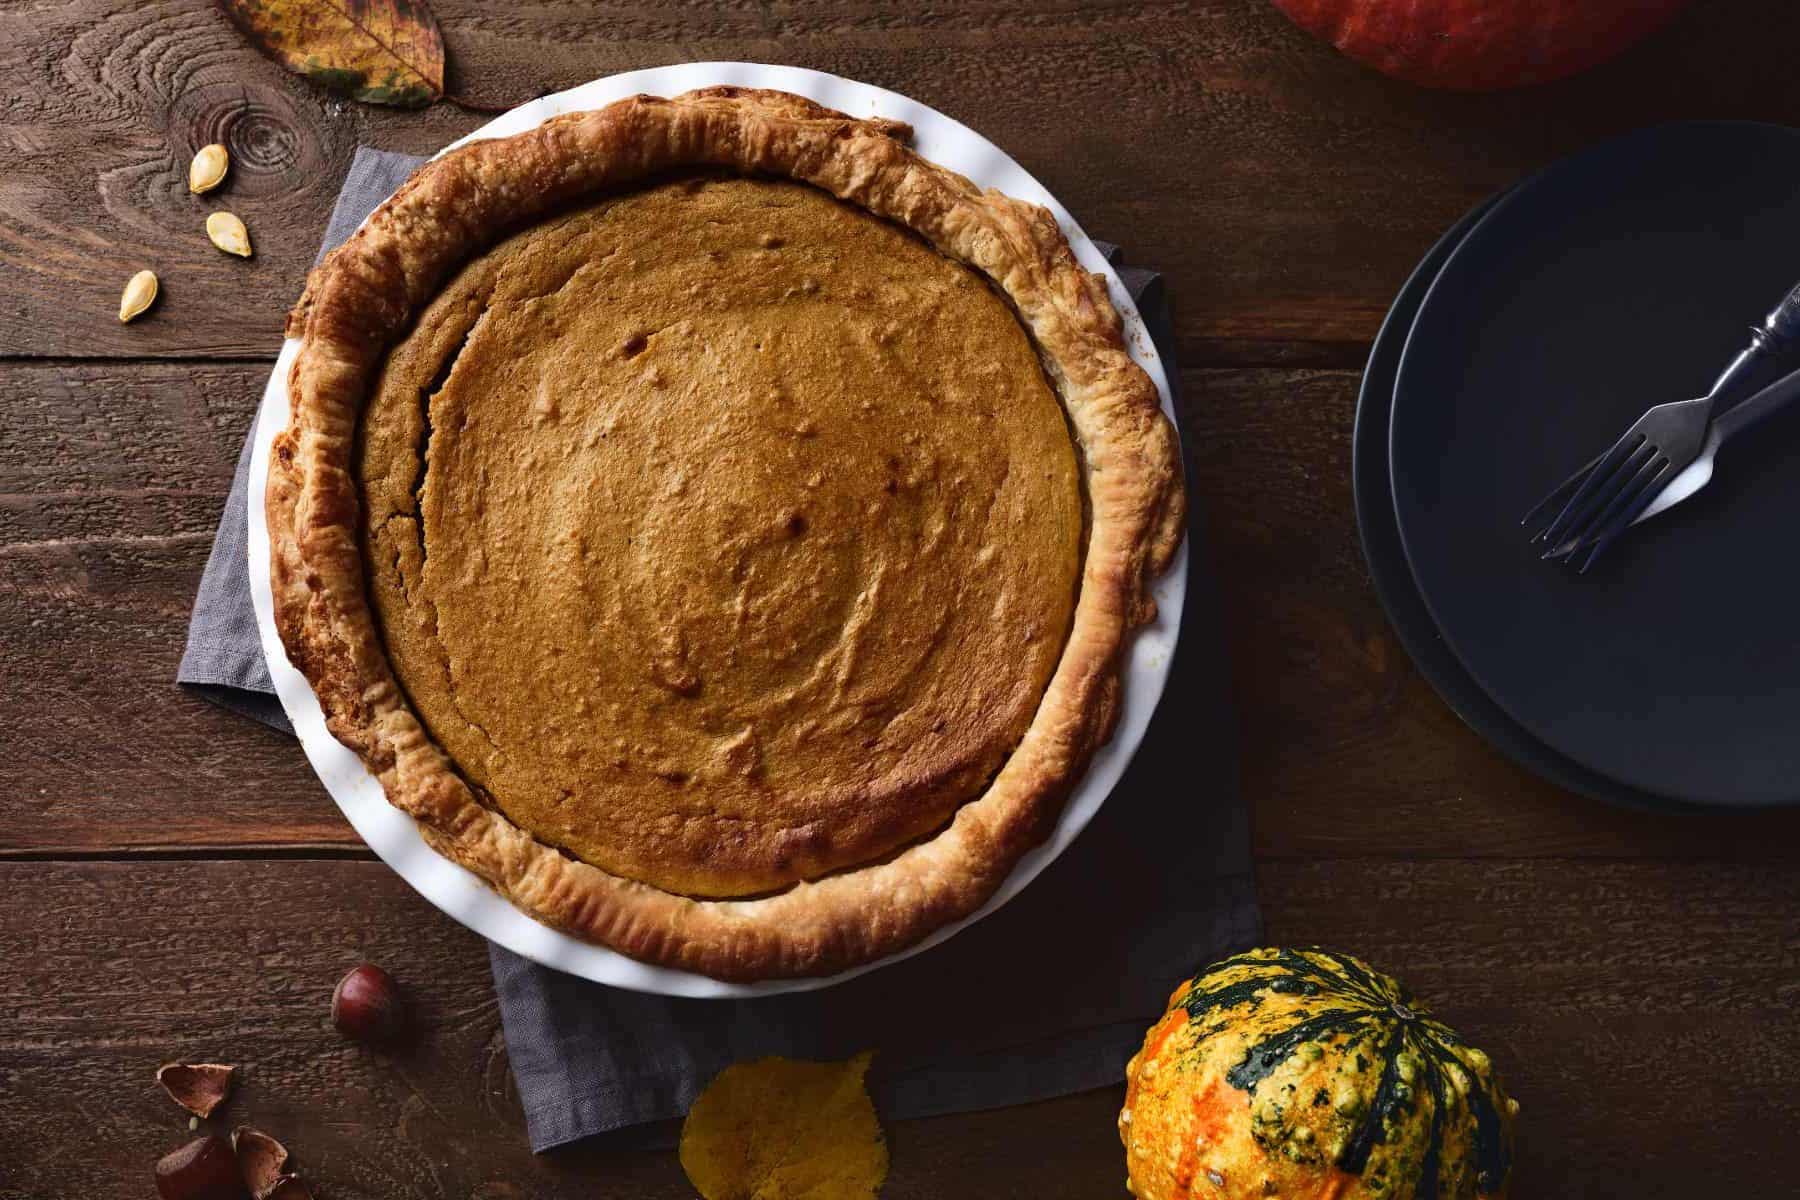
Choosing the Perfect Pie Pumpkin
When it comes to choosing a pumpkin, selecting the right pumpkin is important.
Look for small pie varieties, like sugar pumpkins, that typically weigh between 2-4 pounds. Avoid ornamental varieties and large pumpkins (these are grown for size and looks, not flavor!). Instead, choose those that are labeled as “pie pumpkins.” These are the small, dense ones that are rich in color. They will be sweet and flavorful!
Pro tip: I’d recommend buying at least two to make sure you have enough pumpkin once it is roasted.
Making the Perfect Pumpkin Puree
Creating your own pumpkin puree is surprisingly simple, though it does require some time. One medium pie pumpkin (about 2½ pounds) typically yields about 1¾ cups of puree—equivalent to a 15-ounce can.
I always recommend roasting at least two pumpkins, so you’ll have extra puree for other fall recipes or to freeze for later use. The key to silky-smooth puree is proper roasting and thorough blending.
Don’t skip the blending step, as it ensures your pie filling will have that perfect, creamy consistency.
Pumpkin Puree Cheat Sheet
- 2½-pound pumpkin = 1¾ cups puree (equivalent to one 15-ounce can)
- 3½-pound pumpkin = 2½ cups puree
- 5-pound pumpkin = 2¾ cups puree
- 6-pound pumpkin = 2¾ cups puree
Tips for Pie Crust Success
Here’s where we can all channel our inner baker! A flaky, tender crust is essential for the perfect pumpkin pie. Here are my tried-and-true tips for success:
- Keep everything cold: Cold butter and ice water are crucial for a flaky crust.
- Don’t overwork the dough: Mix just until the ingredients come together.
- Let it rest: Chilling the dough for at least an hour allows the gluten to relax.
- Par-baking matters: This extra step prevents the dreaded “soggy bottom.”
- Use pie weights: They help maintain the crust’s shape during par-baking.
Storage and Make-Ahead Tips
One of the beauties of this recipe is how well it works with make-ahead preparation. The pumpkin puree can be made up to three days in advance when stored in an airtight container in the refrigerator. For longer storage, freeze it in freezer-safe containers or ice cube trays for up to six months.
The pie crust dough can be made and frozen for up to three months—just thaw overnight in the refrigerator before using. The completed pie can be made a day ahead and stored at room temperature, covered loosely with foil.
Serving Suggestions
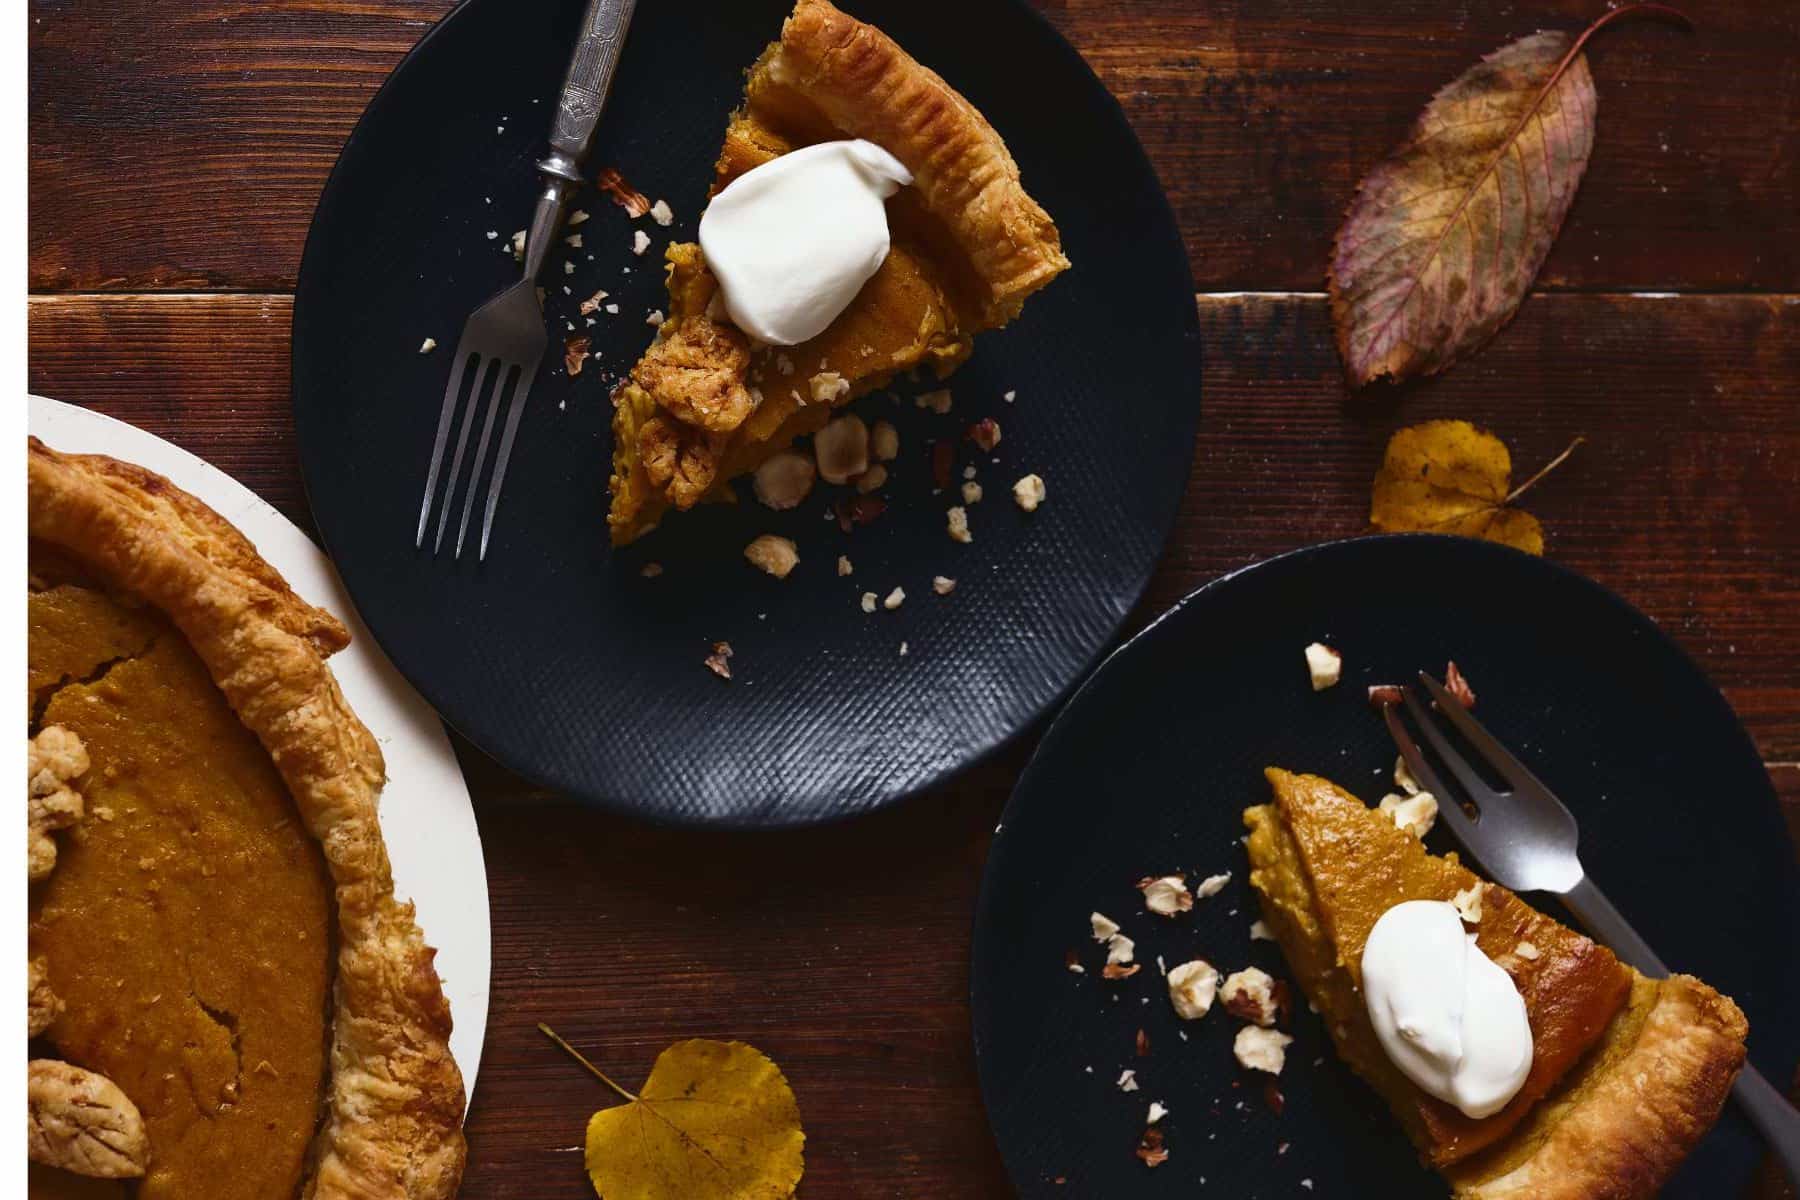
While this old-fashioned pumpkin pie is delicious on its own, there are several ways to enjoy it:
- Top with freshly whipped cream (never the canned stuff!).
- Sprinkle with additional warming spices like cinnamon or nutmeg.
- Serve slightly warm with a scoop of vanilla ice cream.
- Drizzle with caramel sauce for extra decadence.
- Garnish with candied pecans for a bit of crunch.
I hope you love this recipe!
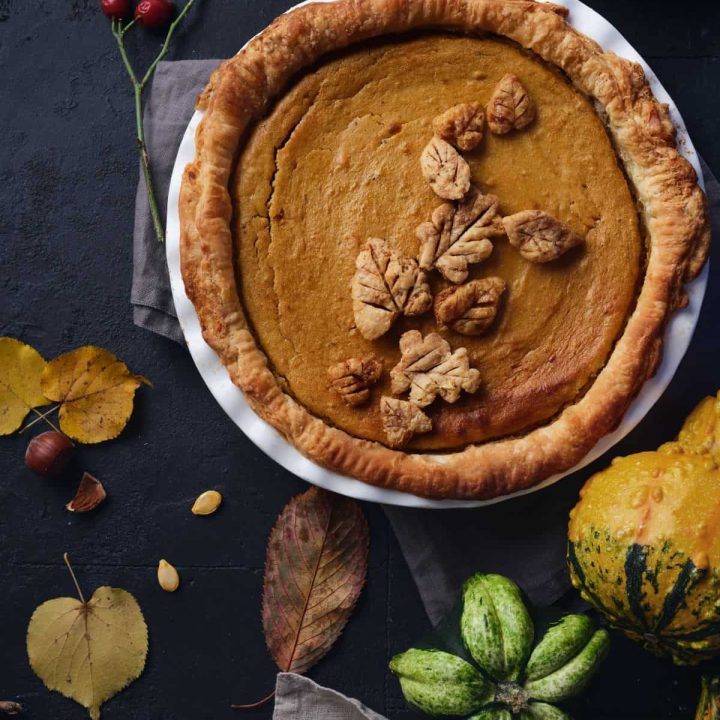
Old-Fashioned Pumpkin Pie with Real Pumpkin
This classic old-fashioned pumpkin pie recipe uses real pumpkin for a silky-smooth, deeply flavorful dessert that's perfect for special occasions or simply celebrating autumn.
Ingredients
Crust
- 1&1/4 cups all-purpose flour
- 2 teaspoons sugar
- 1/2 cup cold salted butter (1 stick), diced
- 1 large egg, lightly beaten
- Flour for rolling the dough
Pie
- 2 cups pureed pumpkin
- 3/4 cup packed light brown sugar
- 3 eggs, lightly beaten
- 1&1/4 cups half-and-half
- 1&1/2 teaspoons ground cinnamon
- 1/2 teaspoon salt
- 1/2 teaspoon ground ginger
- 1/2 teaspoon ground allspice
- 1/4 teaspoon freshly ground nutmeg
Instructions
To make the pumpkin puree
- Preheat your oven to 375.
- Wash your pumpkin with soap and water, then pat dry.
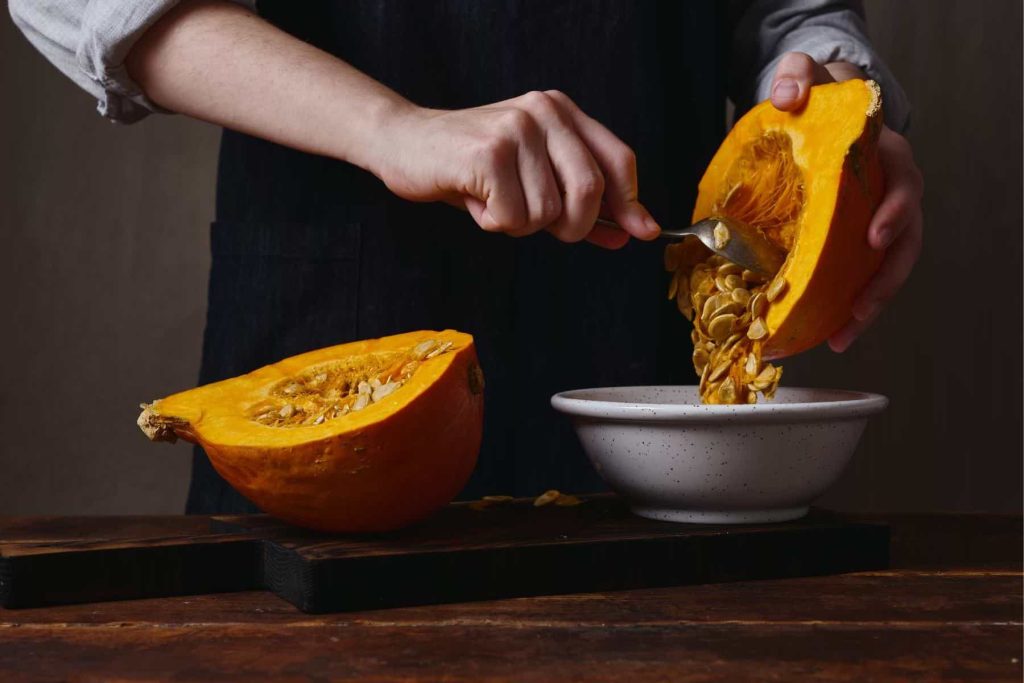
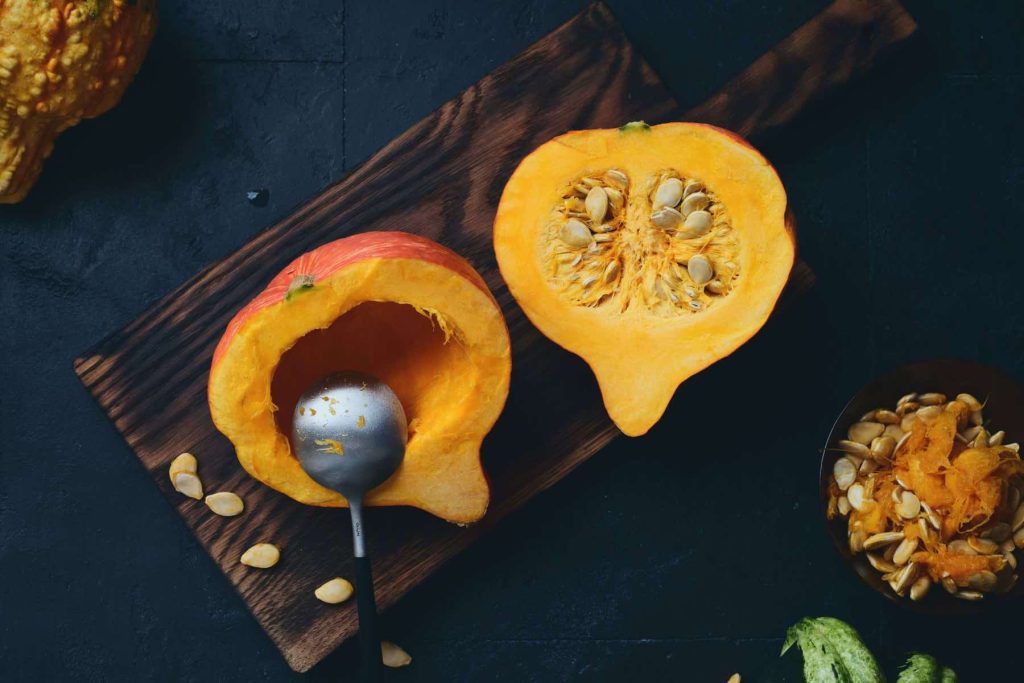
- Cut the pumpkin in half and scoop out the sides. Place the seeds in a bowl to roast later!
- If your pumpkin is a larger size, you can cut each half into halves again to make quarters. This is optional and helps the pumpkin cook more easily.
- Arrange the pumpkin pieces in a single layer, skin side up, on a baking sheet, then cover with foil or an upside-down baking dish.
- Bake the pumpkin, covered, for 1 hour or until the pulp is tender when poked with a fork. Let the pieces cool until easy to handle.
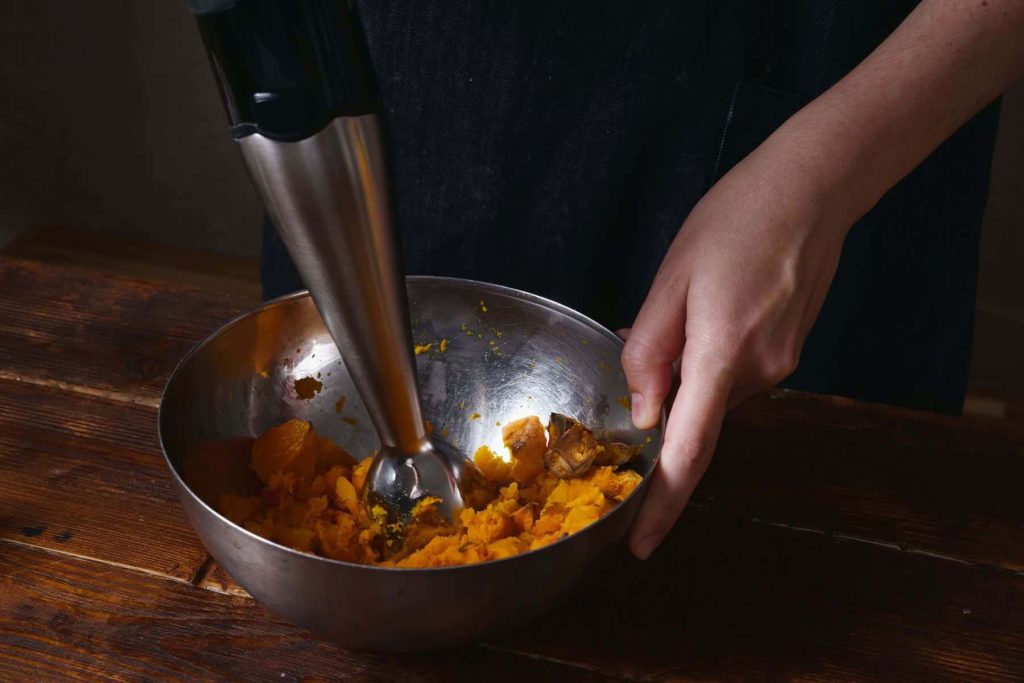
- Once cooled, scoop the pumpkin pulp from the rind and blend it until smooth in a food processor or blender. (This step is essential to achieve the correct consistency!)
To make the crust
- In a medium bowl, whisk together the flour, sugar, and salt. Using your fingers or a biscuit cutter, work the cold butter into the dry ingredients until it is crumbly with bean-sized bits of butter. (If the flour/butter mixture gets warm, put it in the fridge for about 10 minutes.)
- Add the egg and stir the dough together to form a ball. If the dough feels too dry, sprinkle up to a tablespoon of cold water on it.
- Wrap the dough with plastic wrap, and refrigerate until thoroughly chilled, for at least 1 hour.
- Once chilled, roll the dough out onto a lightly floured surface. Roll into a 12-inch circle about 1/8-inch thick. Then, transfer it to a 9-inch pie pan and trim the edges, leaving about an extra inch hanging over the edge. Tuck the overhanging dough underneath itself to form a thick edge that is even with the rim. Flute the edge with a fork, if desired. Freeze the pie crust for 20-30 minutes.
To par-bake the crust
- Preheat the oven to 400 degrees. Cover the pie crust with parchment paper or foil, then fill the middle with dried beans or pie weights. Bake the crust in its dish on top of a baking sheet on the center rack until the dough is set, about 20 minutes.
- Remove from the oven and lift the sides of the parchment to remove the beans. Continue baking until the pie shell is lightly golden brown, about 5-10 more minutes. Cool on a rack.
To bake the pie
- Lower the oven temperature to 350.
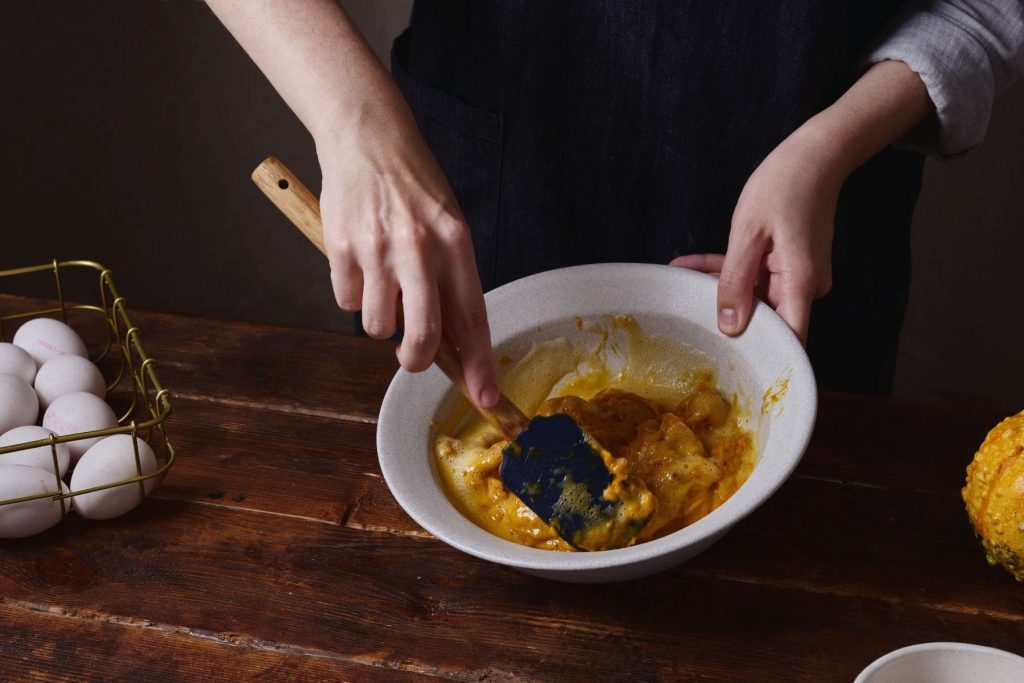
- While the pie crust is cooling, make the filling. In a large bowl, whisk together the pumpkin, brown sugar, eggs, half-and-half, spices, and salt until smooth. Return the pie crust to the baking sheet and pour in the filling.
- Bake on the lower oven rack until the edges of the filling are set, but the center is still slightly loose, about 50 to 60 minutes. (If the edges get very dark, cover them with aluminum foil.) Cool on a rack.
Notes
- I always roast and puree the pumpkin ahead of time. Store the puree in an airtight container in the refrigerator for up to 3 days, or freeze it in freezer-safe jars or whiskey cubes for up to 6 months. Thaw the puree in the refrigerator overnight before using it.
- To decrease the prep time, you can use a store-bought pie crust OR make your crust a few days in advance and freeze or refridgerate it.
Recommended Products
As an Amazon Associate and member of other affiliate programs, I earn from qualifying purchases.

