Easy Yeast Roll Recipe Your Family Will Love
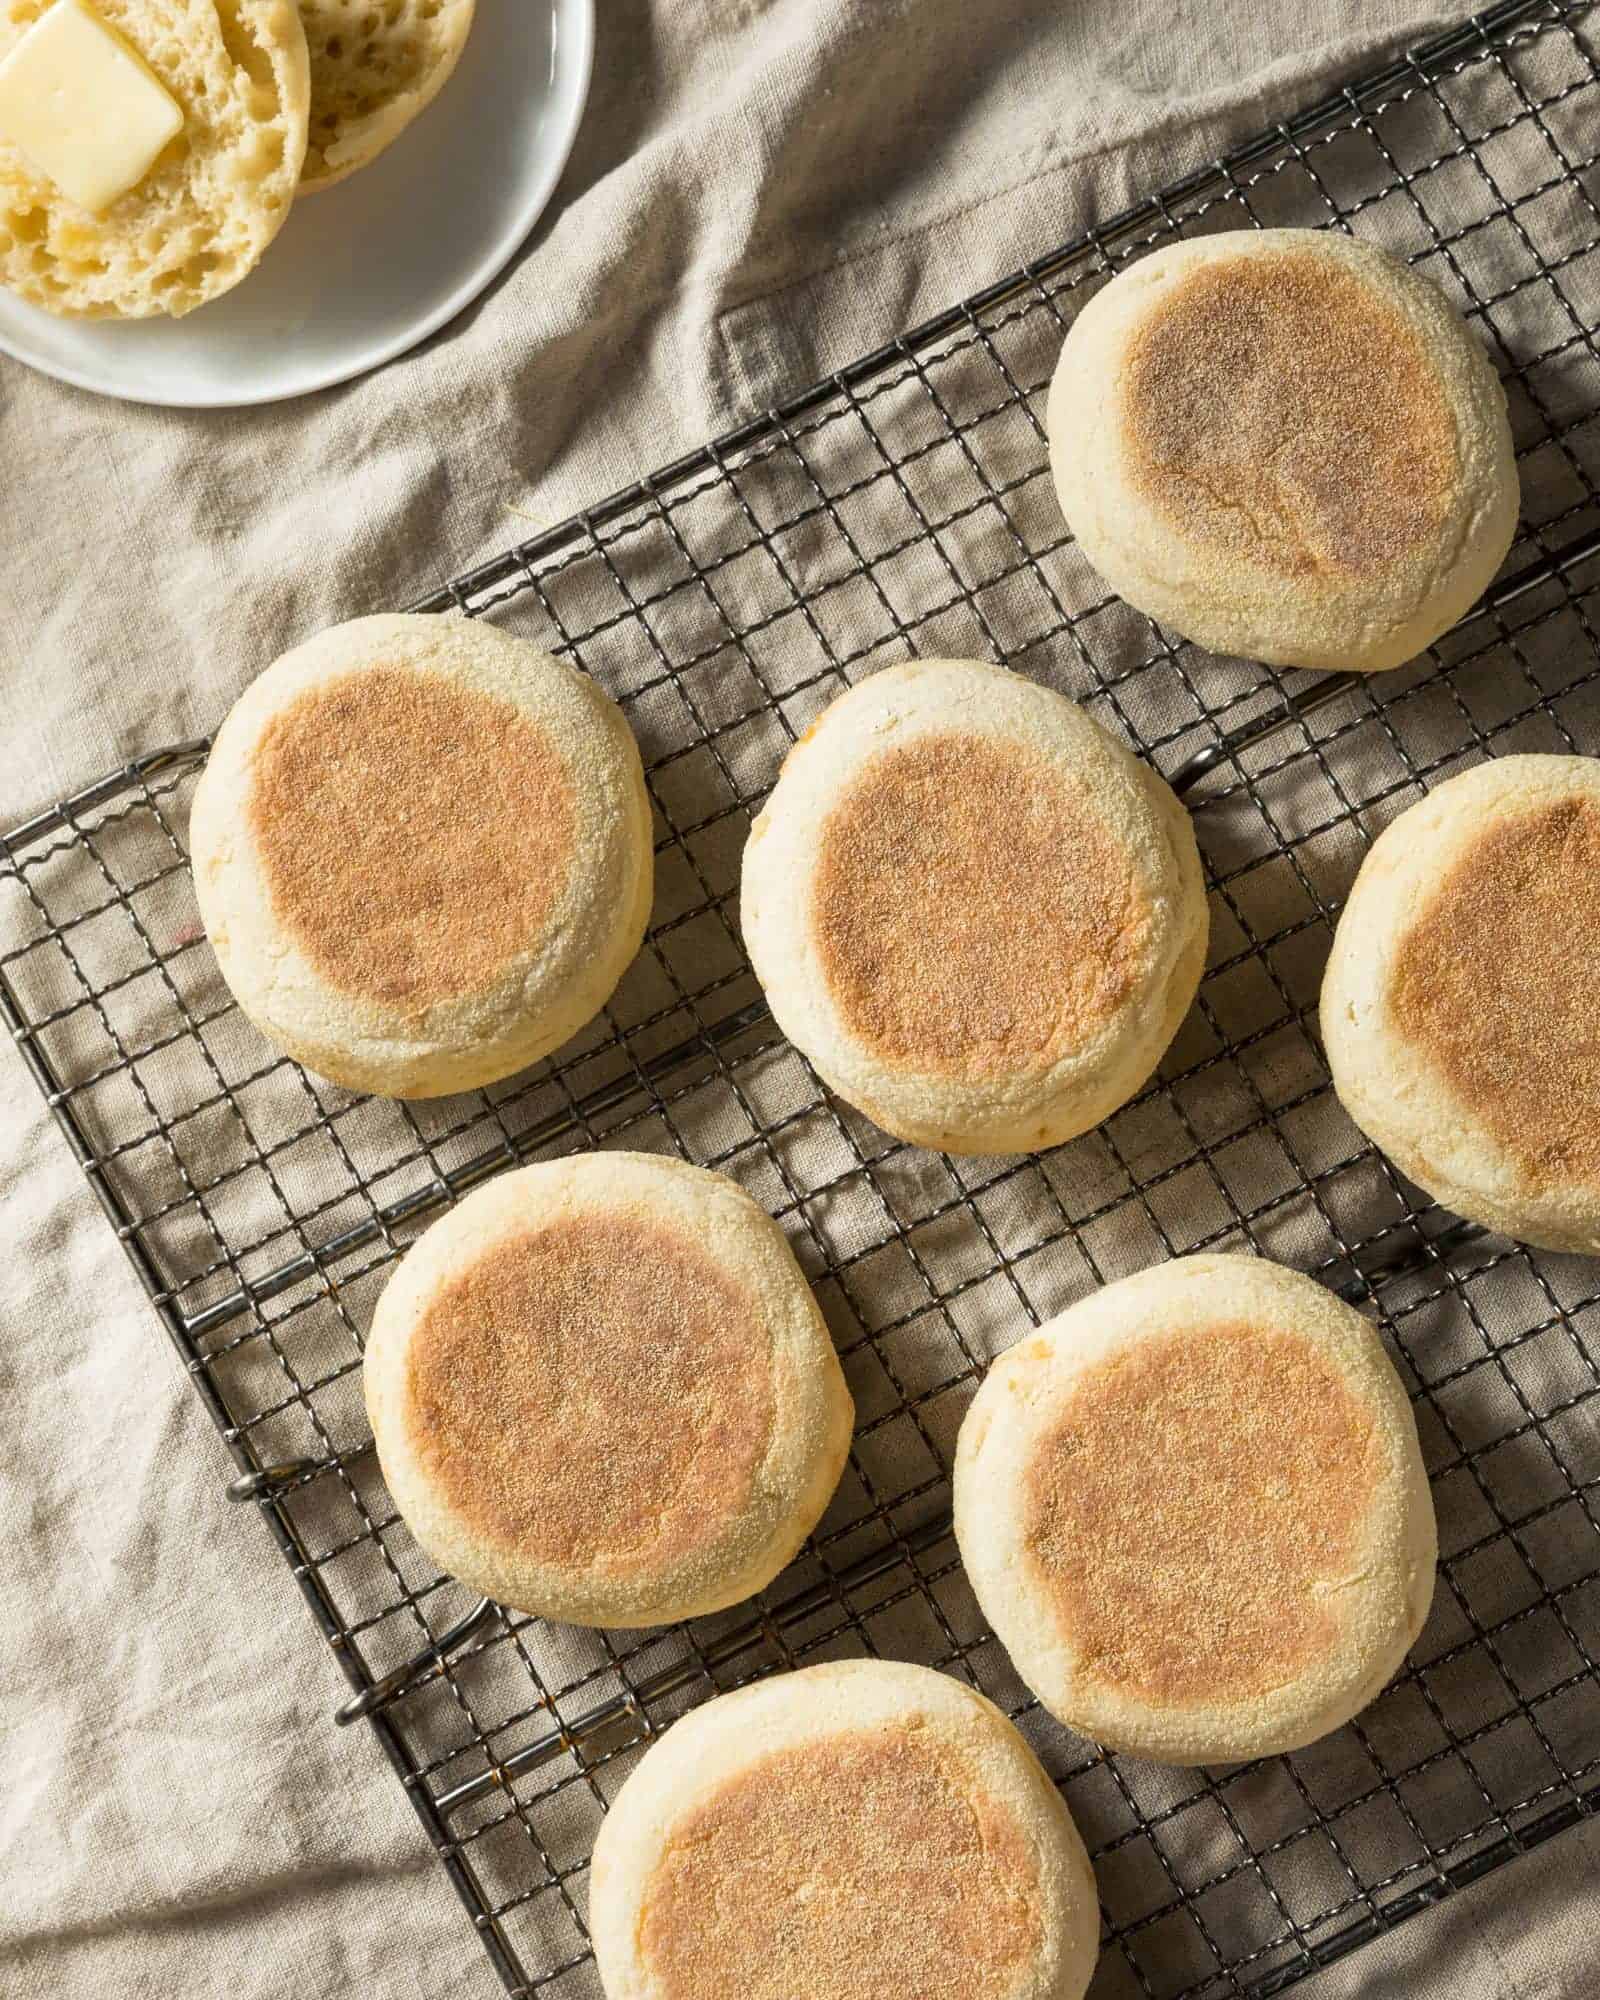
This easy yeast roll recipe is delicious and will quickly be a favorite in your household! Using conventional yeast, this is a recipe that even a beginner baker can easily master. Plus, these easy yeast rolls are versatile so you can use them for multiple needs!
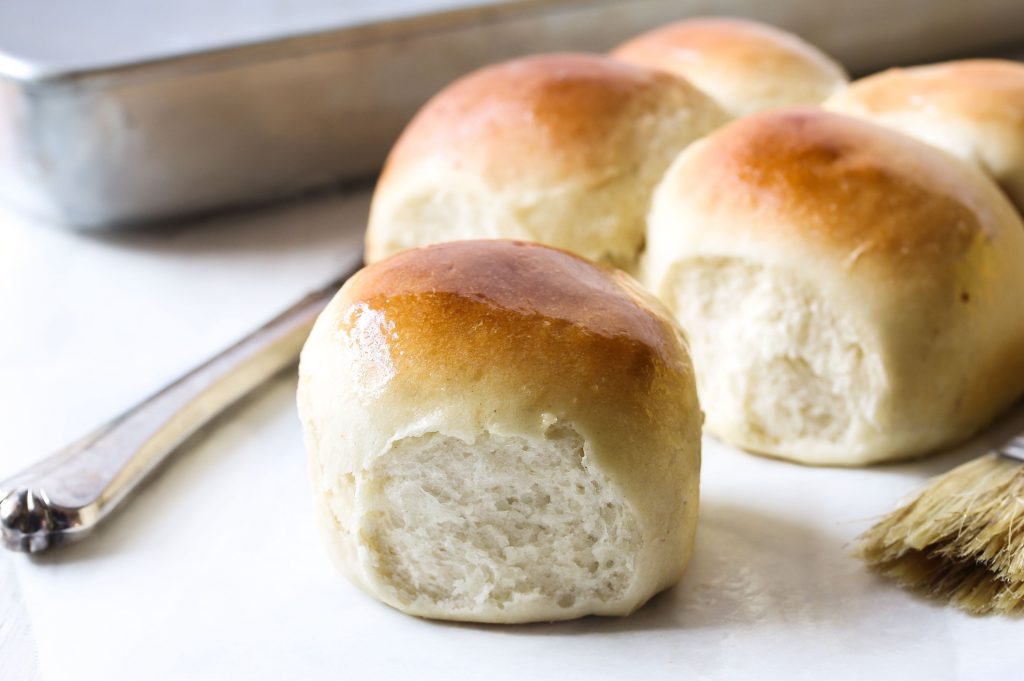
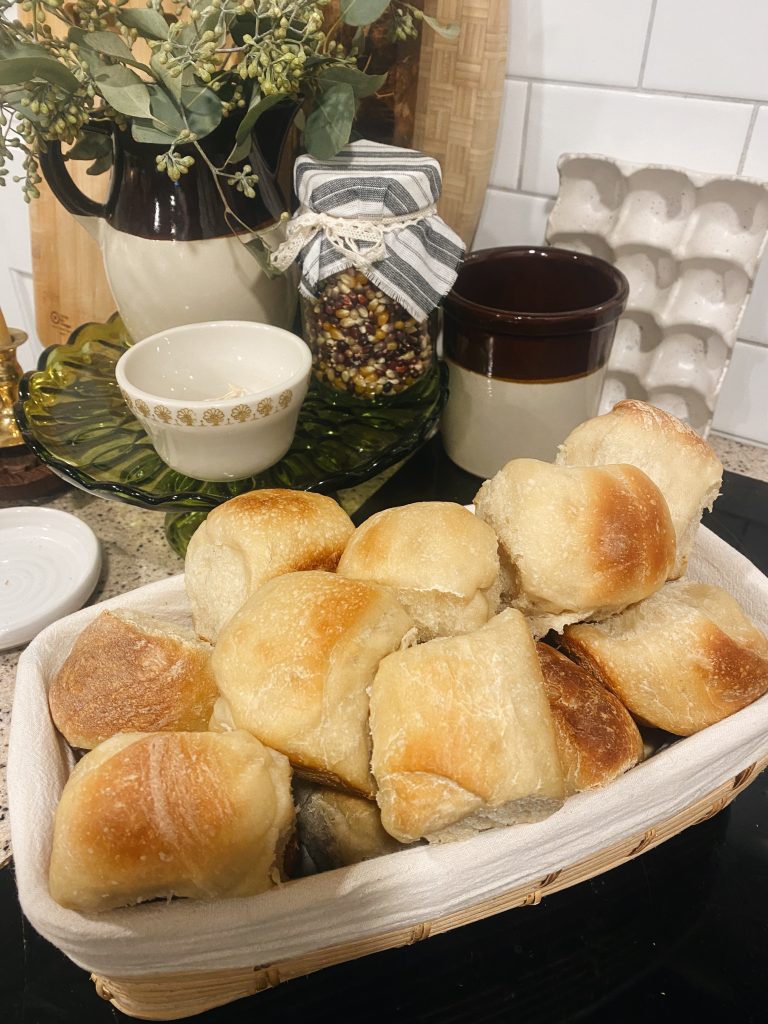
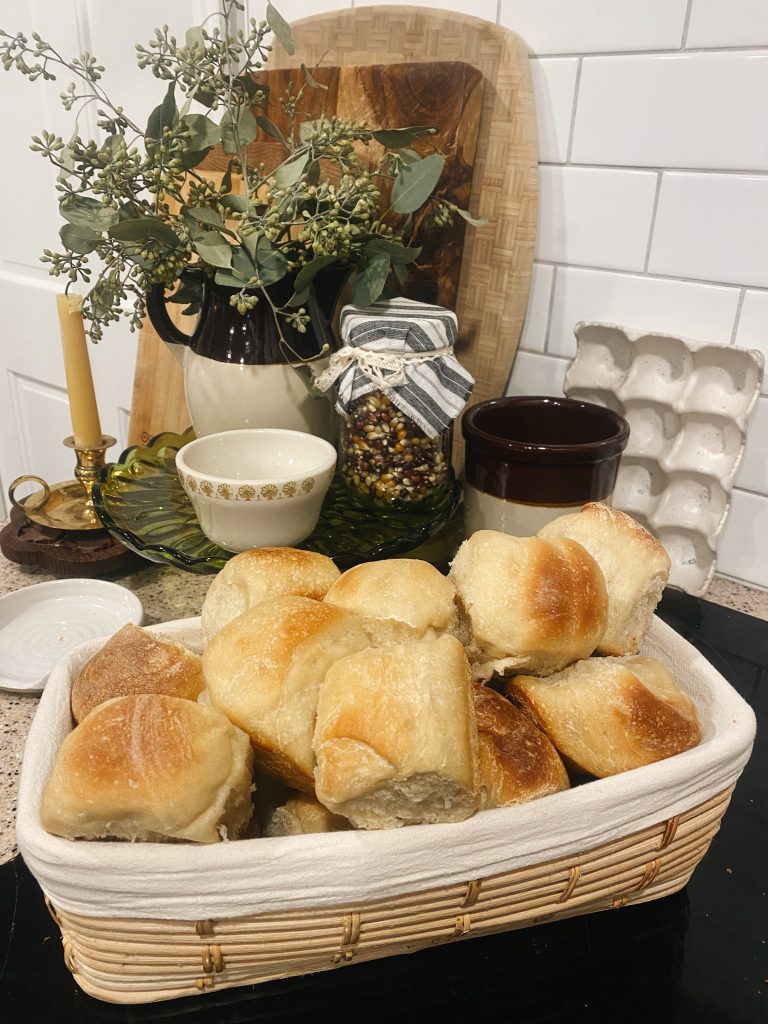
These yeast rolls (also called bread basket rolls!) are a staple in our household. We love to have them with soups and stews, as a bun for slider hamburgers or BBQ chicken sandwiches, or even toasted with butter and jam as a breakfast side! The recipe is simple and straightforward and so so tasty. All of my children love these, and because the recipe is easy, we make them frequently. These yeast rolls are also a huge hit anytime we take food to a friend or host a family gathering or a dinner party.
Why make this easy yeast roll recipe?
Making your own breads is a great way to shift towards a healthier diet. Store-bought baked items typically contain seed oils, preservatives, and many other less than ideal ingredients. Plus, store-bought breads are more expensive than making your own!
If you’ve never made your own bread or rolls, aren’t quite ready to tackle sourdough, or don’t have the time for sourdough rolls to ferment, these yeast rolls are a great substitute!
This easy yeast roll recipe is just what you need. Simple, delicious, easy for beginners, better ingredients than store-bought options, and will save you money!
Baking with conventional yeast
We are big fans of sourdough in our house, but sometimes you need a recipe that rises more quickly. This is why I also love baking with conventional, packaged yeast!
Having packaged yeast on hand allows us to be more flexible during busier seasons of life (and also when dinner prep just slips off the list!). We use it for rolls, overnight bread, and even pizza crust sometimes!
Packaged yeast comes in both packets and jars. The packets are for a single use, and to make the equivalent of one packet, you would use 2&1/4 tsp of yeast from a jar. Either works just fine, but I like to purchase the jars so I get multiple uses from them. When not using your jar of yeast, store it in the refrigerator or unopened in the freezer to extend the shelf life.
Which type of yeast to choose
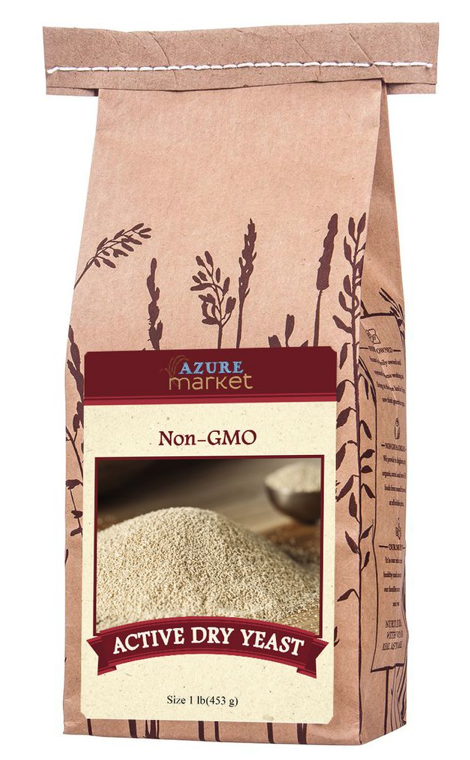
When you go to purchase yeast, you will find two types: Active Dry Yeast and Fast Acting (or Rapid Rise) Dry Yeast. Either of these products will be fine for this recipe (and other yeast-based bread recipes).
I personally use the Rapid Rise Yeast as it rises faster. I have used Active Dry Yeast, however, and simply let the rolls have a longer rise time. If I have the time, I prefer to make sourdough, so to me the rapid rise yeast is the better option!
Easy Yeast Roll Recipe Tips
- Don’t over-heat the liquid or you could kill the yeast. You want your liquid to be the temperature of warm bath water. If you heat it too much, simply let it cool before adding it to your yeast and flour mixture.
- Make sure you give the rolls time to rise. In the warmer months, you can get away with shorter rise times. When it is colder outside and in your home, the rise will take longer. You can speed this up if needed by placing the rolls in a warm place – the top of the dryer, near a heater, in a window.
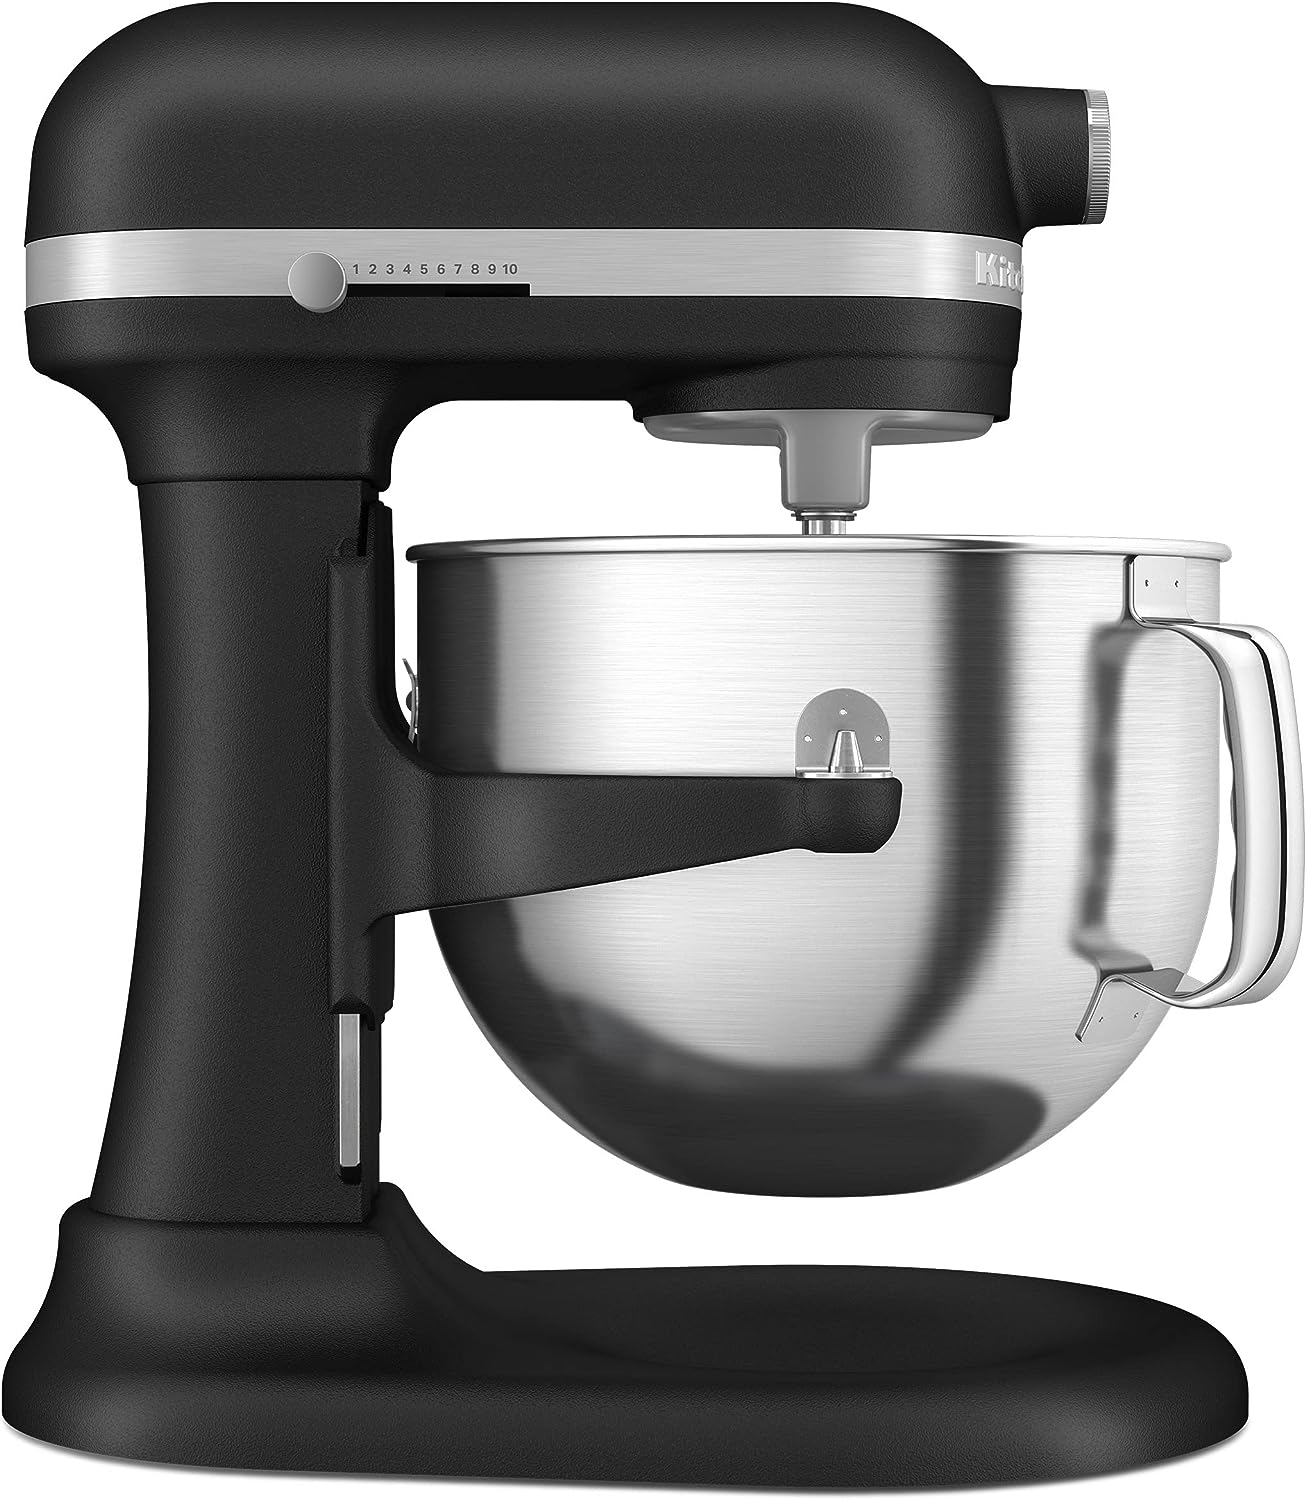
- Consider a stand mixer for easy kneading. Note though that this is NOT necessary! I have absolutely made these without a mixer. In fact, I routinely make them on vacation or while camping because they are crowd pleasers.
- Store unused yeast in the refrigerator to extend the shelf life.
- You can easily make these ahead of time and freeze them! I bake them and allow them to cool fully, then flash freeze overnight. (Pull the rolls apart and place them on baking sheet in the freezer to flash freeze.) Once frozen, transfer to a zip top bag or other freezer-safe container for up to six months.
Easy Yeast Roll Recipe
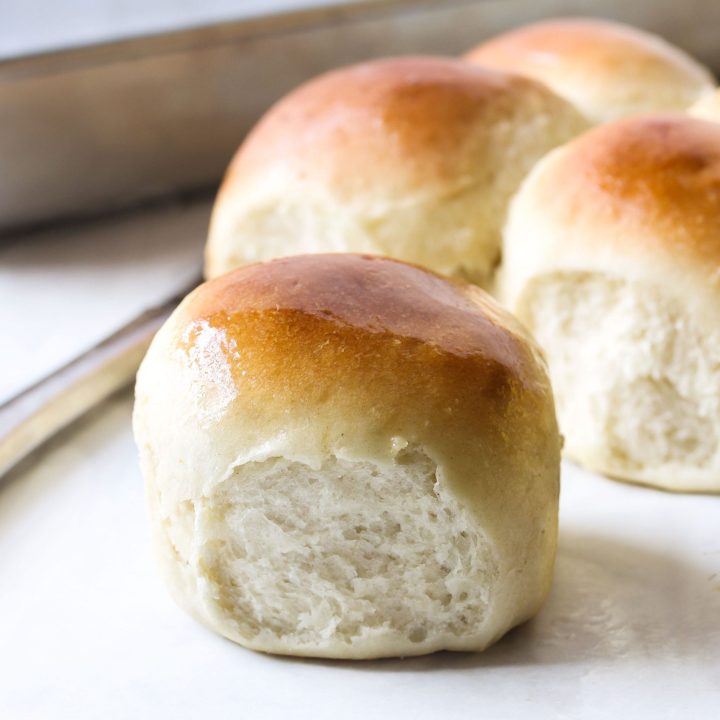
Easy, delicious yeast rolls that are a family hit
and great for beginners!
Ingredients
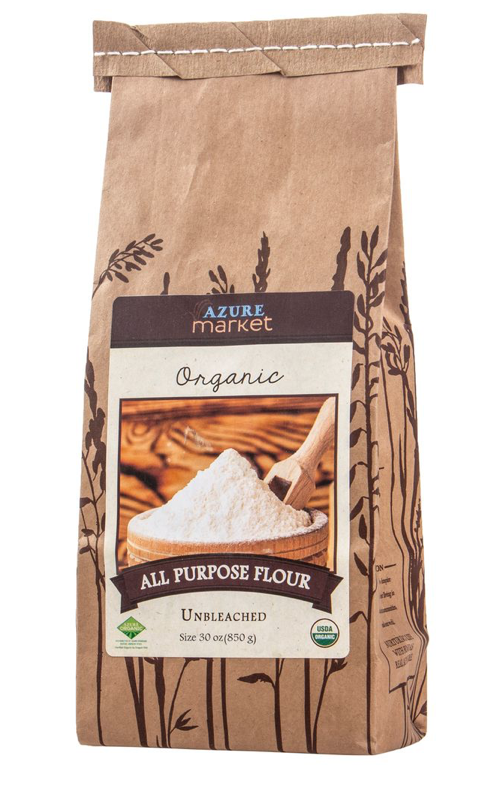
- 2 cups unbleached, organic all-purpose flour
- 2 & 1/4 tsp rapid-rise yeast
- 2 Tbsp organic cane sugar
- 1 tsp sea salt
- 1/4 cup water
- 1/2 cup milk
- 2 Tbsp butter
Instructions
- In a medium pot over medium heat, add the water, milk, and butter to simmer until about the temperature of bath water. Alternatively, you can microwave the combination for about a minute.
- In the bowl of a stand mixer (or a large mixing bowl), combine 1 cup of flour with the yeast, salt, and sugar. Mix with the paddle attachement or whisk.
- Add the wet ingredients to the bowl of dry ingredients, and mix until completely combined and there are no clumps of flower remaining.
- If using a stand mixer, switch to the dough hook, and add the remaining flour. The dough will start to thicken and become harder to mix.
- Knead the dough in the mixer or transfer it to a lightly floured surface to knead until the dough is smooth and elastic, about 5-7 minutes.
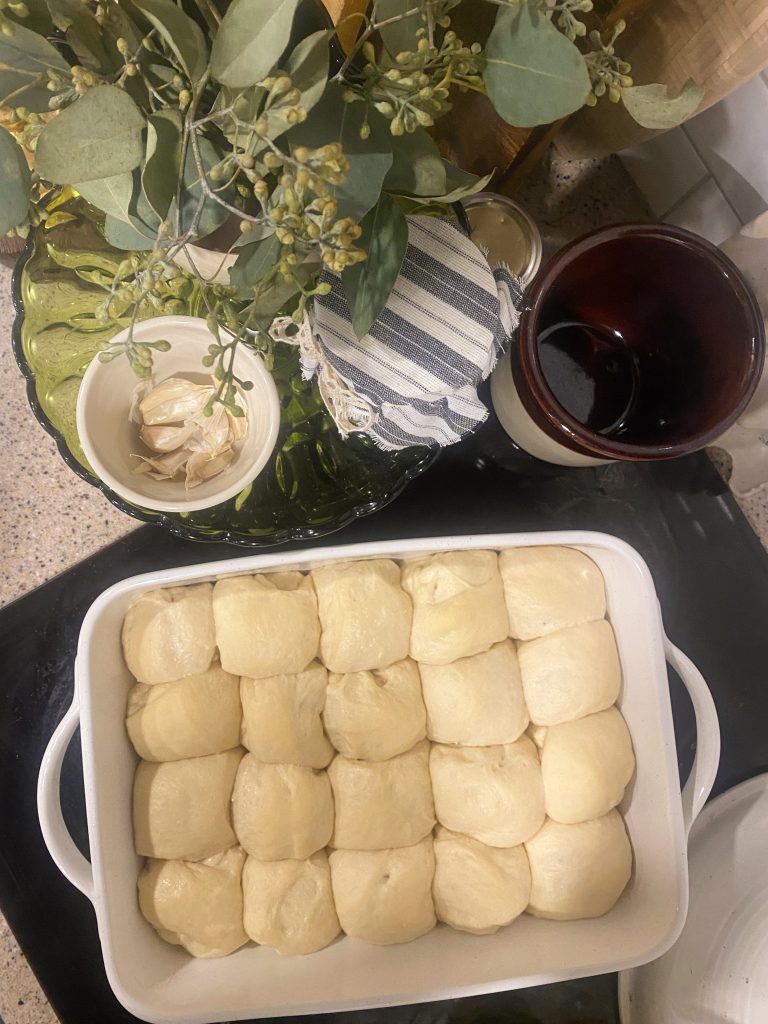
- Using a bench scraper or butter knife, divide the dough into 12 equal pieces. I find it easiest to think of cutting into halves. Form a large ball, then cut it in half. Take each of those pieces and make them into a rectangle, then cut them in half. Etc.
- Roll each piece into a small ball, tucking the dough around itself, then place them into a lightly oiled baking dish.
- Cover with a lightweight tea towel, and allow the rolls to rise for at least 45-60 minutes. If it is cool in your home, consider moving them to a warmer area for a faster and better rise.
- Once the rolls have doubled in size, you are ready to bake. Preheat the oven to 375.
- If desired, brush the tops of the rolls with melted butter to promote browning. Bake for 15-20 minutes (oven times vary slightly so check them at 15 minutes).
- Cool and serve!
Notes
- These rolls make wonderful buns for slider hamburgers! If you are using them as such, consider flattening the dough balls a bit more so your buns aren't too tall.
- If you choose to mill your own flour and use whole wheat flour, start by using 1/2 to 1 cup of whole wheat flour so as to not affect the consistency of the rolls.
- We often double this recipe and freeze the rolls. To freeze them, follow the directions all the way through. After cooling, pull the rolls apart and place them on a baking tray in the freezer to flash freeze. Once frozen, place them in a zip-top bag or freezer-safe container for up to six months.
Recommended Products
As an Amazon Associate and member of other affiliate programs, I earn from qualifying purchases.

