Easy Overnight Bread Recipe
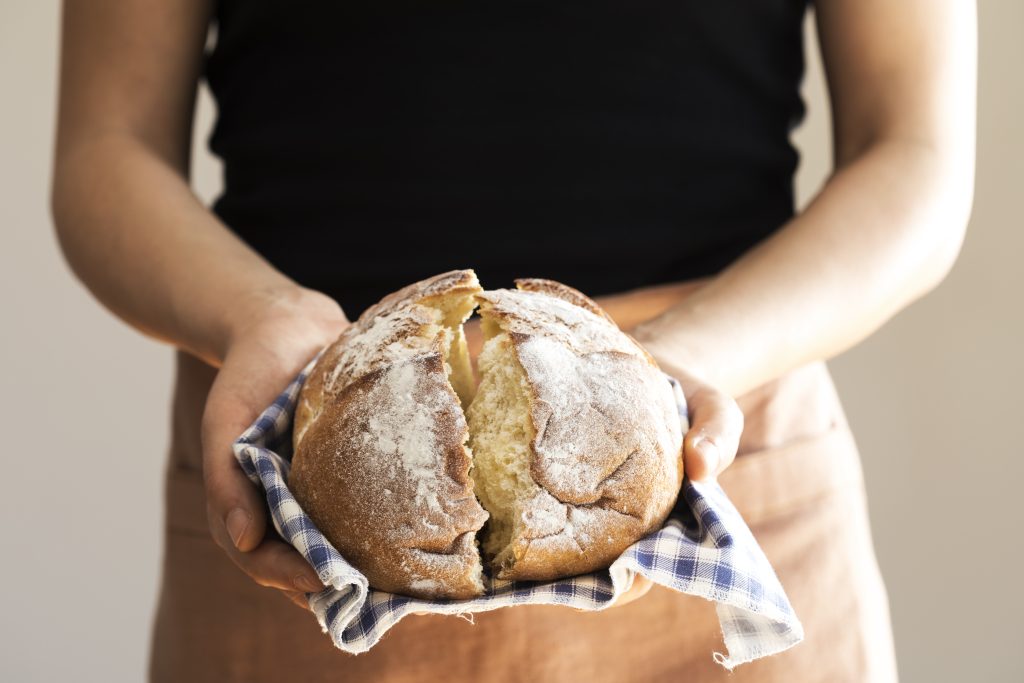
This easy overnight bread recipe uses staple ingredients and a simple process to create a delicious, crusty bread that will become a favorite in your household! Pair this overnight bread with any main dish, soup, or use it to make your favorite sandwich!
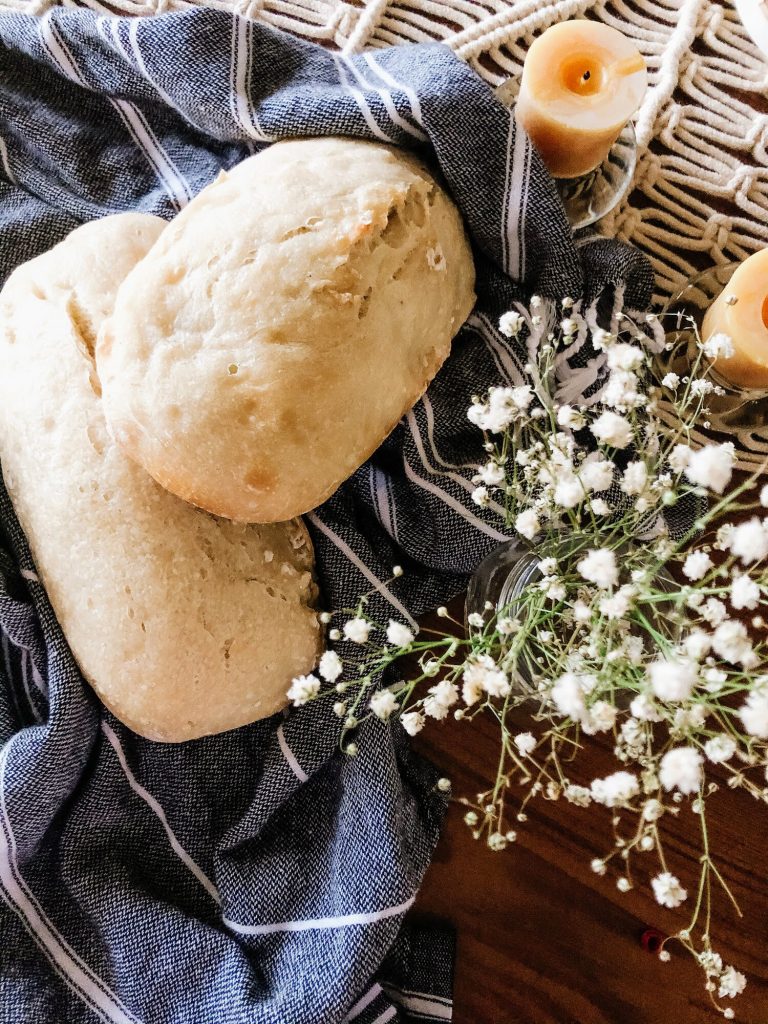
There is something so satisfying about making delicious, nourishing meals and baking from scratch. Homemade tortillas, scones, breads, soups, stews, pretty much anything I can make from scratch gives me a sense of accomplishment as a baker and homemaker! And this is not because of the work involved, but because of the love that is put into the process. This simple overnight bread recipe is no exception!
Making bread from scratch doesn’t have to be an overwhelming feat. All you need are a few simple ingredients that you likely already have on hand! This recipe is also a great introductory one for those who aren’t quite ready to tackle sourdough. It comes together quickly and easily, and it is a crowd pleaser!
Tips for making this overnight bread recipe
- Start the recipe the night before you wish to bake in order to give the bread time to rise.
- If you find you don’t have time to bake, cover your loaf with a wet towel or plastic wrap and place in the fridge until you can bake.
- Use warm water in your recipe in order to help the yeast rise.
- I prefer to use a Dutch oven, but if you don’t have one you can use a loaf pan! In order to get a good crust, you will need to add some steam while baking. To do this, simply add some ice cubes to an oven safe dish and place them on the rack below your bread.
Overnight bread using pantry staple ingredients
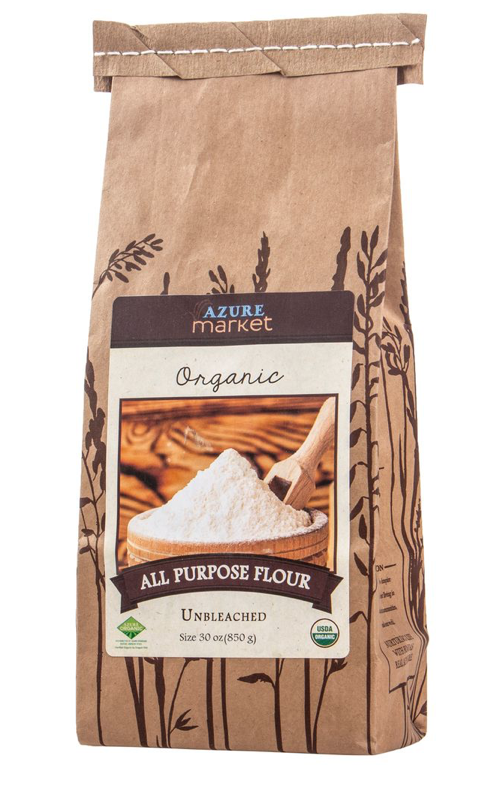
All-purpose flour: I use organic, unbleached flour from Azure Standard and love the way it bakes.
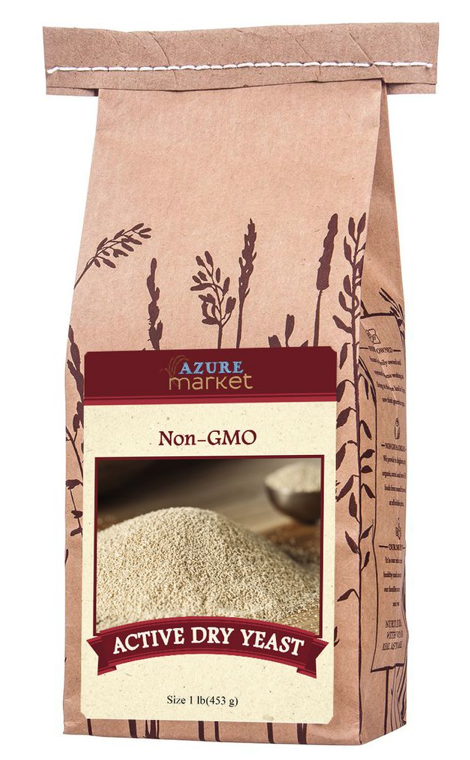
Yeast: You can use either dry active yeast or rapid-rise yeast. In colder months, the rapid-rise yeast works better in our environment. Either will work fine, so use what you have on hand!
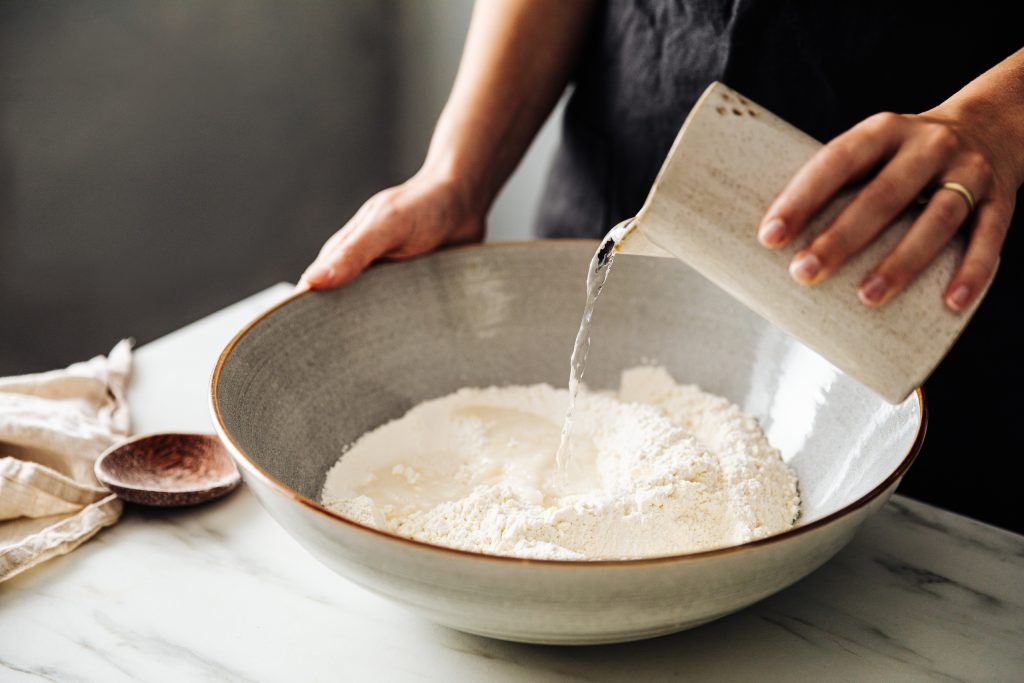
Water: Warm water (think warm bath water – not too hot!) will help activate the yeast and allow the bread to rise a bit better.
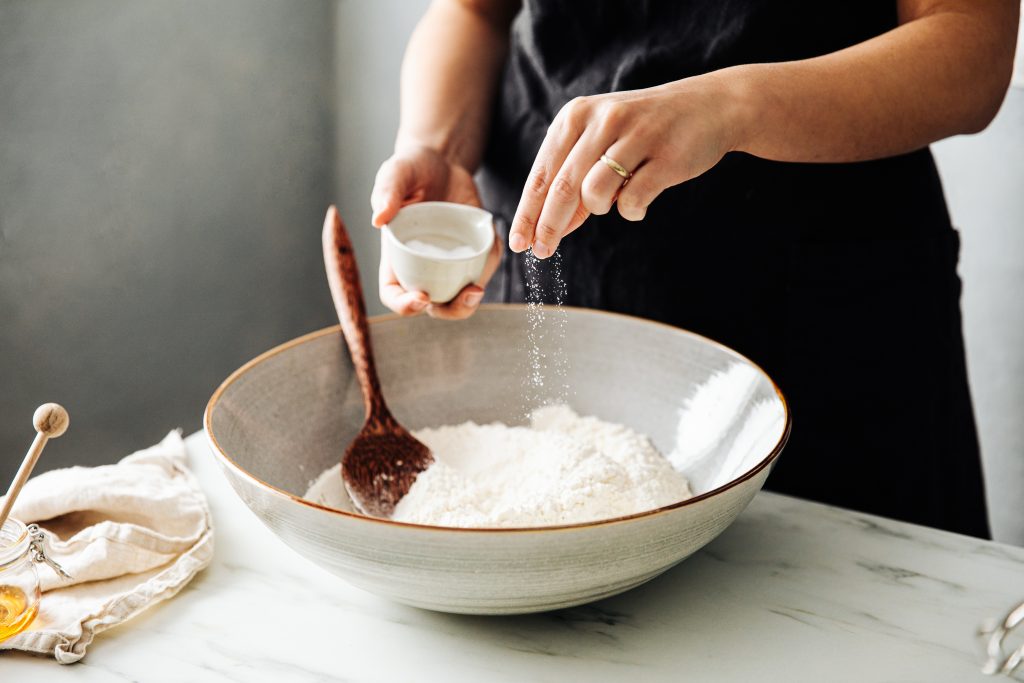
Salt: I prefer to use a pink Himalayan salt for the extra minerals. Any salt you have will do just fine!
Tips for using a loaf pan instead of a Dutch Oven
You can easily make this bread with loaf pans! I will sometimes do this to make little sandwiches or simply for something different.
After the overnight rise and kneading, divide the dough in half after it rests. Place a piece of parchment inside the bottom of a loaf pan, then set the dough inside. Lightly press the dough into the shape of the pan.
Cover with foil and bake for 30 minutes. When you place the pan in the oven, place a small, oven-safe dish with ice cubes below your loaf. After 30 minutes, remove the foil and bake and addition 10-15 until cooked through and golden.
Let cool, slice, and enjoy!
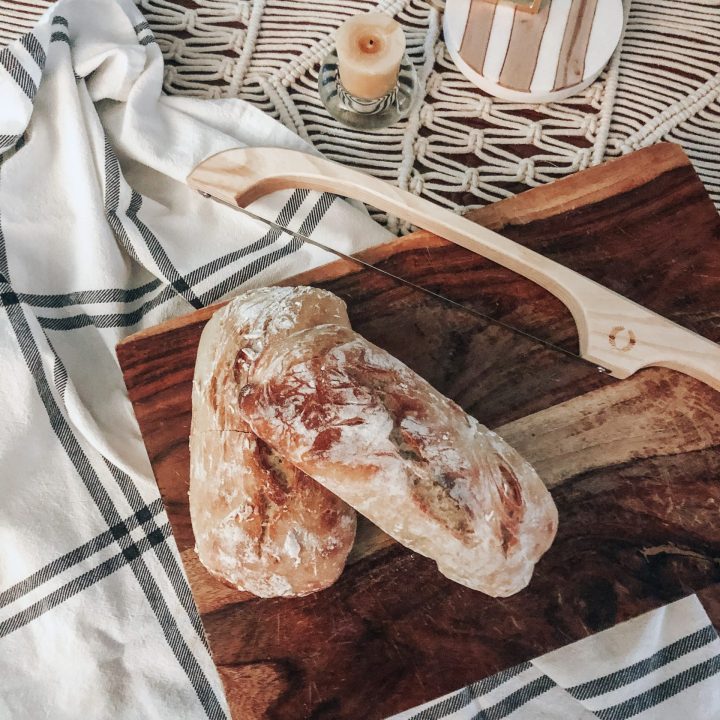
Easy Overnight Bread
This easy overnight bread recipe uses pantry staples and a simple process to create a delicious, crusty bread you will love.
Ingredients
- 3 cups unbleached, all-purpose flour
- 2 & 1/2 tsp active dry yeast
- 1 tsp pink salt
- 1 & 3/4 cup warm water
Instructions
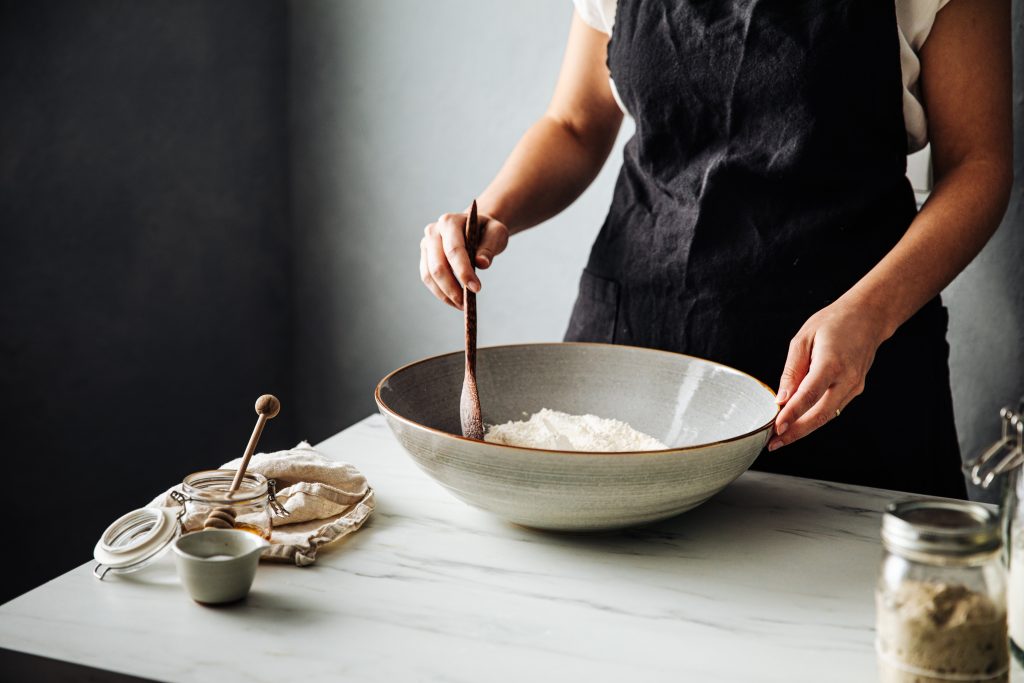
- The night before baking, combine the flour, yeast, and salt in a large bowl and mix well.
- Add in the warm water and mix until a rough dough is formed.
- Keeping the dough in the bowl, gently knead the dough until smooth. To do this, eimply cup your hand beneath the dough, and move in a slightly circular motion while rotating the bowl. Alternatively, you can remove the dough from the bowl and gently knead until the dough is smooth. This isn't absolutely necessary, but it helps with the consistency.
- Cover your dough with a damp tea towl, and let it rest on the counter overnight. If your kitchen is very cold, you can place the dough in the oven for more insulation.
- The following morning, check our dough to ensure it has doubled in size.
- When you’re about ready to bake, dust the counter with a little flour, then gently remove the dough from the bowl and place onto the counter.
- Fold the dough over and into itself, kneading lightly about 10-15 times.
- Leave the dough on the counter, and cover it with a tea towel. Allow it to rest on the counter for 15-30 minutes.
- While the dough is resting, place your Dutch oven into the oven and preheat it to 450 degrees. Preheating the pan gives the bread a crispy outer layer, but it isn't absolutely necessary.
- Once your oven is preheated, bring out the dutch oven and place on a hot pad. Carefully place a small piece of parchment or a bread sling beneath your bread, then transfer it to the hot dutch oven.
- Cover with Dutch oven with the lid and bake for 30 minutes.
- Then remove the lid and bake until golden brown, about an addition 15 minutes.
- Remove from the Dutch oven and allow to cool on a wire rack, then enjoy!½
Notes
- If your dough feels too wet, add 1 Tbsp flour to help.
- Kneading the dough isn't absolutely necessary, but it does help with the overall consistency of the loaf. Don't let it intimidate you!
- If you don't have a Dutch oven, you can easily make this with a loaf pan. To do so, divide the dough in half when you remove it from the bowl. Instead of placing the dough into a Dutch oven, simply place into a loaf pan lined with parchement or sprayed lightly with oil.
- If using loaf pans, you can place an ovensafe dish with ice cubes or water below the loaf pans to help give your bread a lovely, crispy crust.
Recommended Products
As an Amazon Associate and member of other affiliate programs, I earn from qualifying purchases.
We store ours at room temperature for a coupe of days, then transfer it to the refrigerator — if it isn’t devoured by then! You can also freeze this loaf for up to 6 months. I recommend flash freezing, then wrapping in an airtight wrap or container for best results. To thaw, ideally take out overnight and leave at room temperature. You can also slice the loaf before freezing and take out individual slices as needed!


