DIY Rolled Beeswax Taper Candles
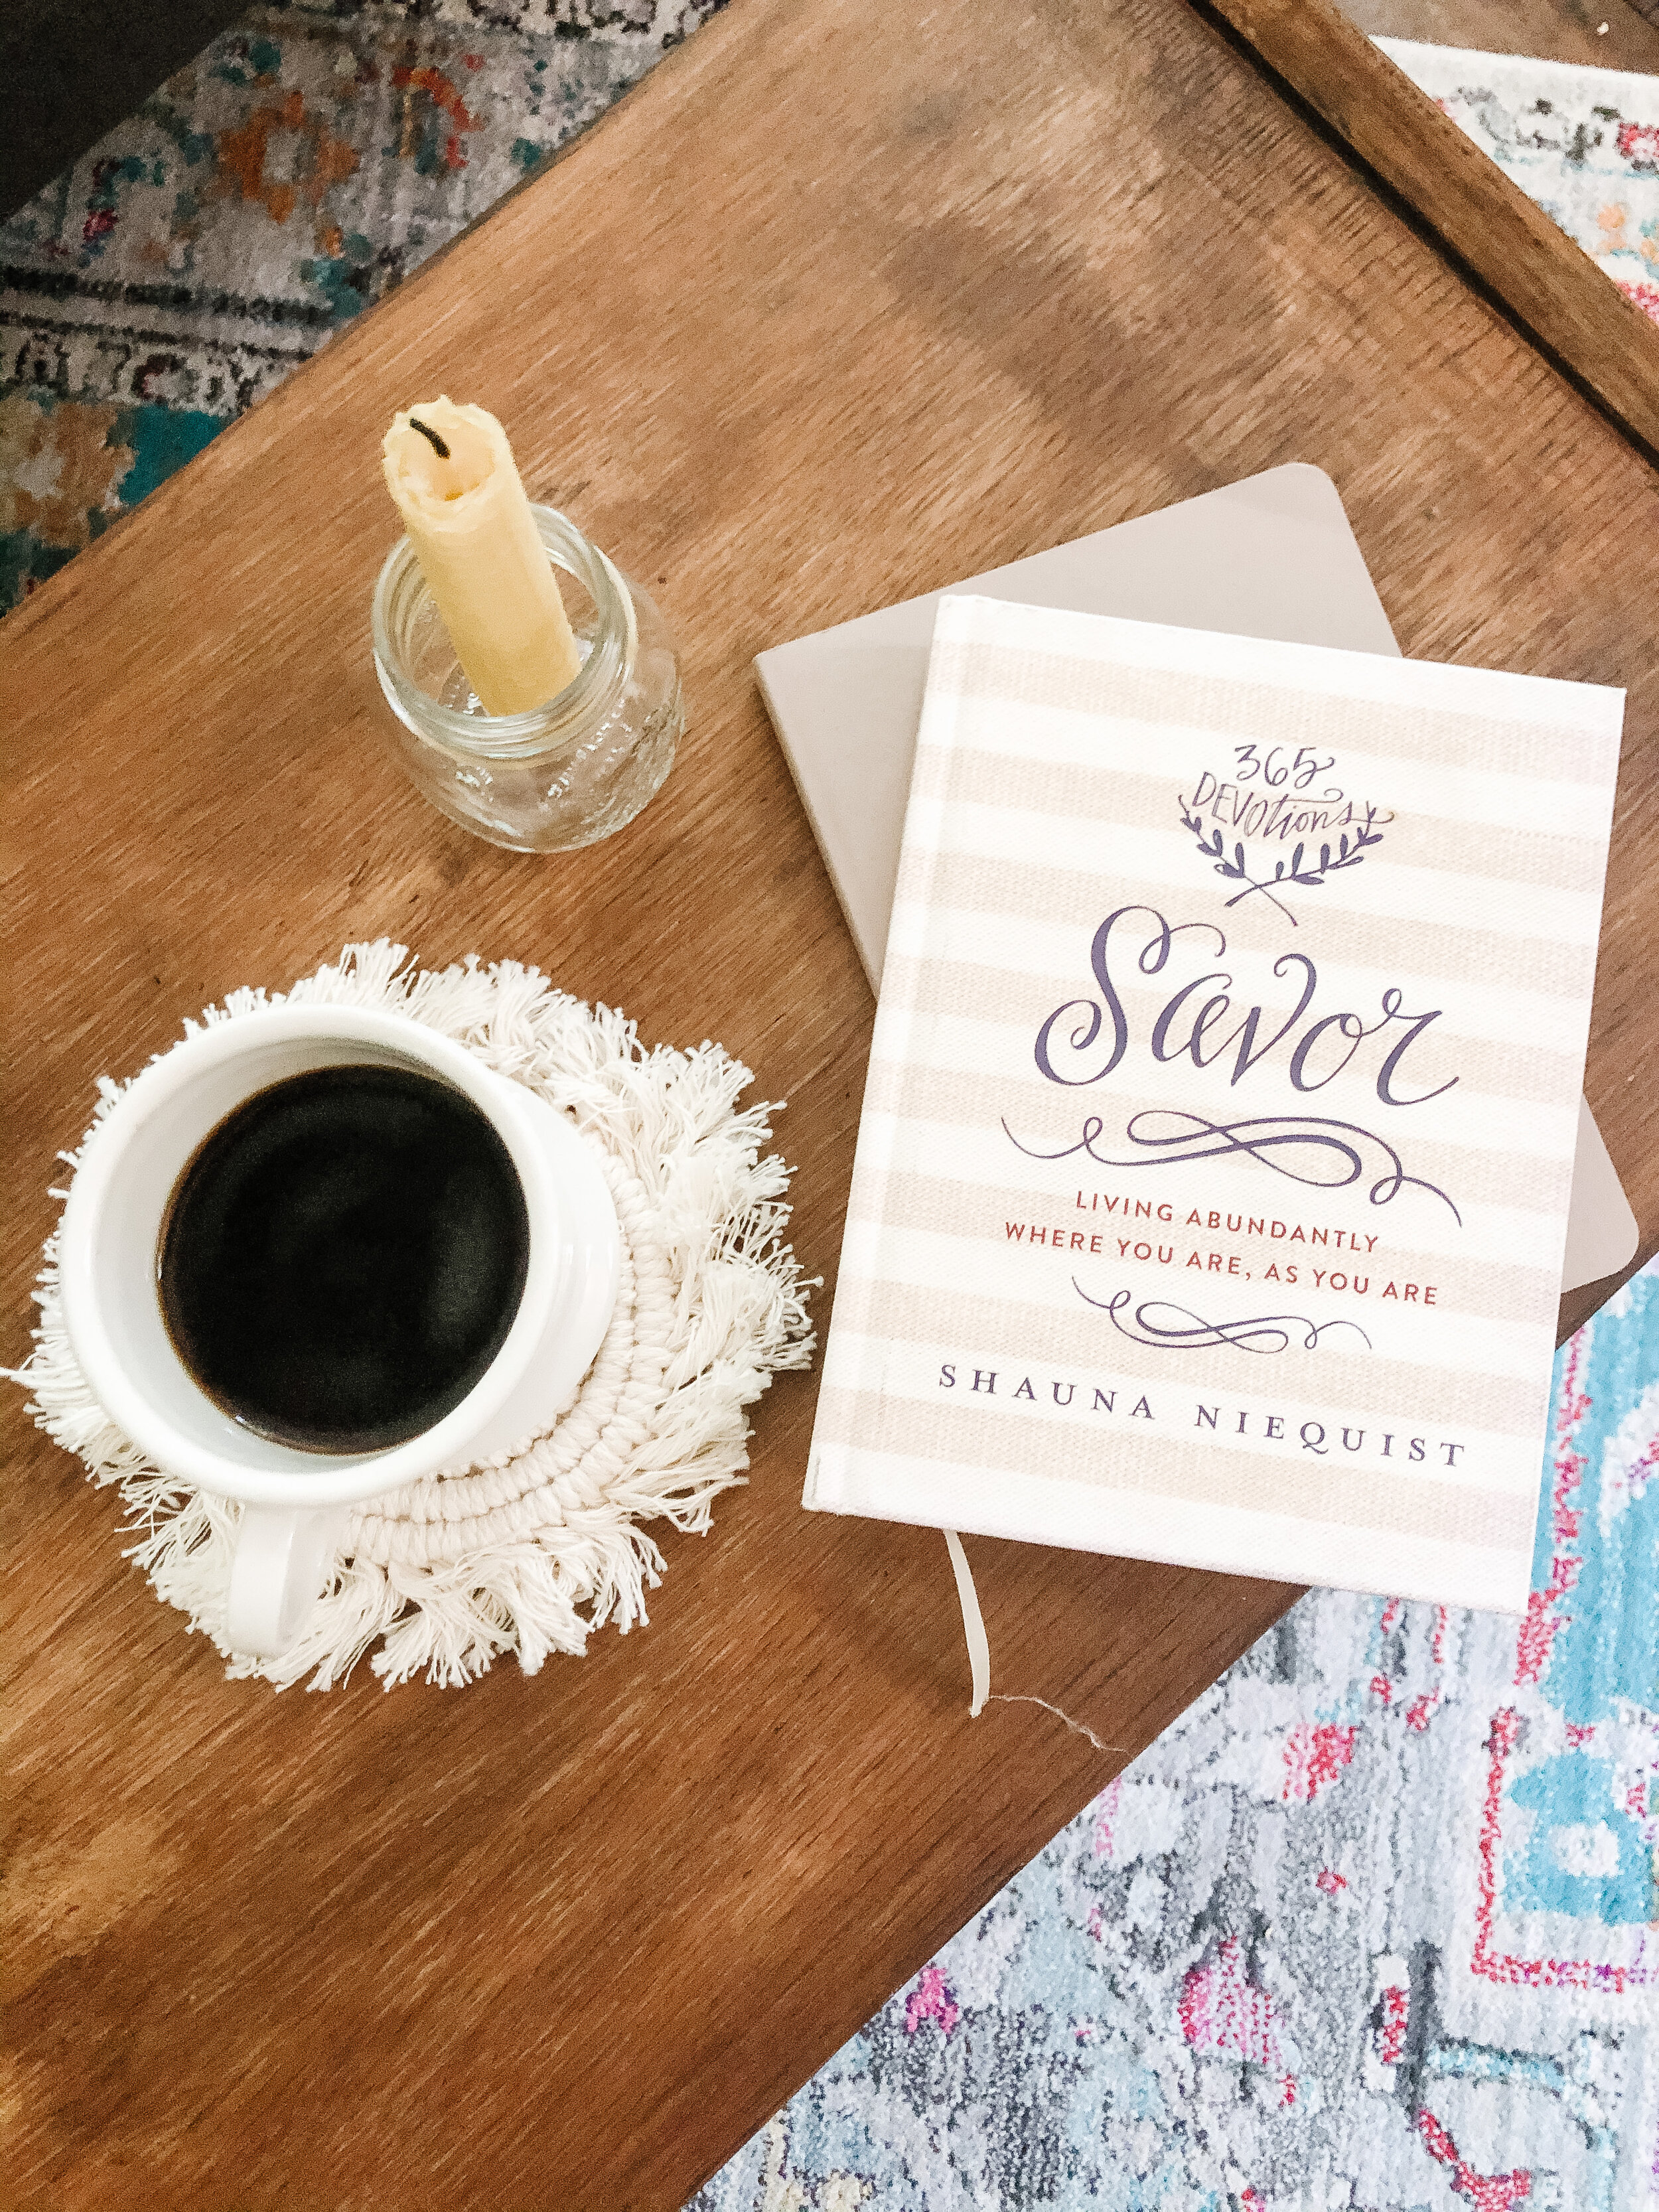
One of my favorite ways to bring a bit of coziness to our home is with beeswax candles. We love them in jars, as tapers, scattered throughout the house. There is something so warm and welcoming about soft, flickering candle light! My kids love to light a candle on the dinner table or on the mantle when it starts to get dark. Last year we made jar candles, and this year we’re trying our hands at tapers!
There are a couple ways to make taper candles. You can use beeswax sheets that you roll or you can melt the beeswax and dip the wicks into the wax. For this DIY we went with the first route! (Dipped tapers coming soon!). This is incredibly easy and very customizable, so you can make them as tall or short, thick or thin as you desire!
DIY Rolled Beeswax Tapers:
Beeswax sheets and wicks
Scissors
A flat surface (I used cardboard)
A sharp knife
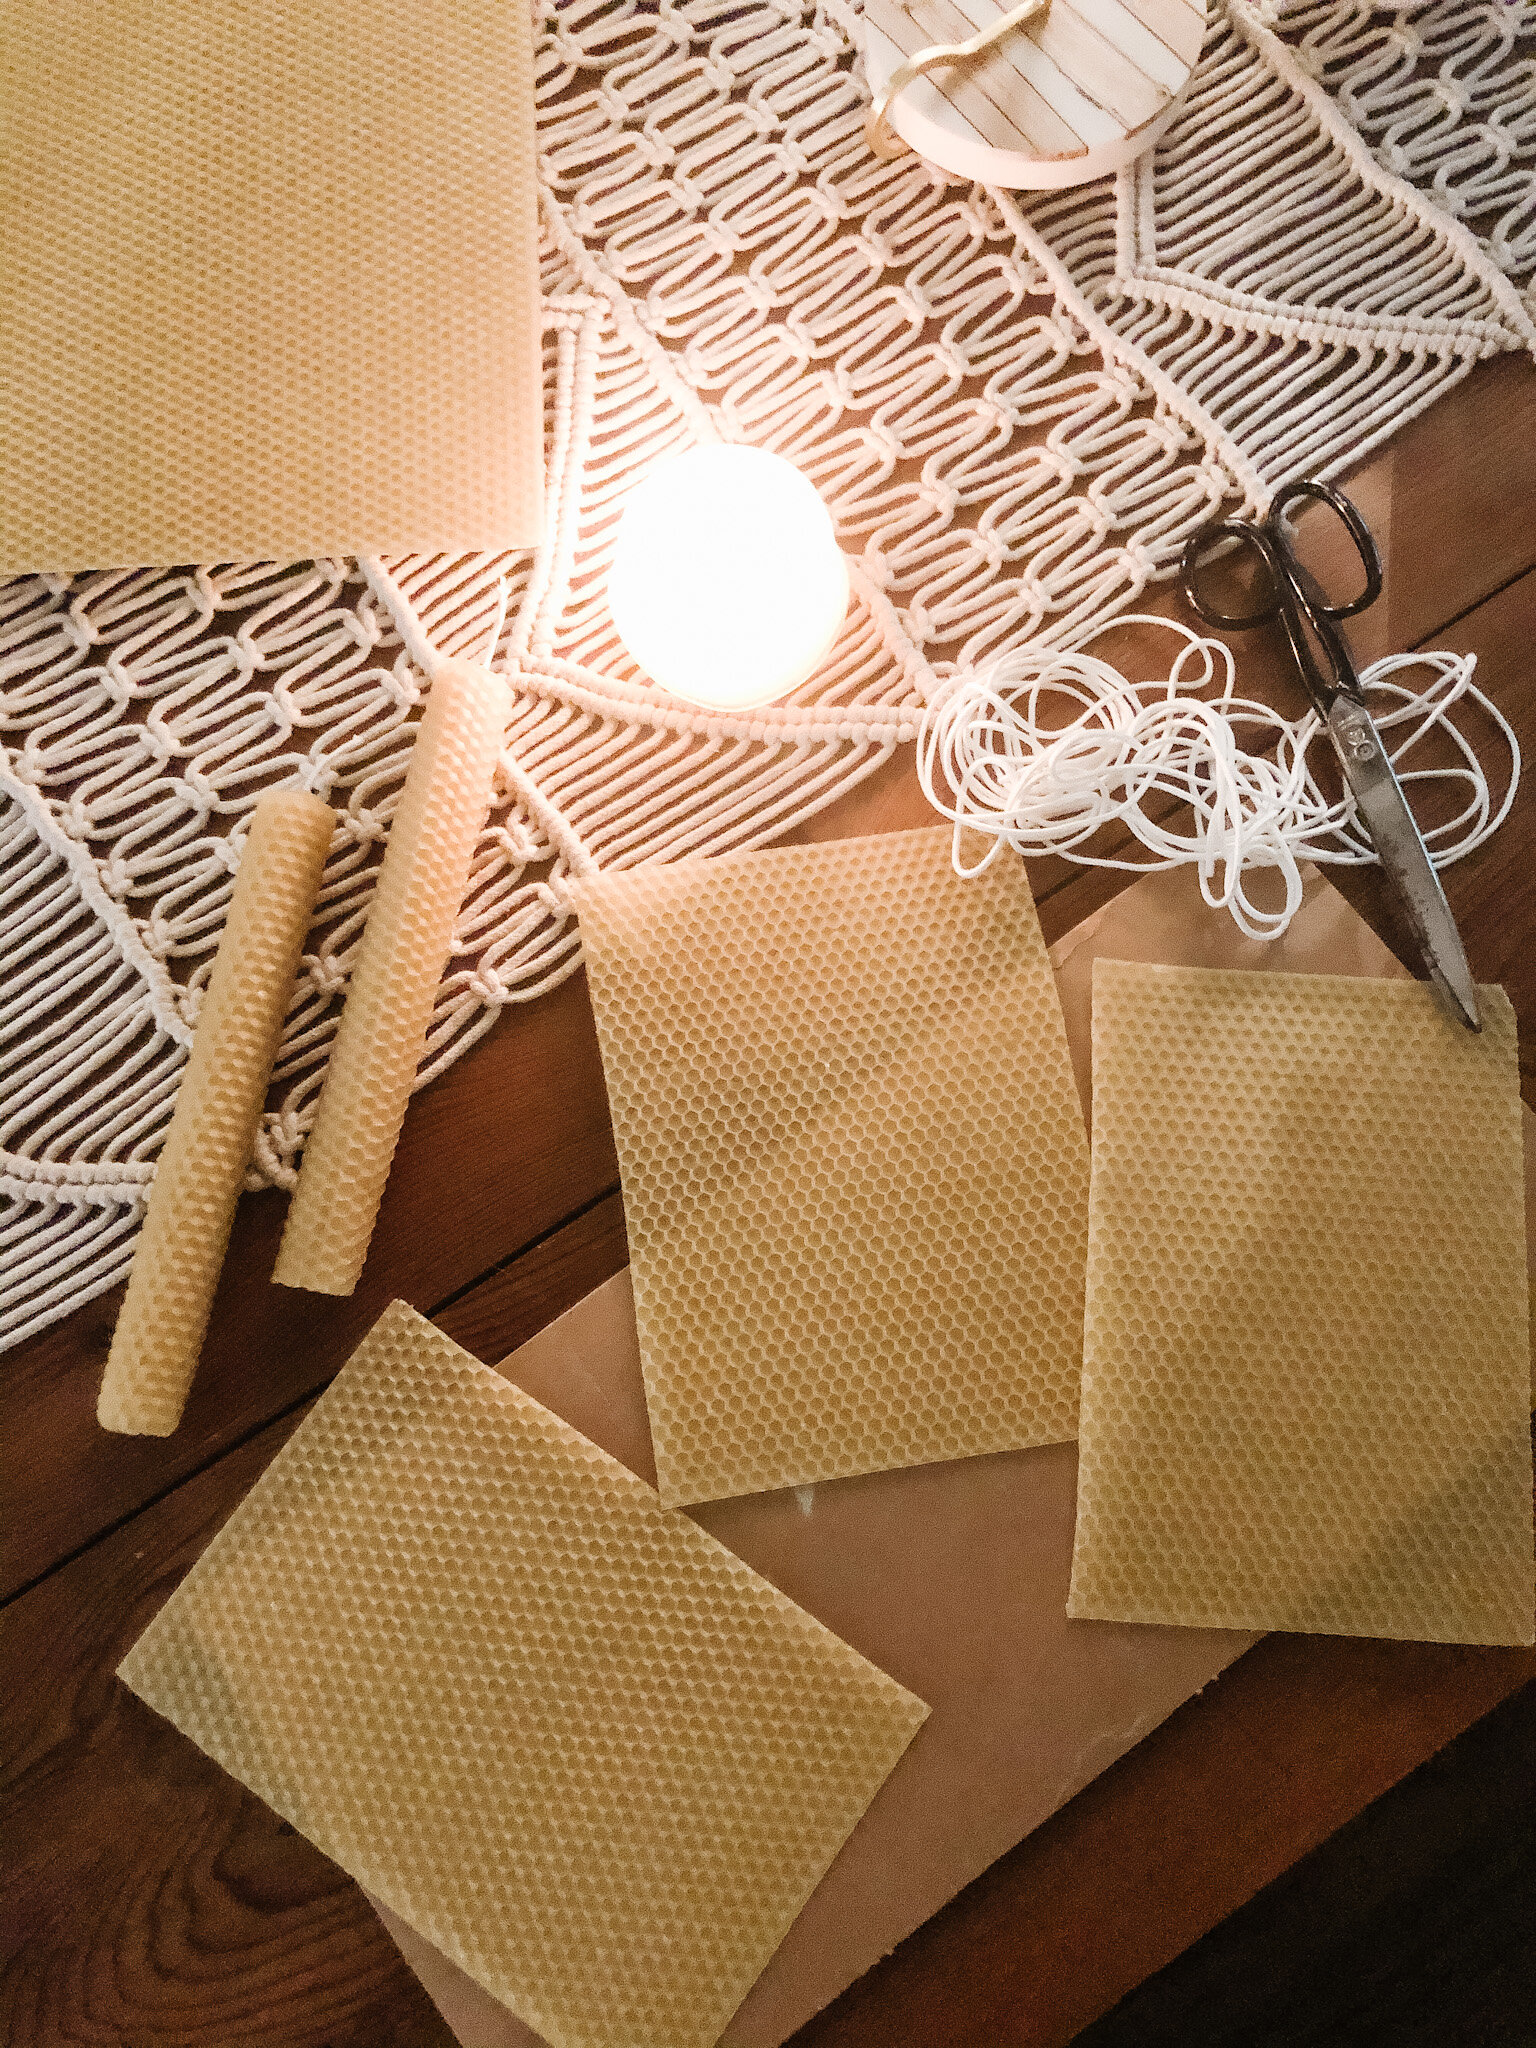
Lay out one of the beeswax sheets and use the knife to cut it into two or three pieces. More cuts will result in thinner candles, less will result in thicker candles.
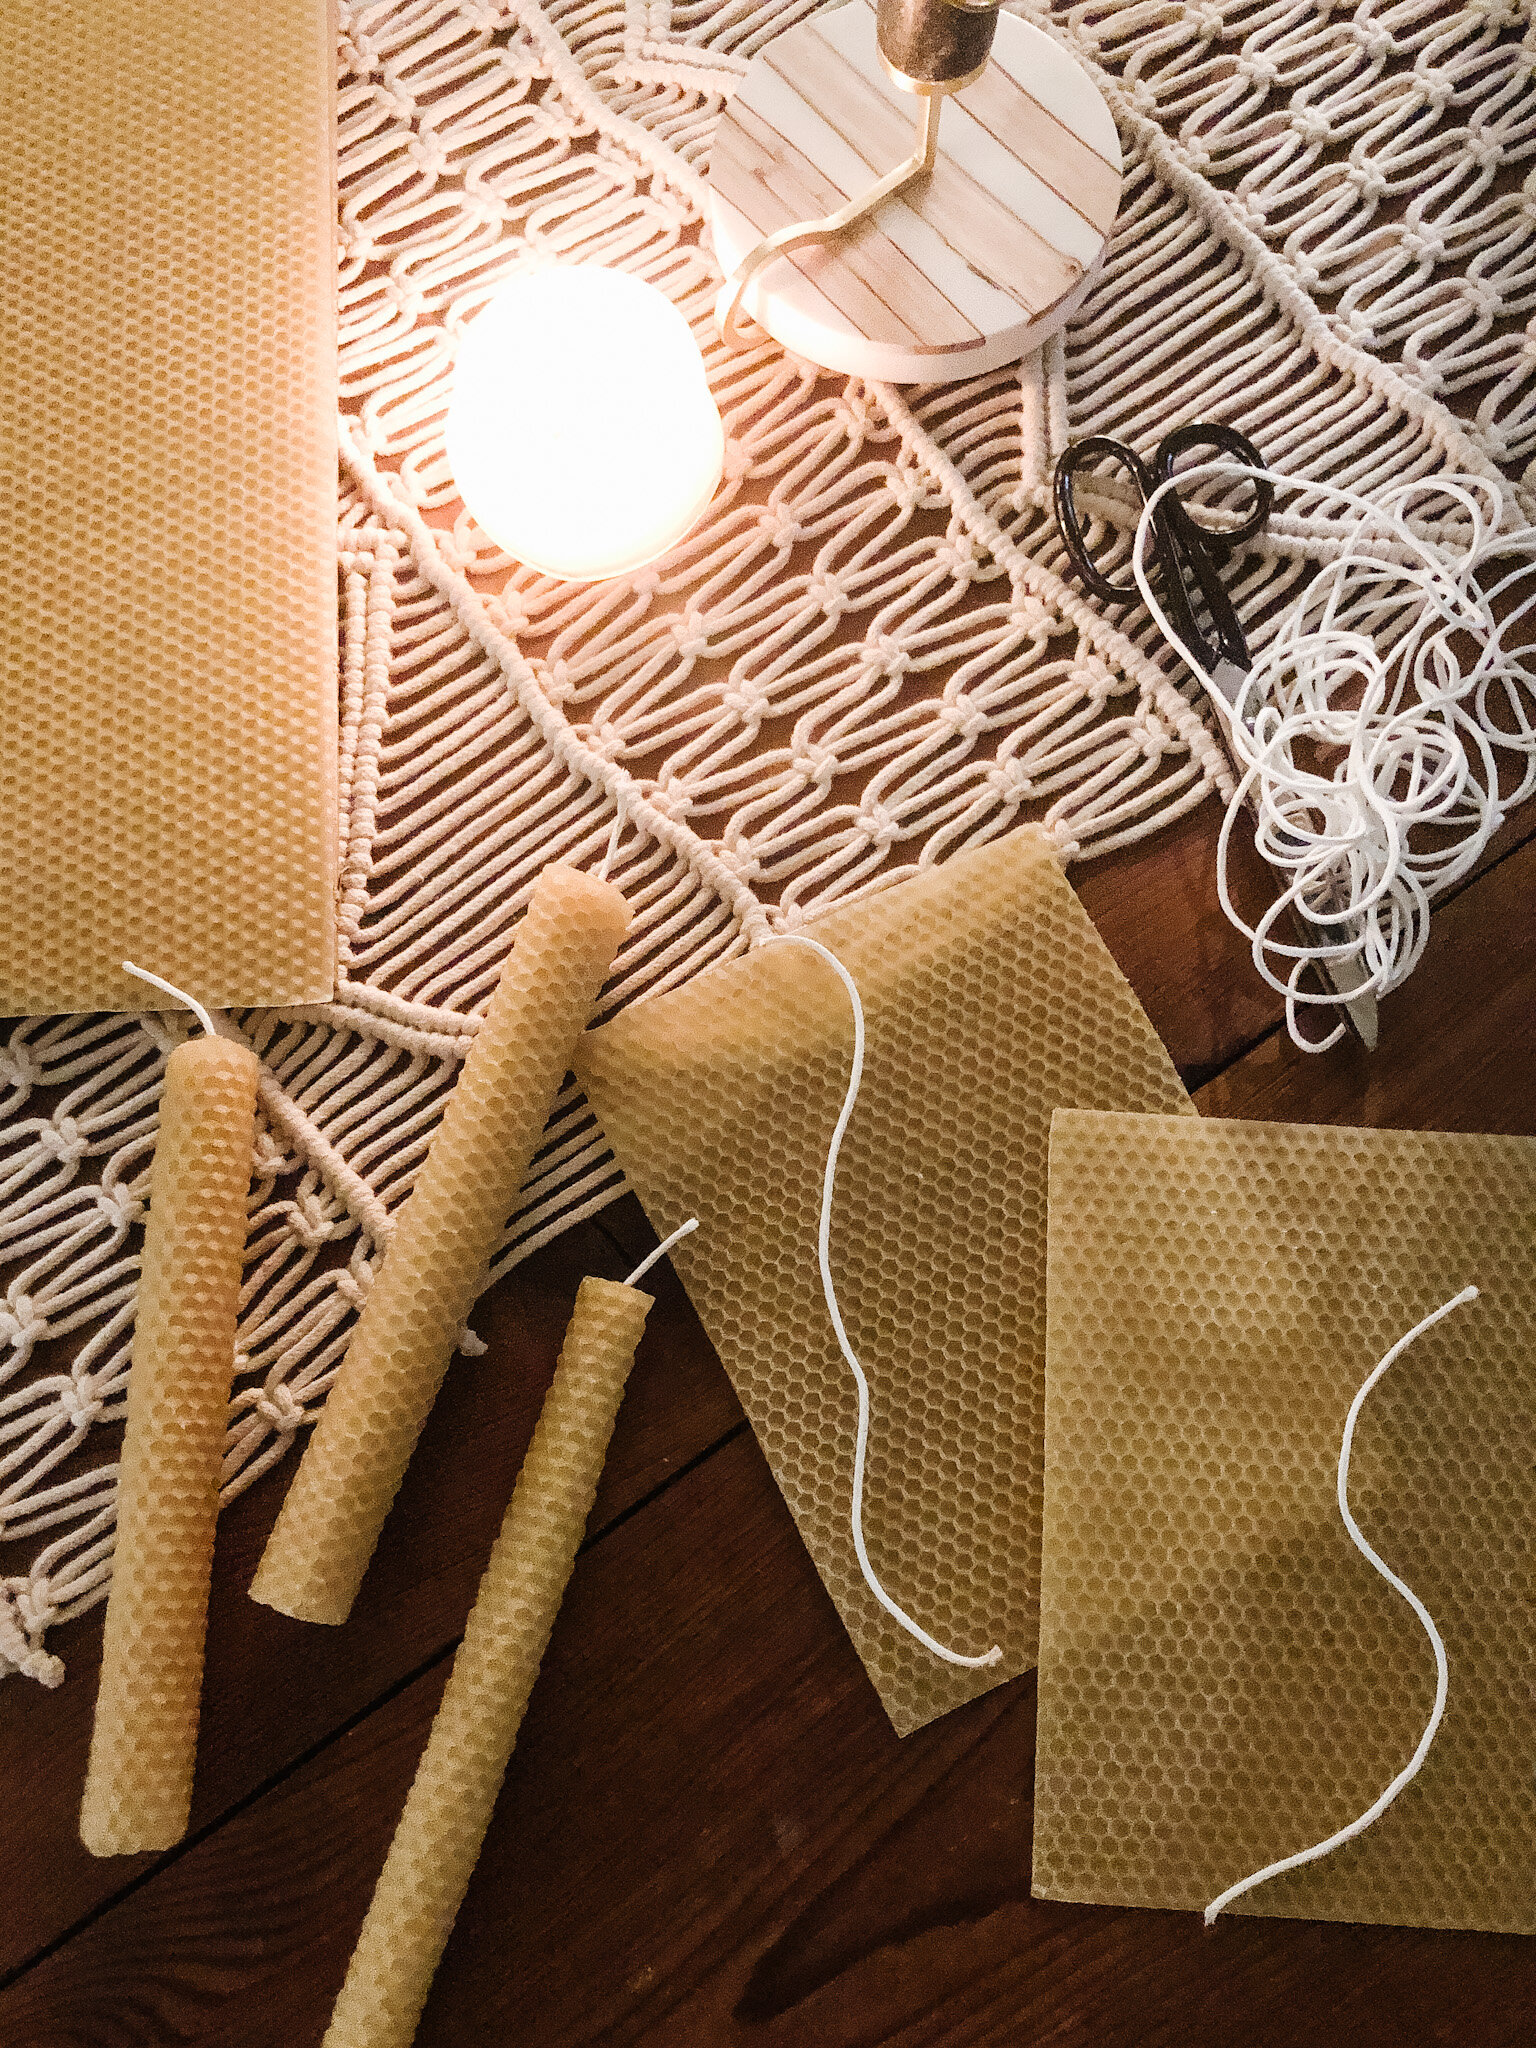
Take one of the cut pieces, and lay the wick string along one edge, lining it with the bottom of the wax. Trim the top of the wick about 1&1/2 inches about the top of the wax.
Gently roll the edge of the wax (where the wick is lined up) just over the wick and press in lightly to secure. I did one small section at a time, working my way down the wick.
Once the wick is secured into the wax, gently roll the candle over itself until you reach the other edge! Be careful not to press too hard or you will smash the honeycomb design.
Repeat with the other sheets!
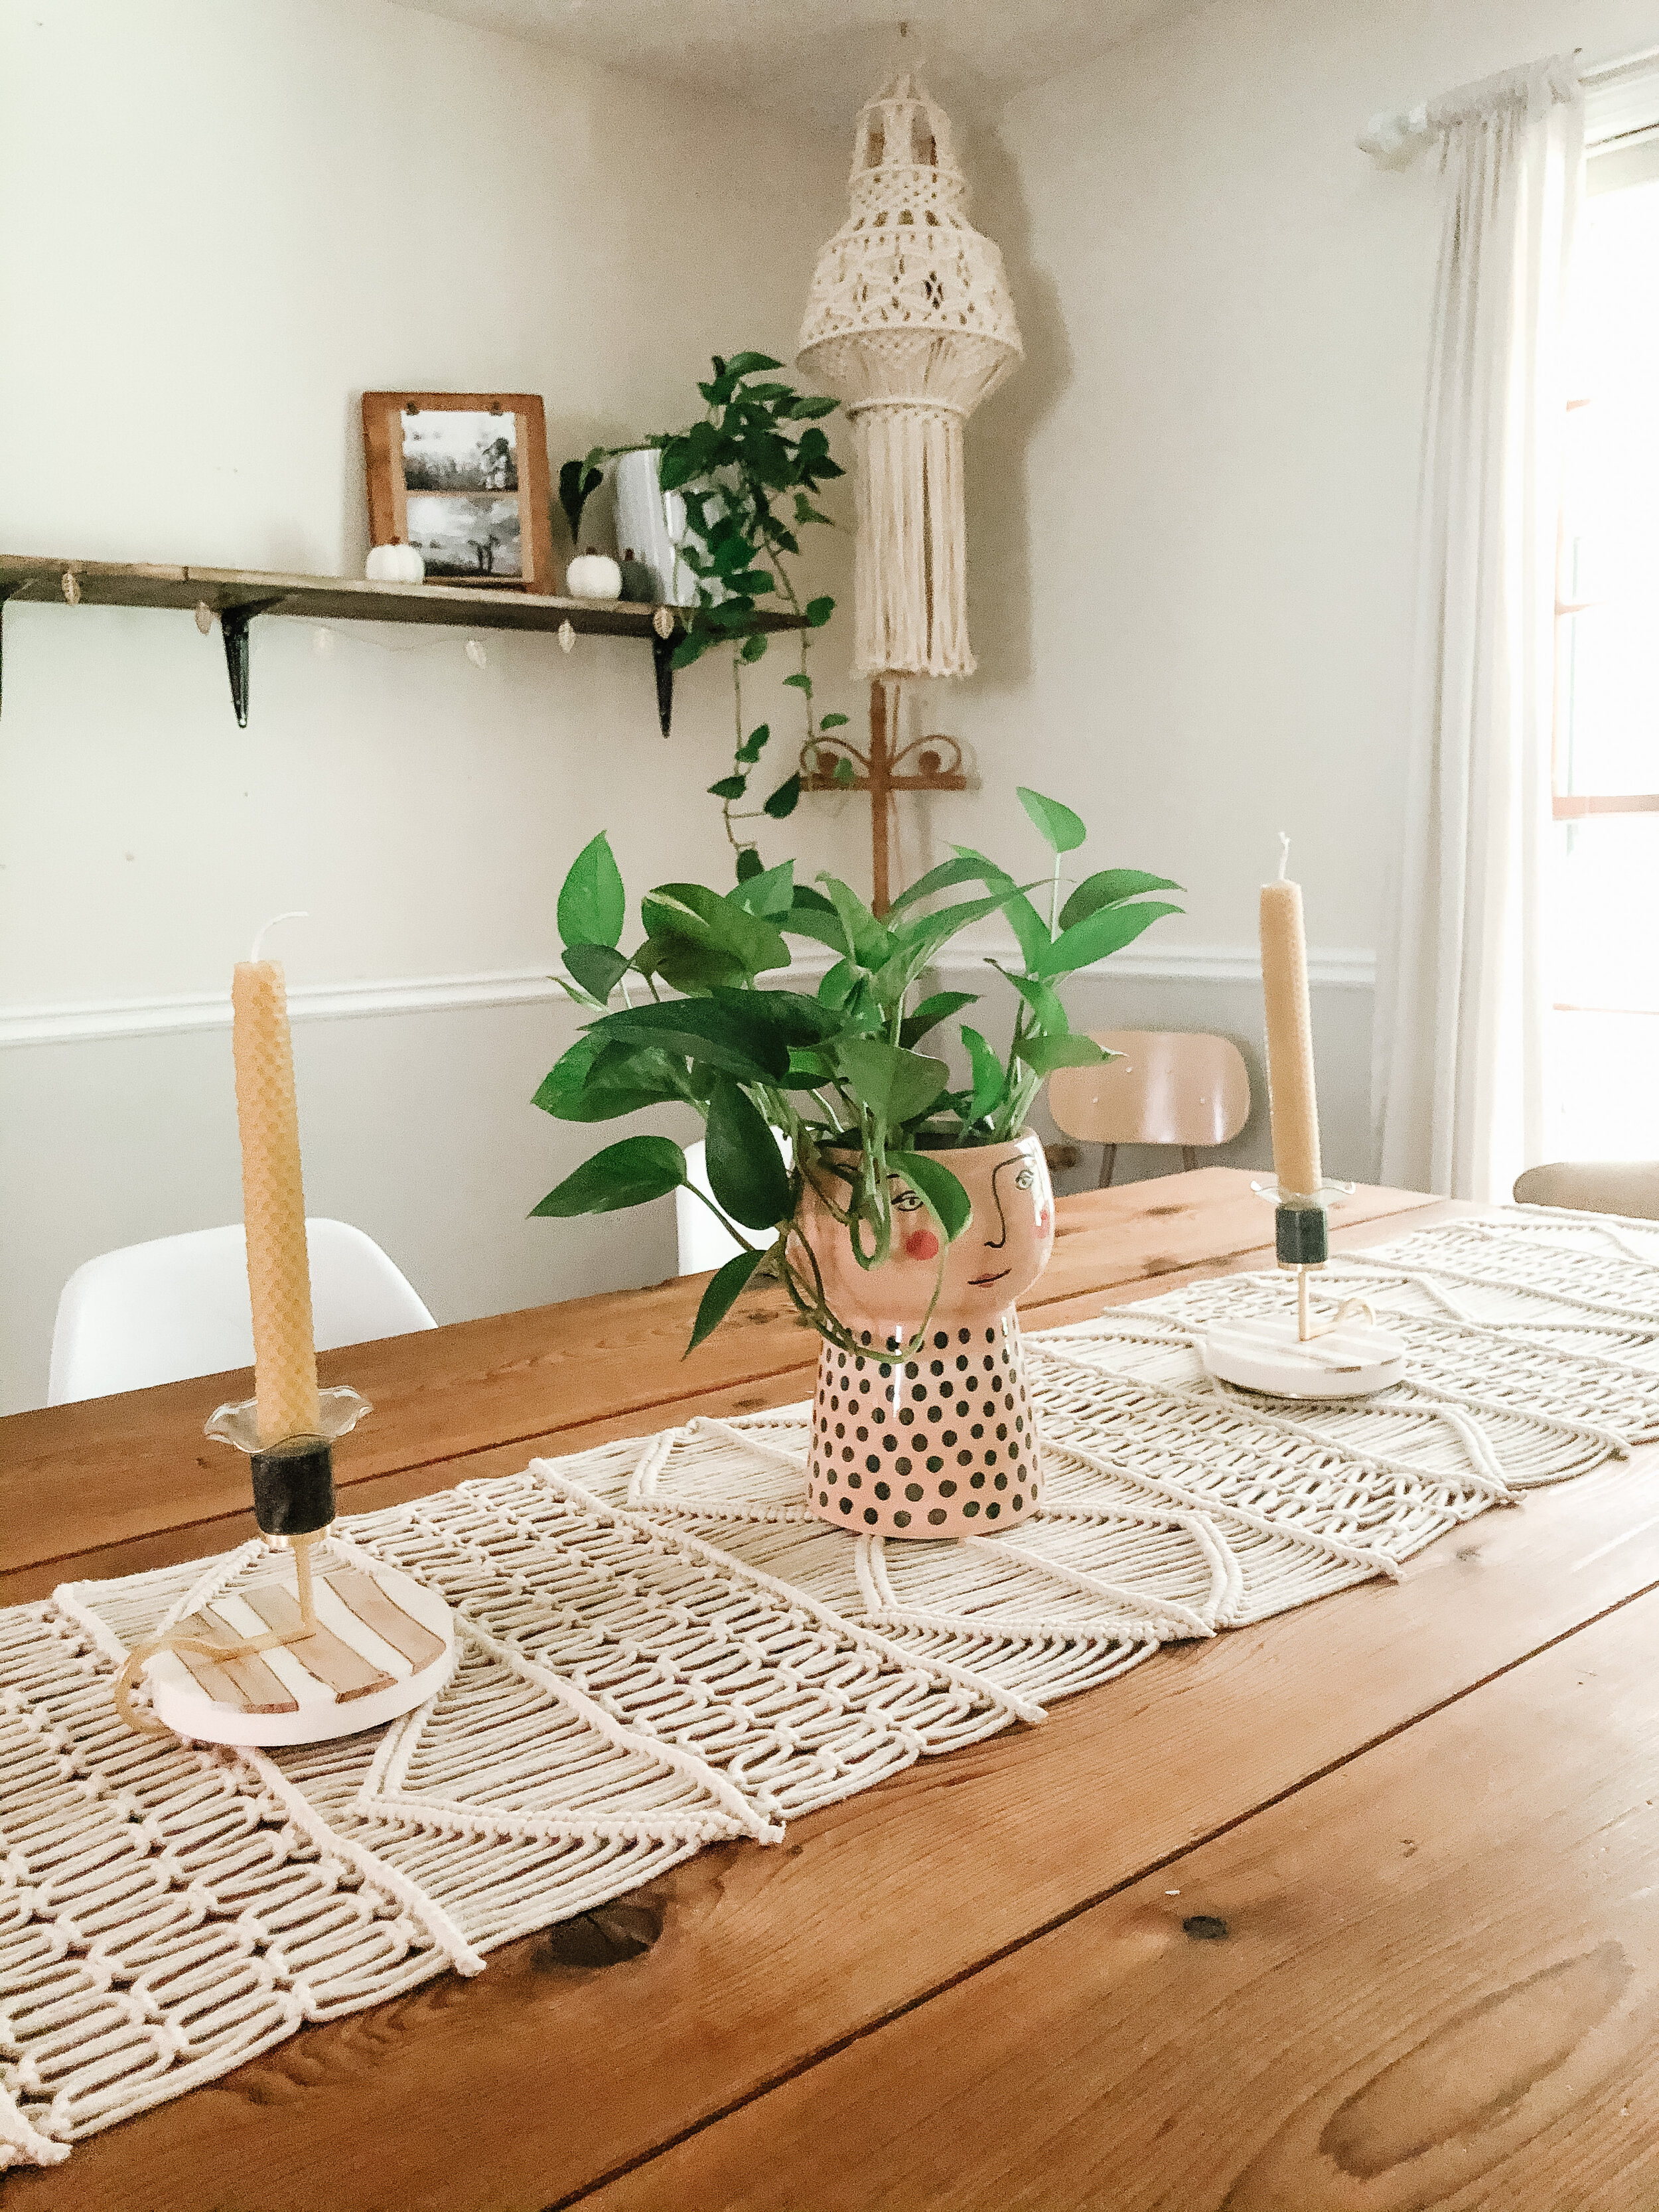
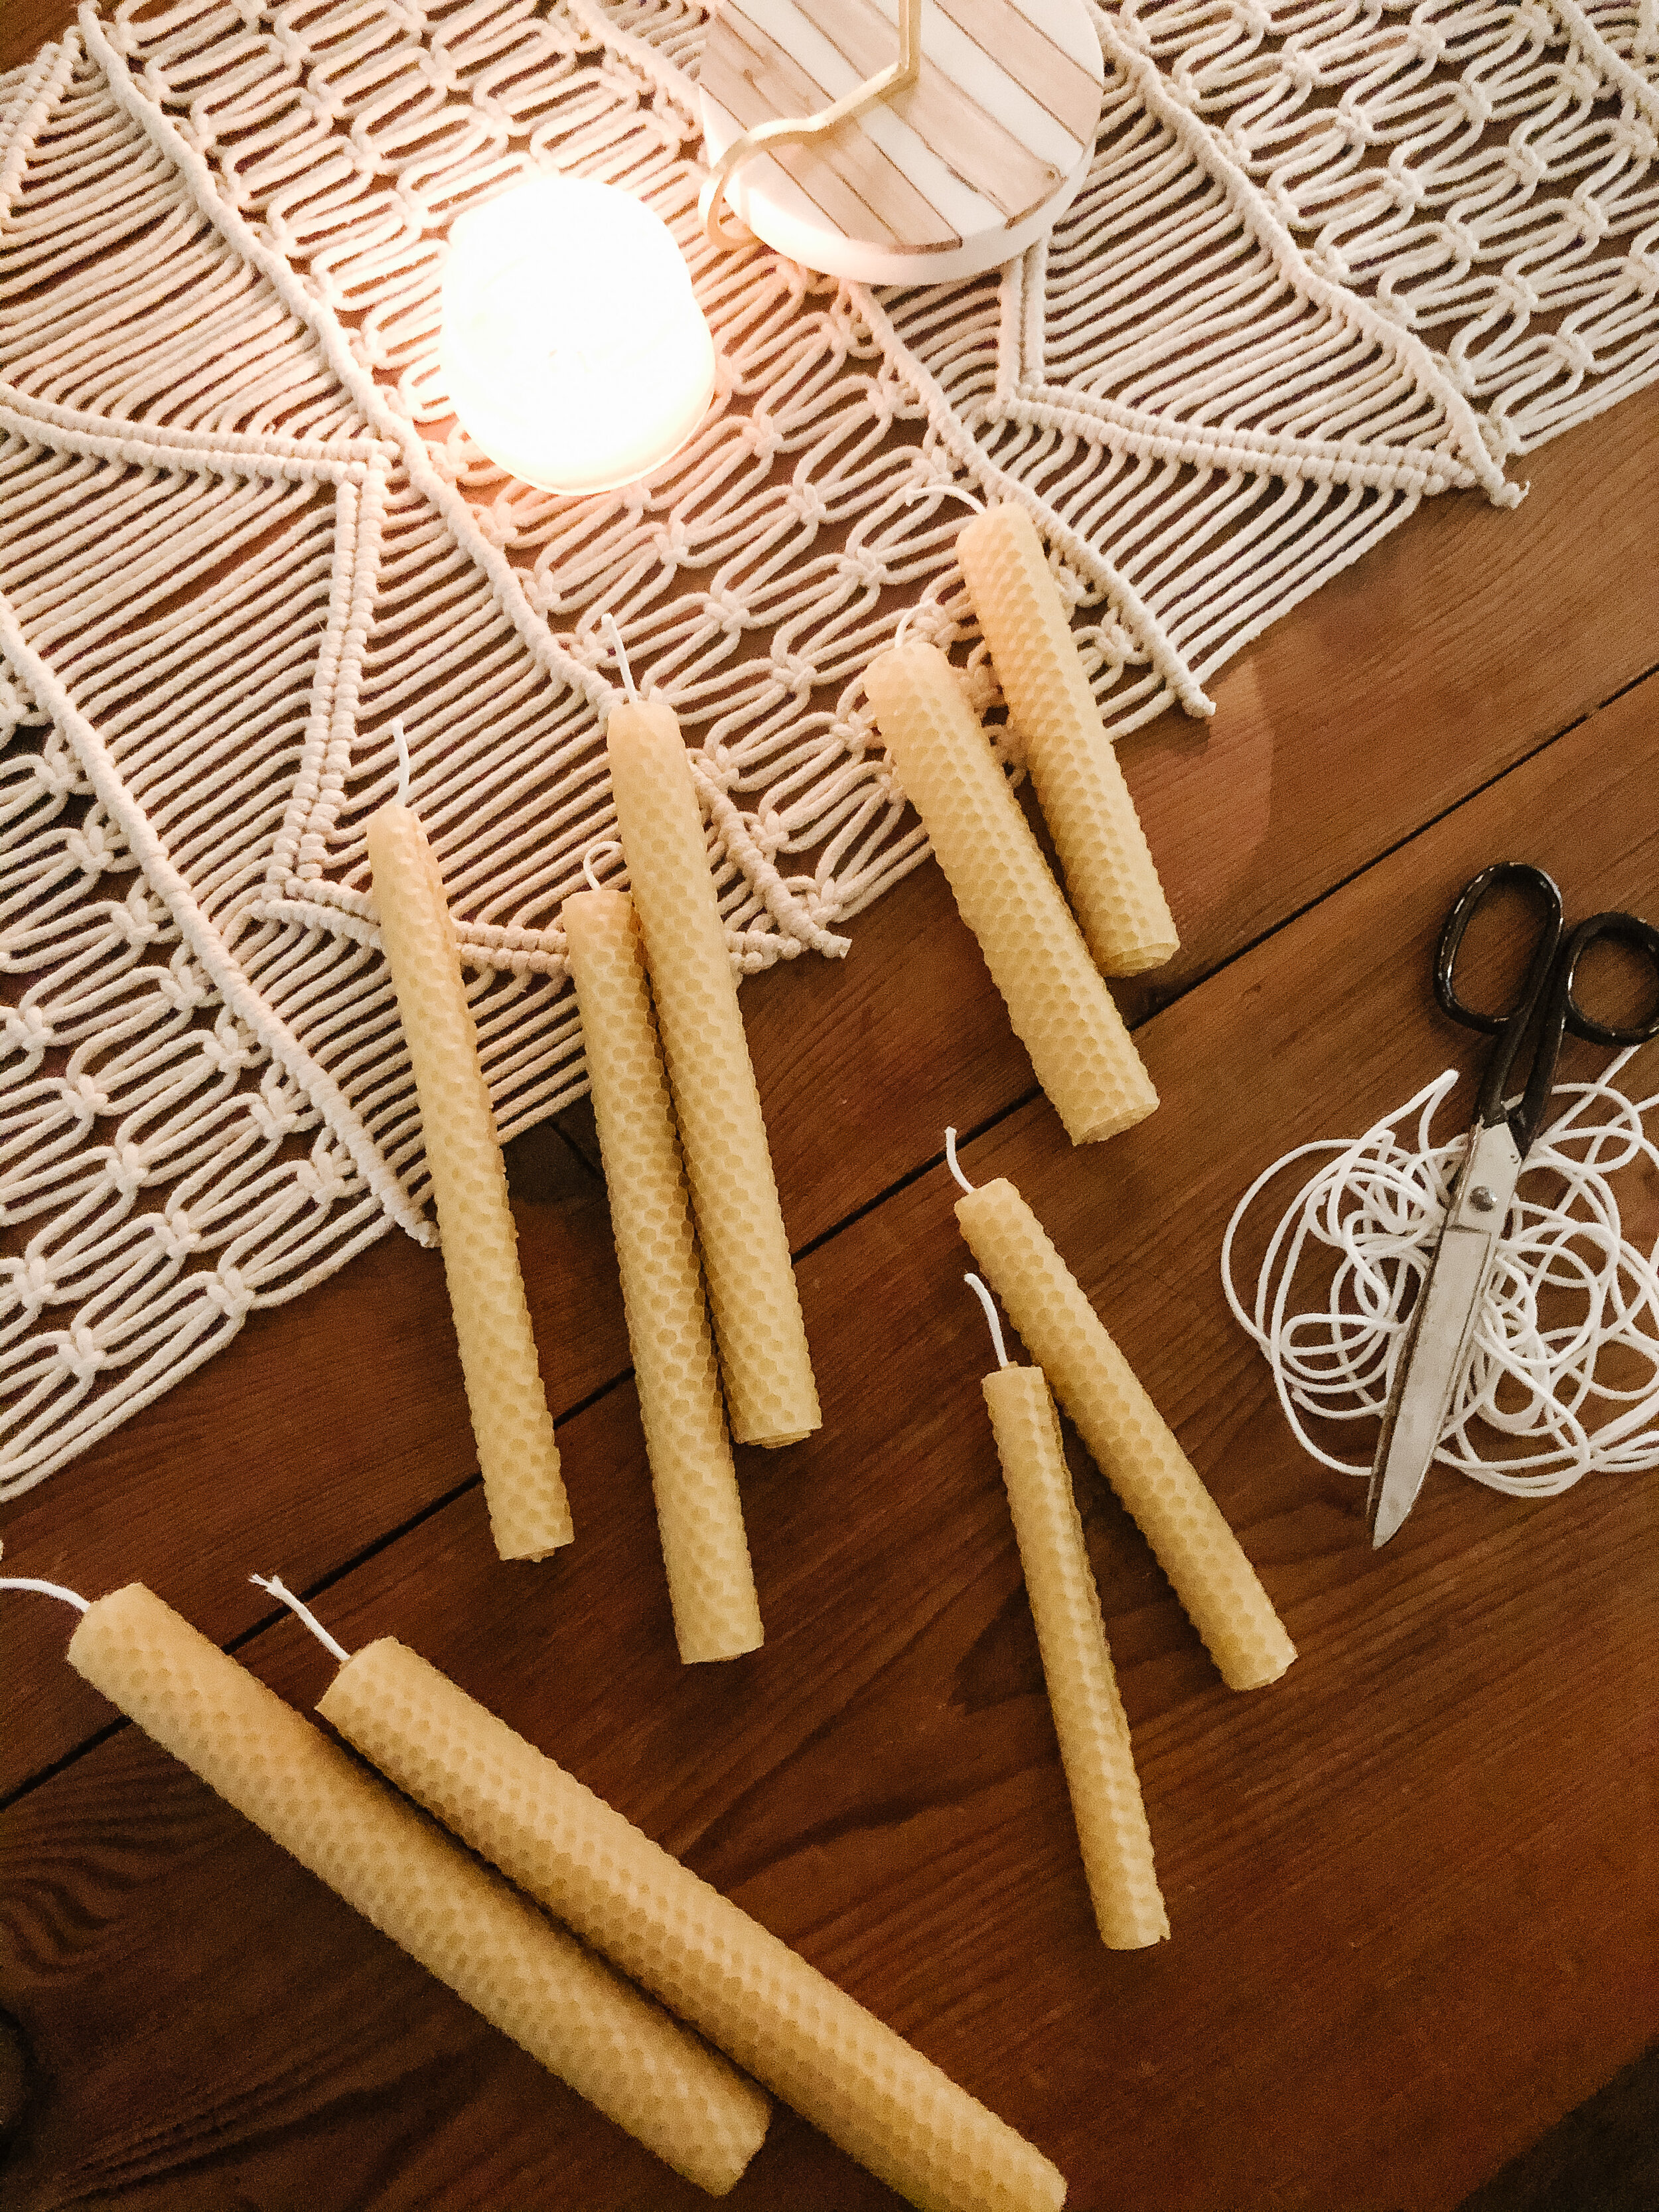
I cut one piece in half, one in thirds and the other in thirds but rolled on the short side. I ended up with five candles the same height but two different widths and three shorter candles. The tall ones will go into taper holders, and we will place the shorter, small ones in mason jars.
